Easy Homemade Slime Recipe (5-Minute DIY Slime)
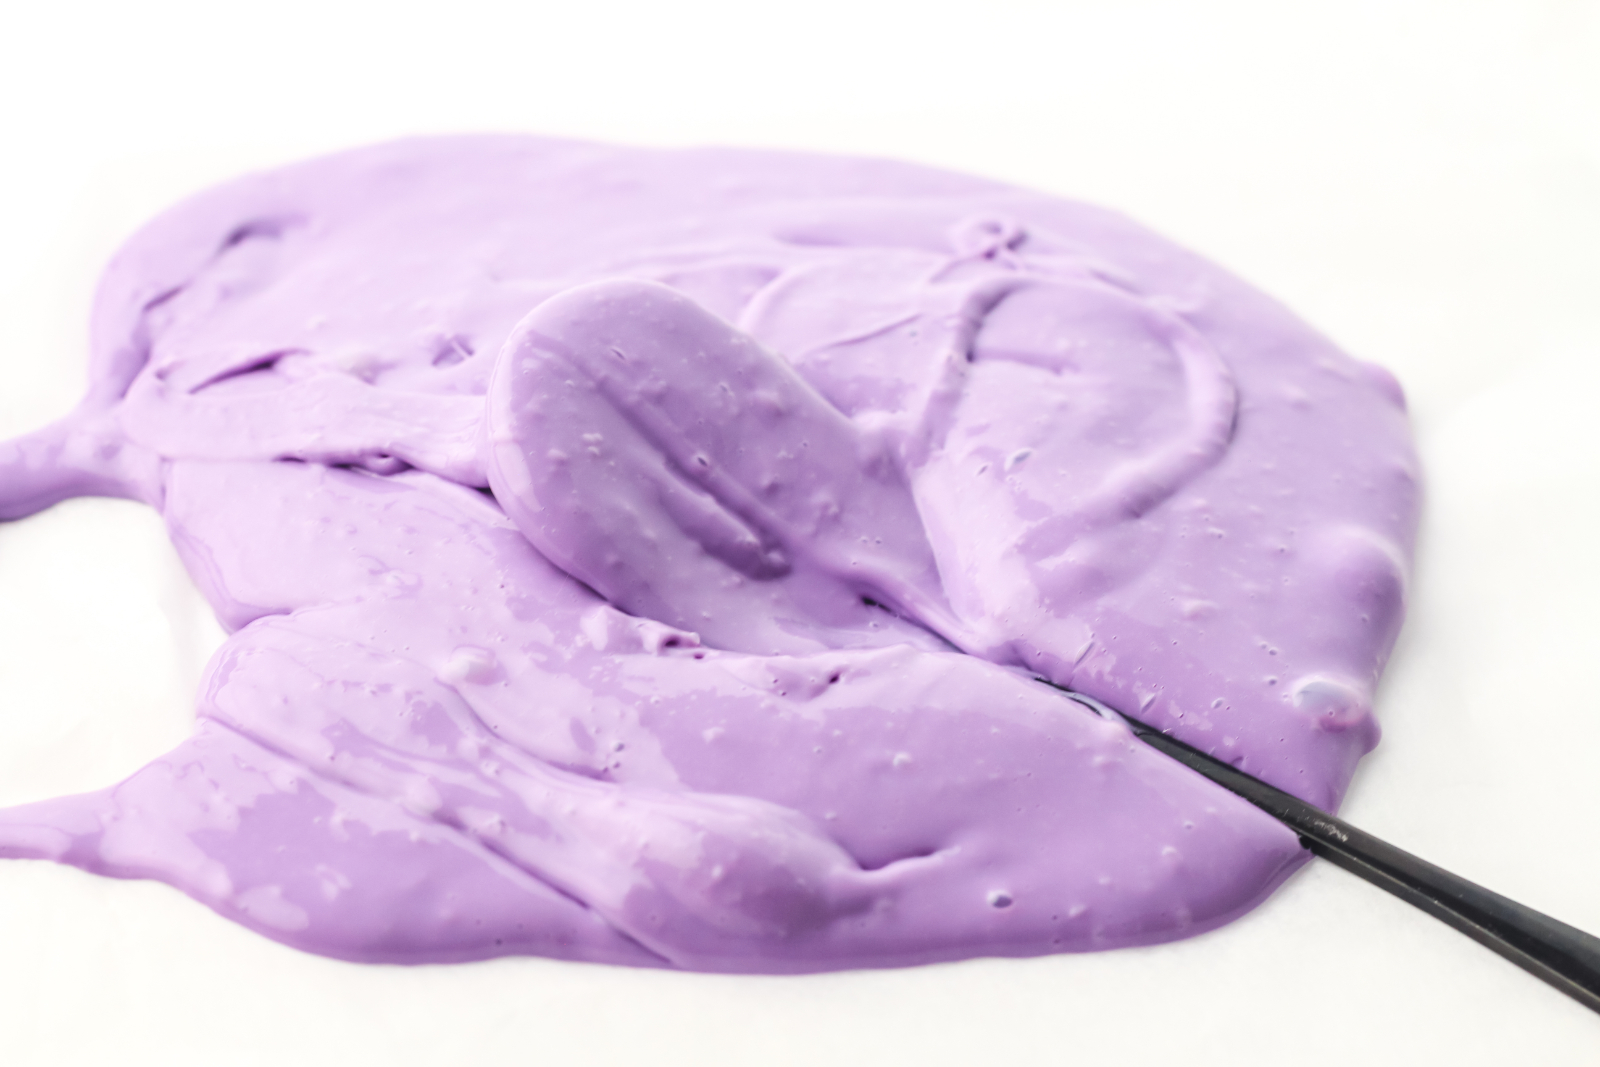
Looking for a fun, easy activity to keep the kids entertained? This homemade slime recipe takes just 5 minutes to make and requires only four simple ingredients. With school glue, baking soda, contact lens solution, and a little food coloring, you can create colorful, stretchy slime right at home!
Making slime is a fun hands-on activity for kids and a great way to add a little creativity to an afternoon at home. Whether you’re planning a rainy-day activity, looking for something fun to do during school breaks, or putting together a DIY activity for a birthday party, this easy slime recipe is a great place to start.
The best part? You don’t need a complicated recipe or a long list of supplies. Just mix everything together, knead until smooth, and you’ll have homemade slime ready for play in about five minutes.
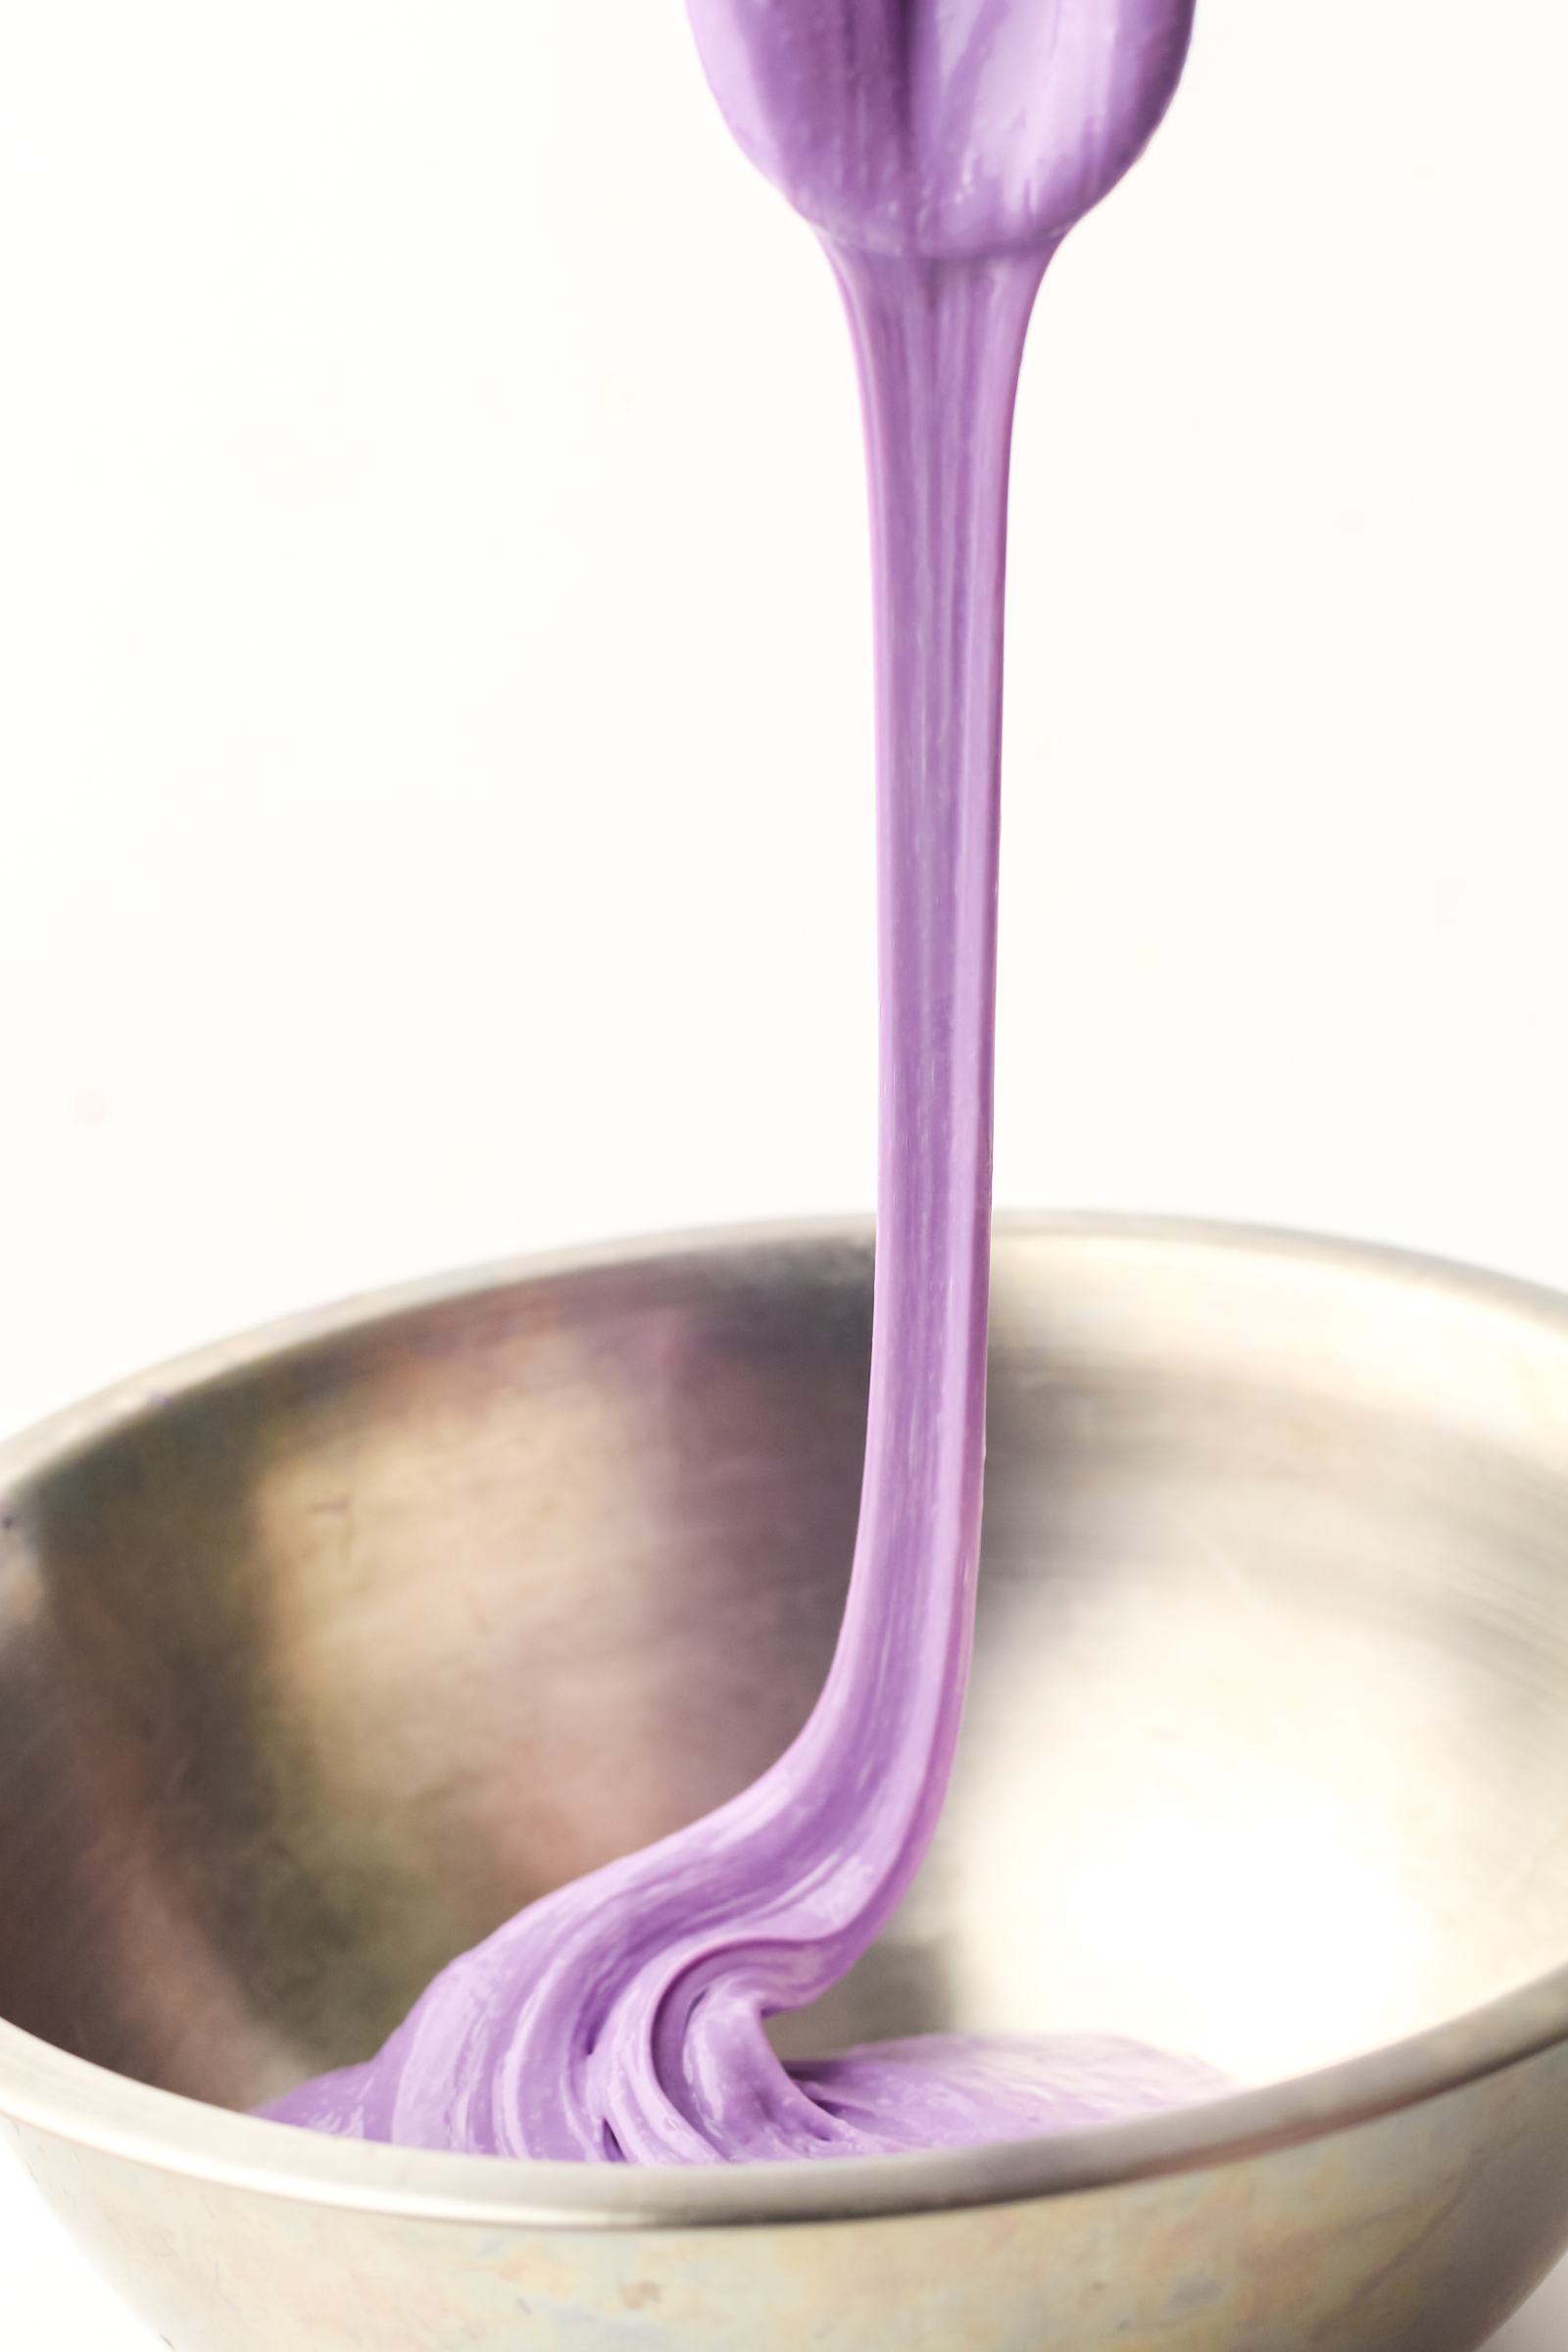
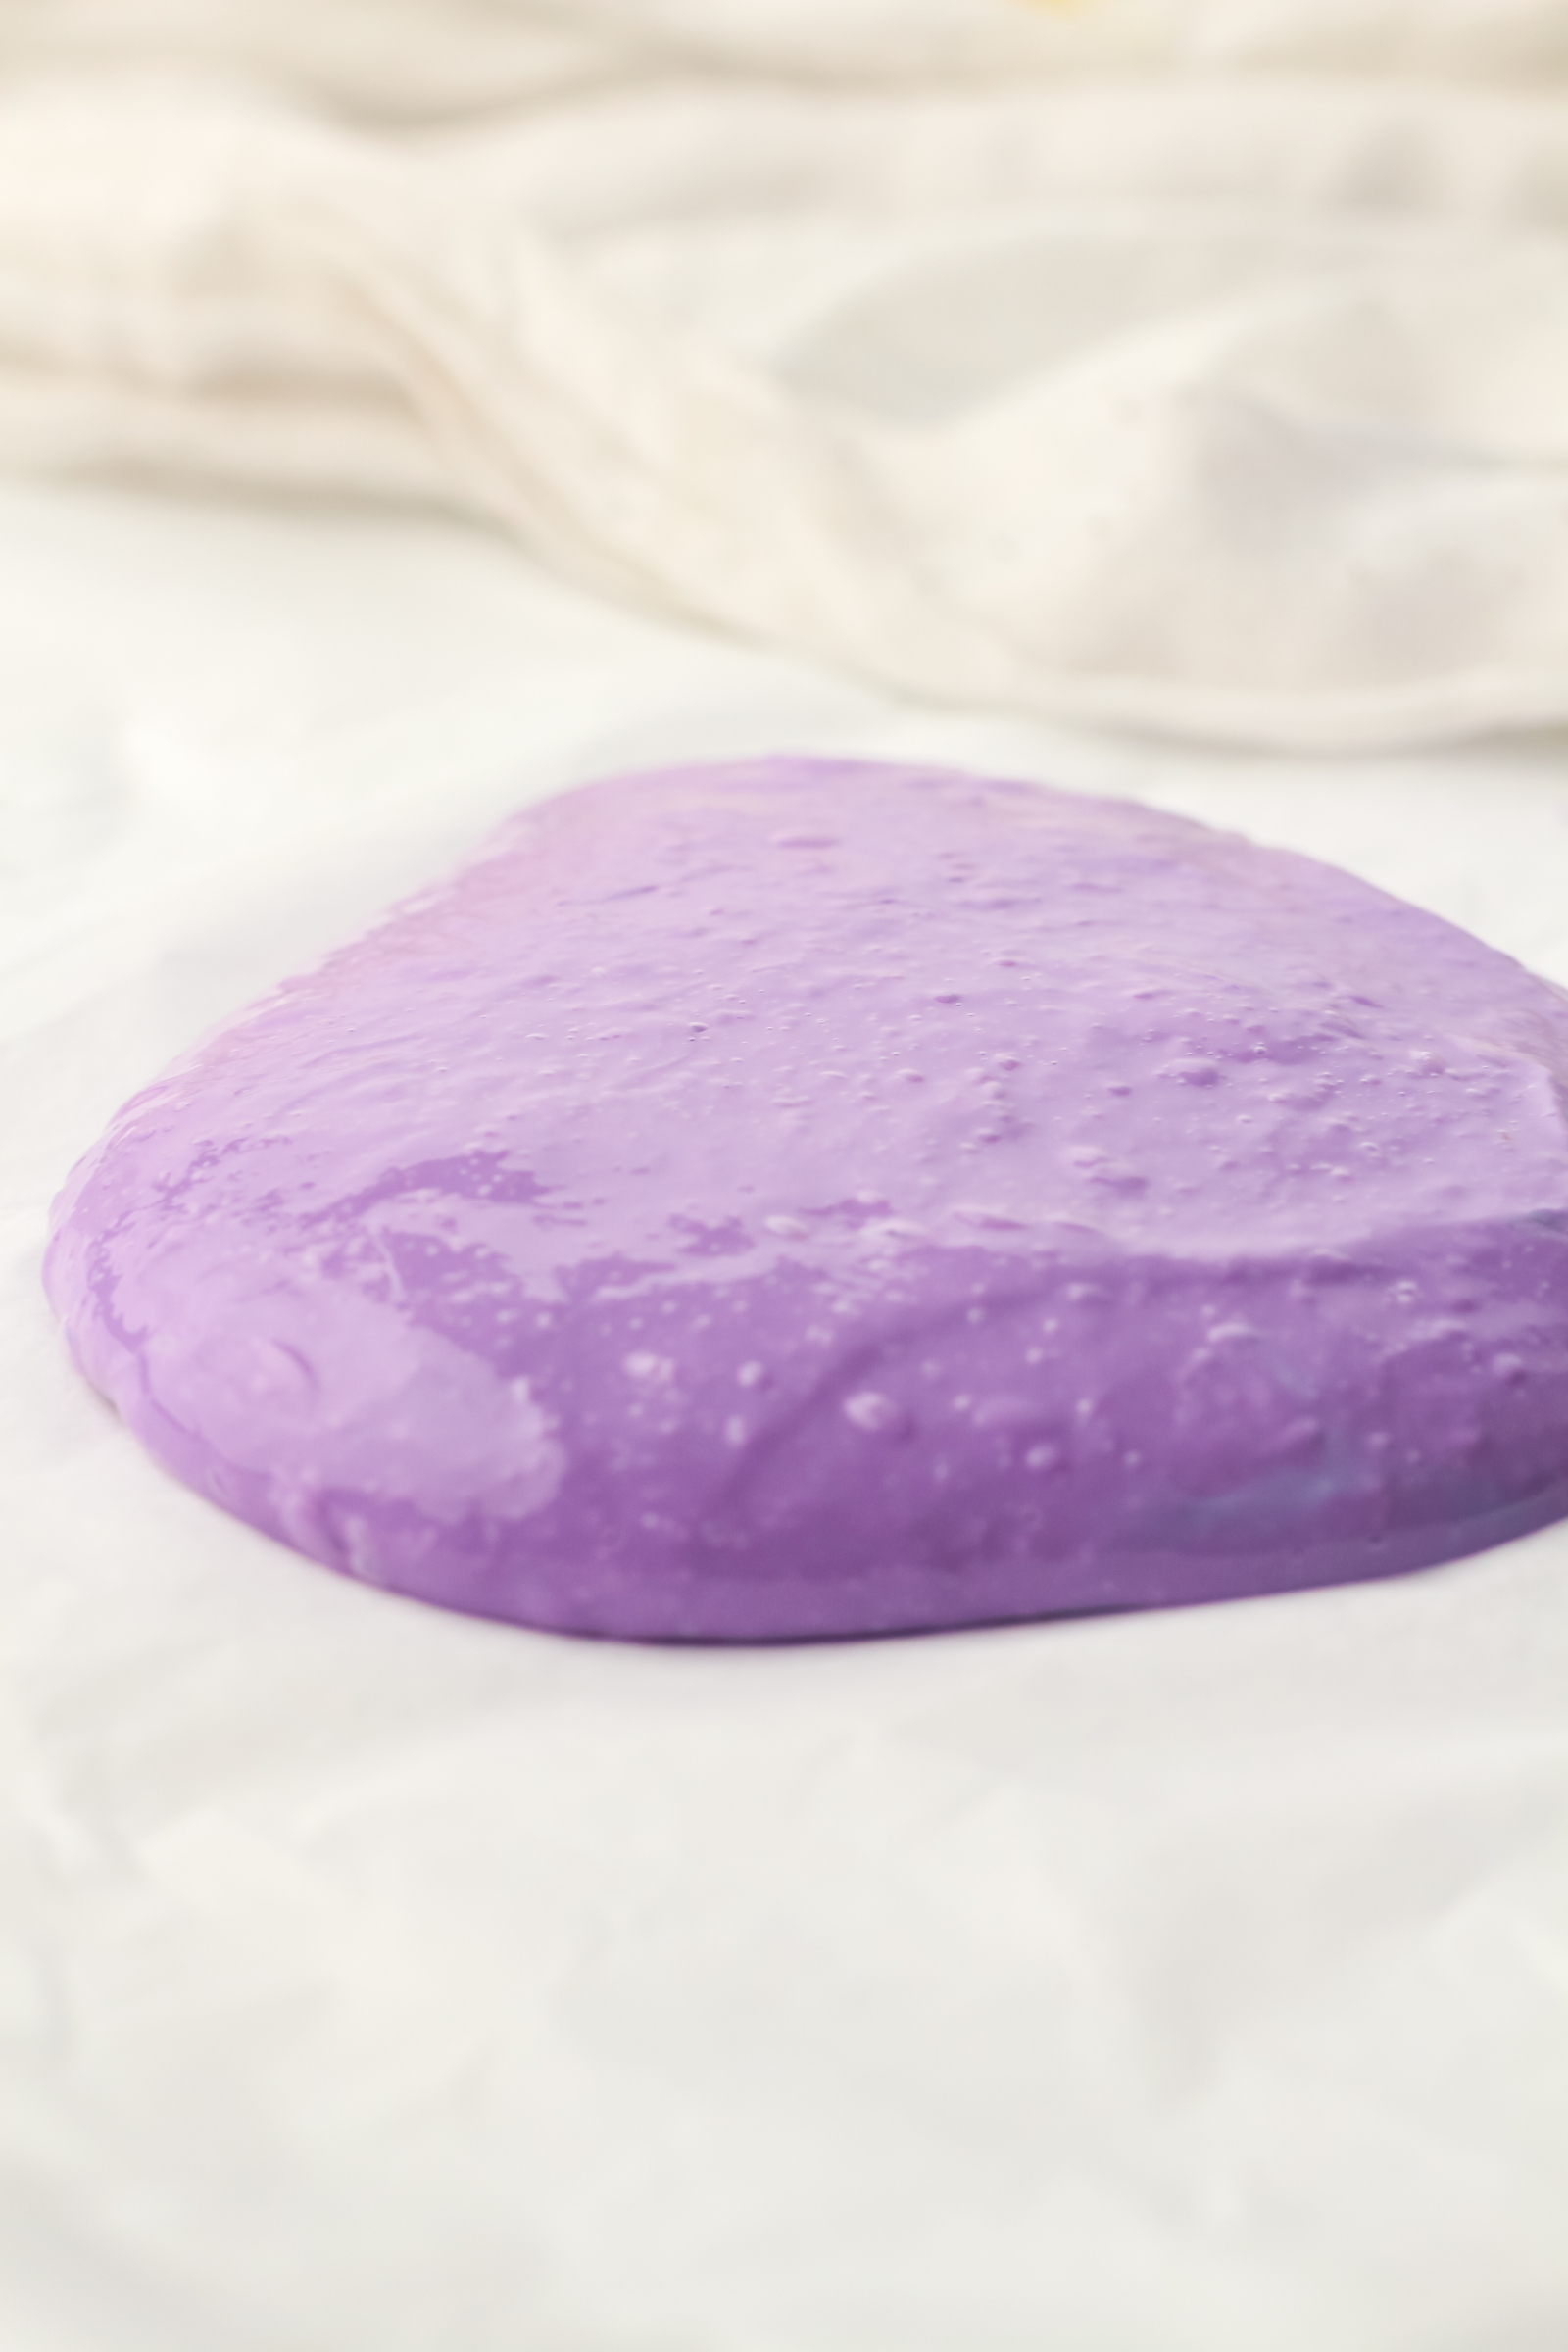
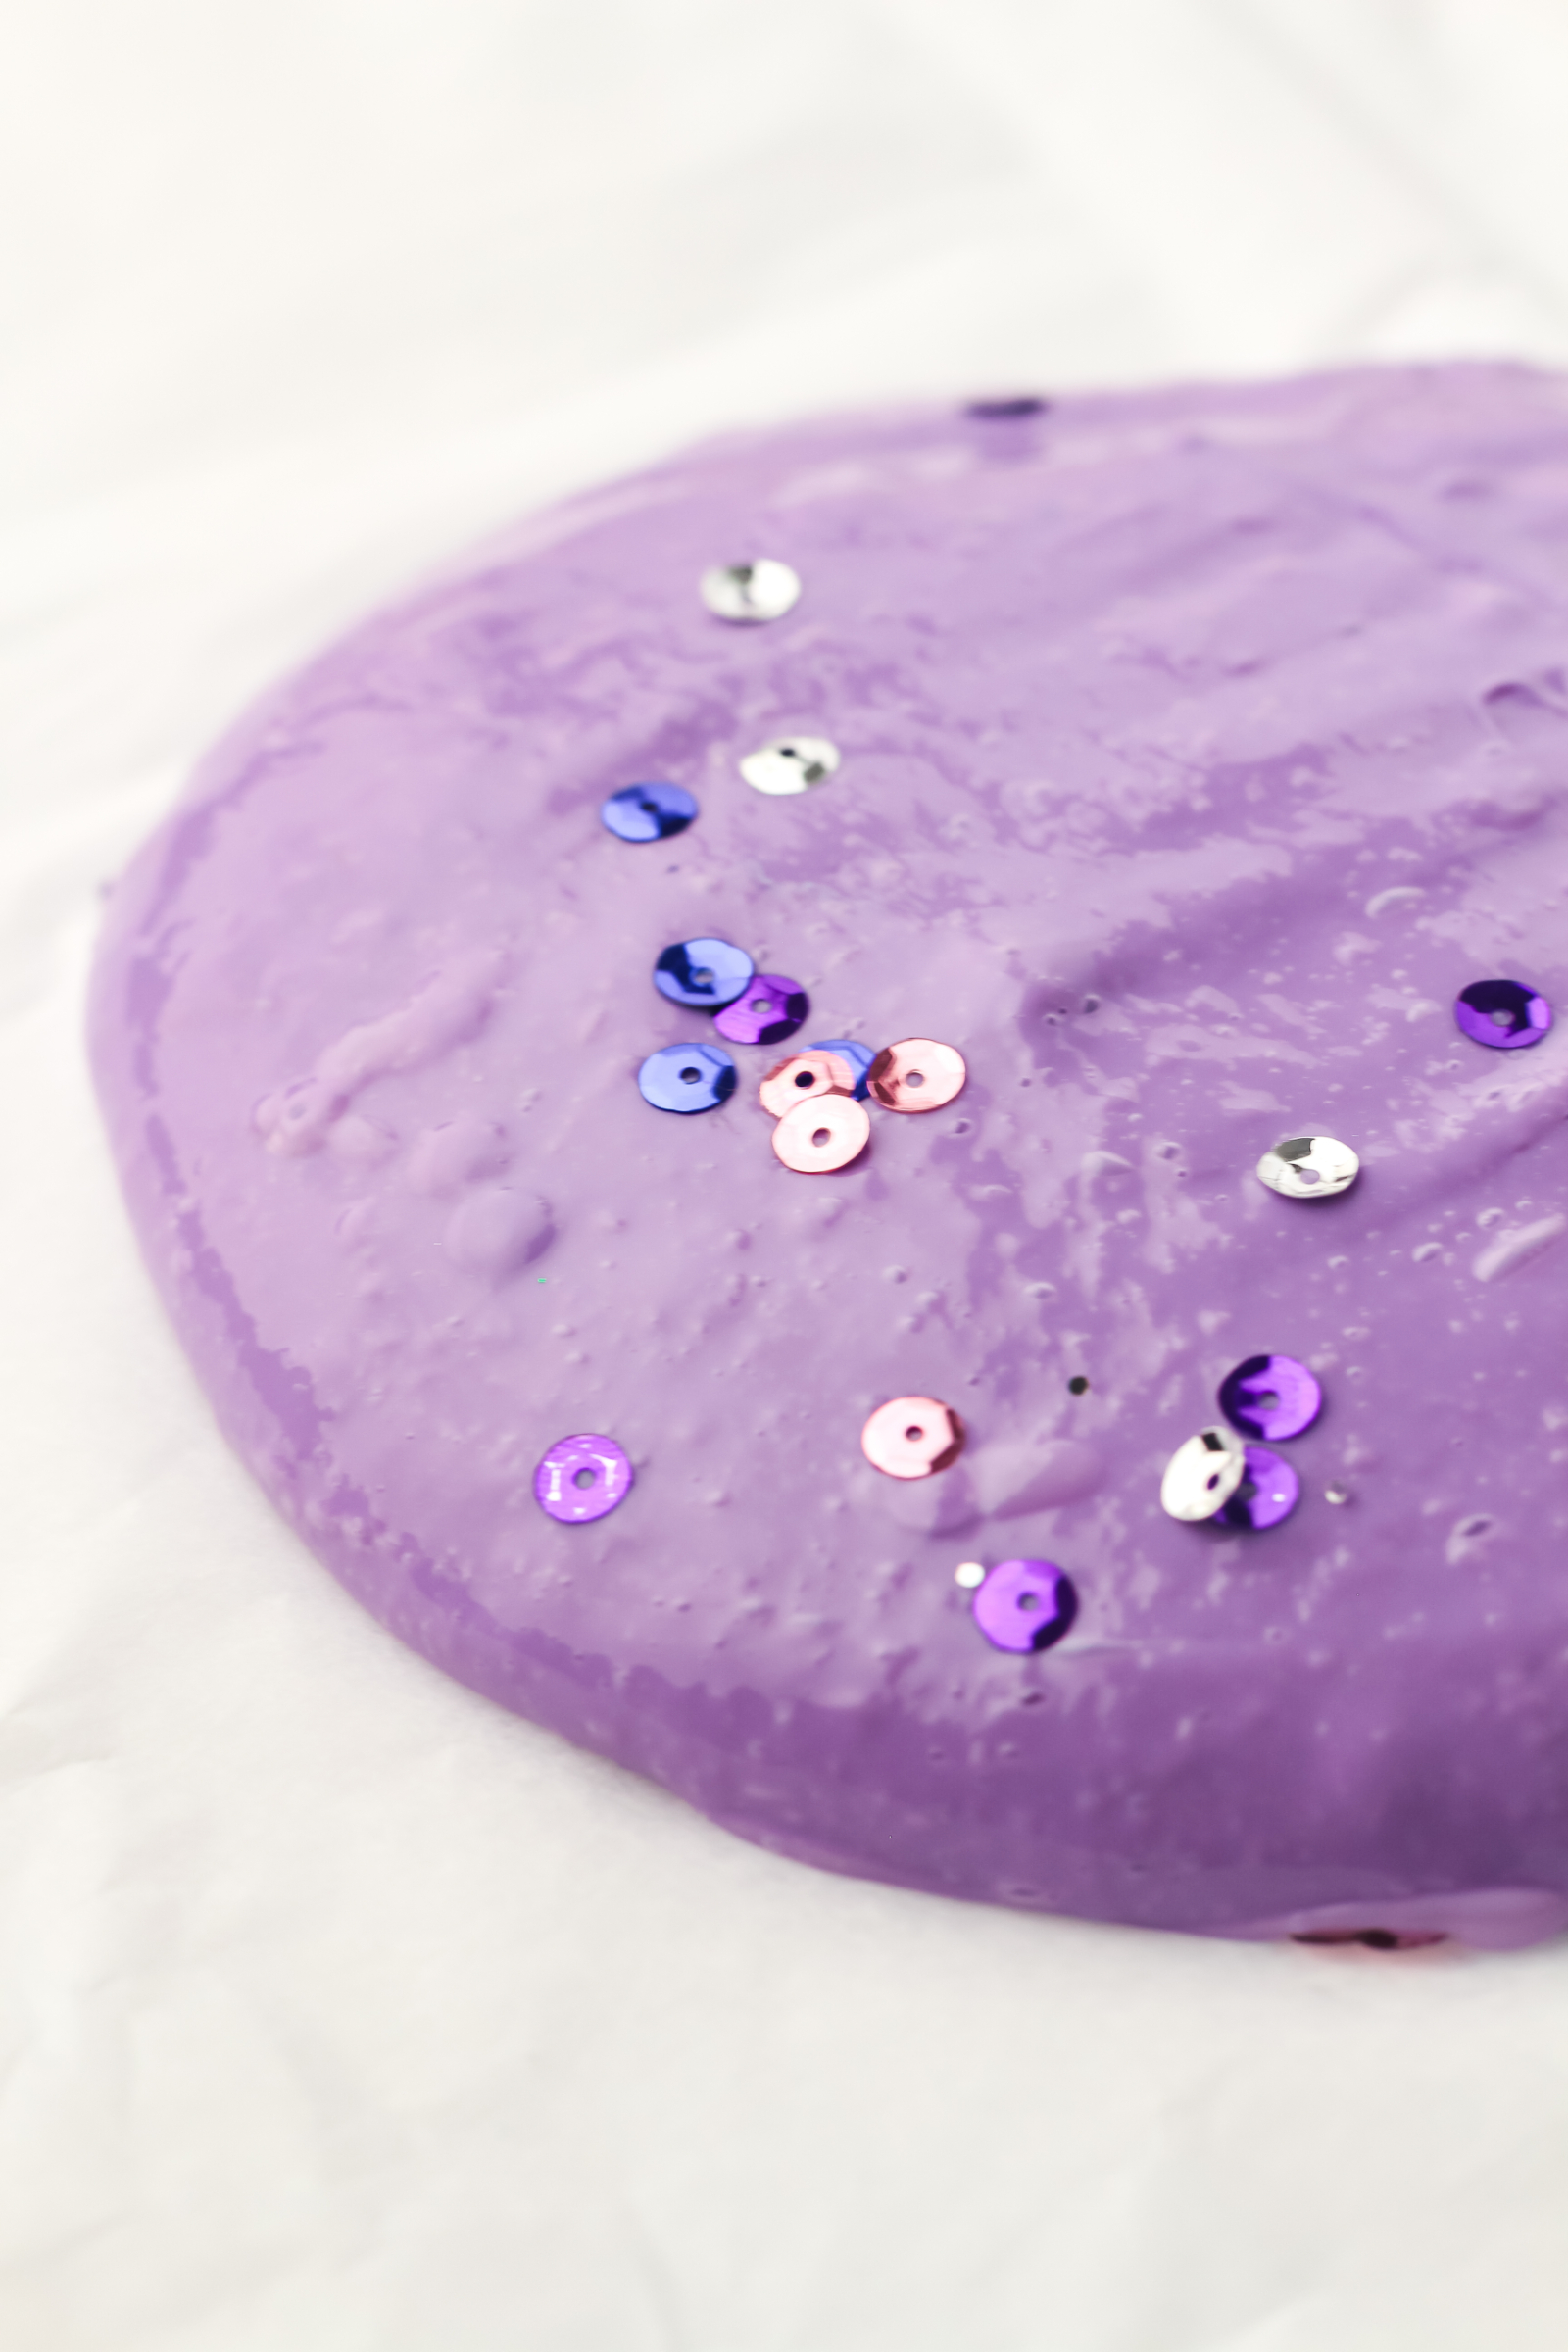
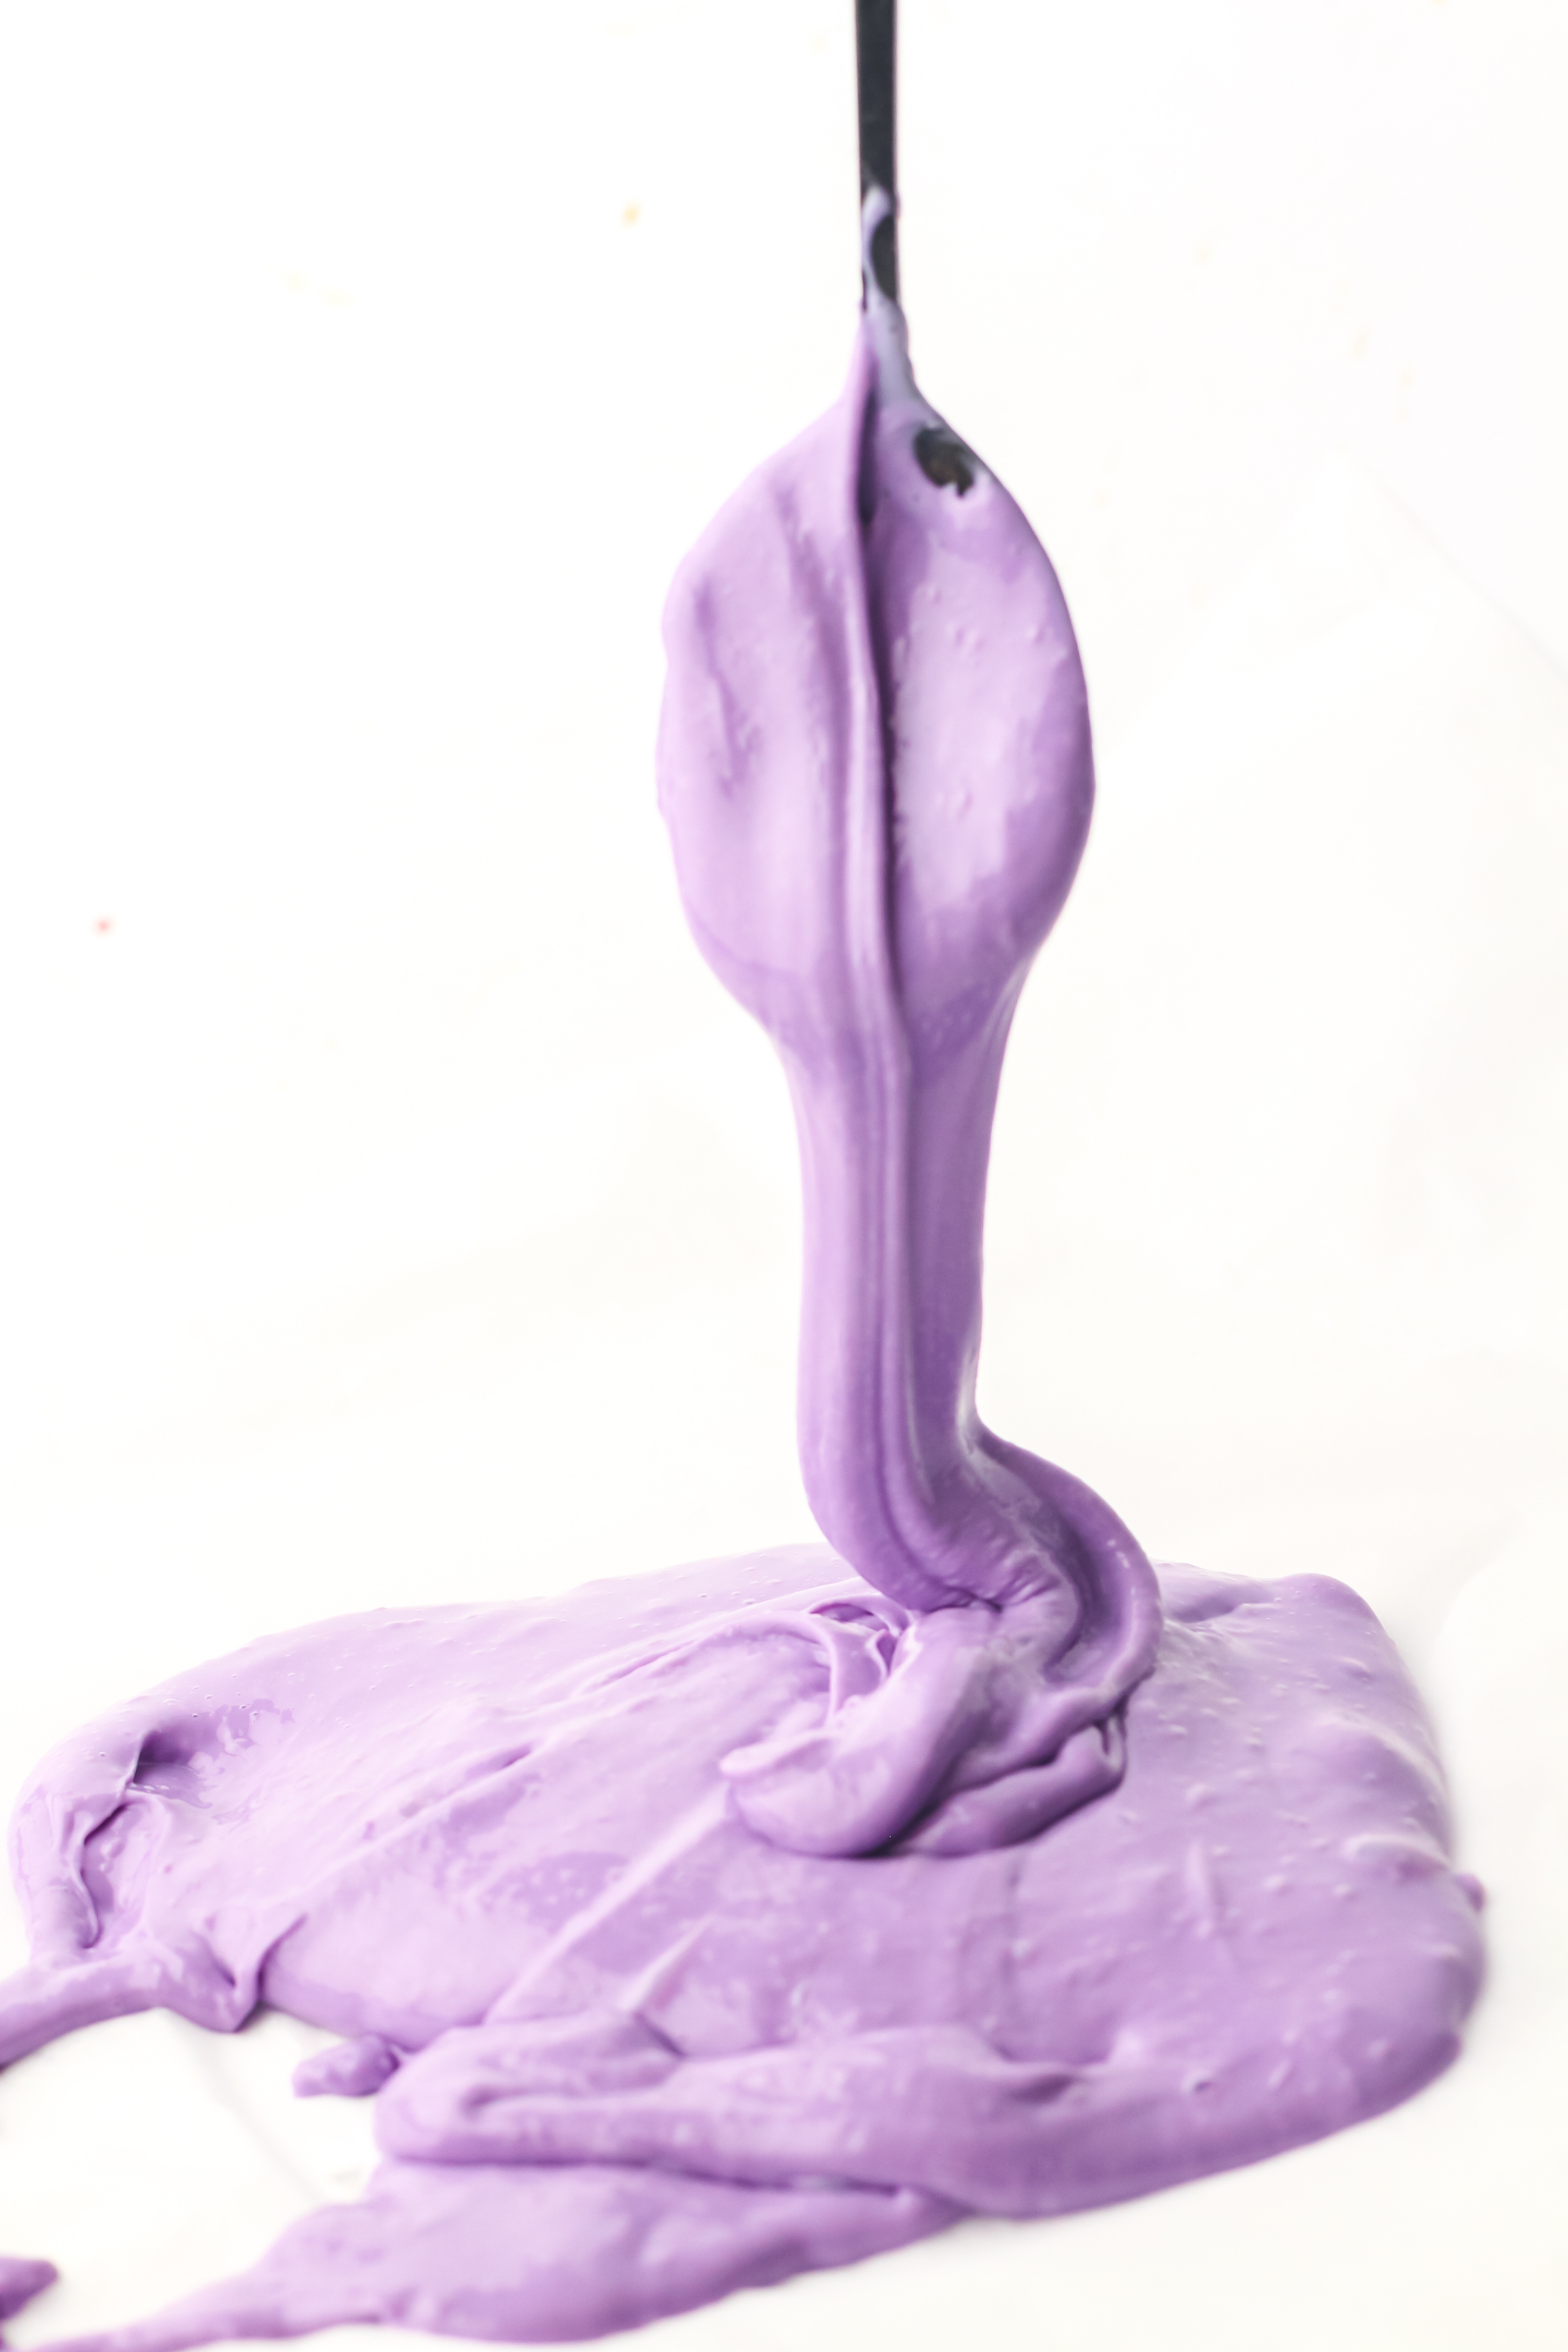
I used purple food coloring for the slime in these pictures, but you can choose any color you like. You can even make several different colors and turn slime-making into a fun afternoon craft!
Why You’ll Love This Homemade Slime Recipe
There are plenty of reasons to make your own slime at home. It’s inexpensive, quick to prepare, and easy to customize.
Here are a few reasons this recipe is a family favorite:
- Only four ingredients: You probably already have some of the supplies at home.
- Ready in 5 minutes: No waiting around for complicated steps or lengthy preparation.
- Easy to customize: Choose your favorite food coloring or experiment with different colors.
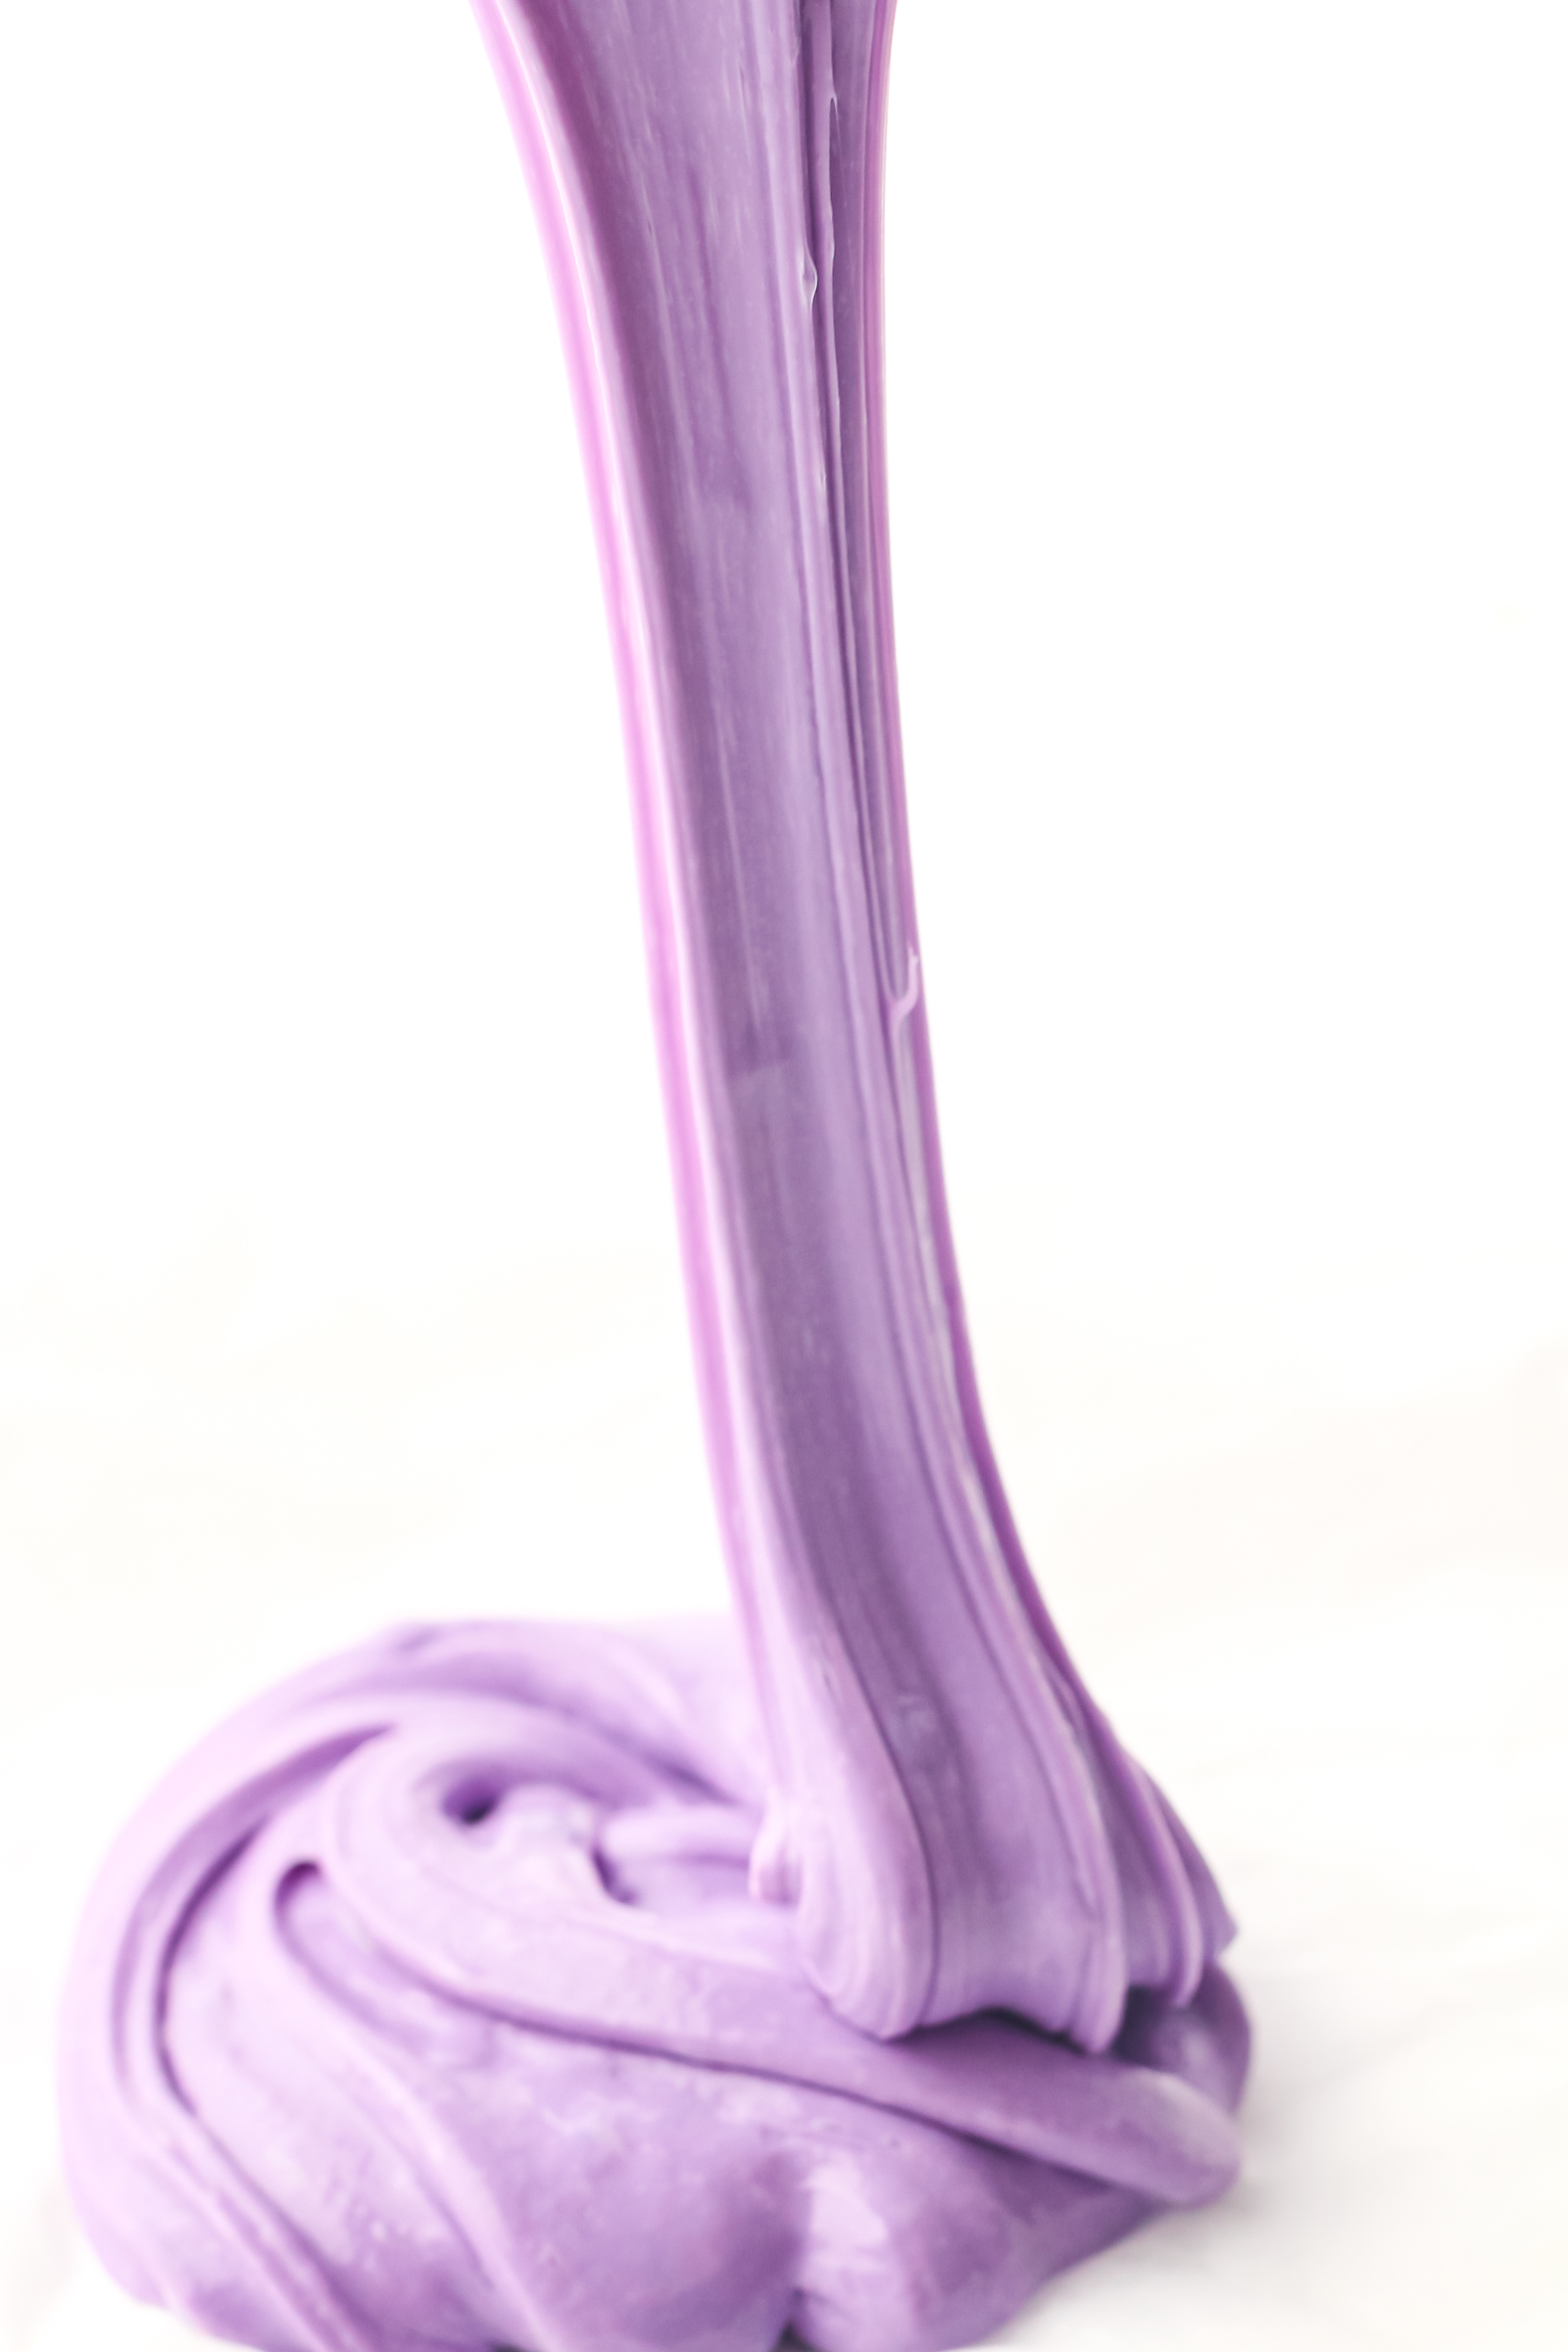
- Fun sensory activity: Kids can stretch, squeeze, pull, and knead their homemade slime.
- Great for rainy days: Keep this recipe handy for afternoons when you need an easy indoor activity.
- Easy cleanup: With a bowl and spoon, you can keep most of the mess contained while making your slime.
It’s also a fun opportunity to let kids help measure ingredients, stir the mixture, and watch the glue transform into stretchy slime.
Easy Homemade Slime Recipe
- Prep: 5 minutes
- Total: 5 minutes
- Yield: 1 batch
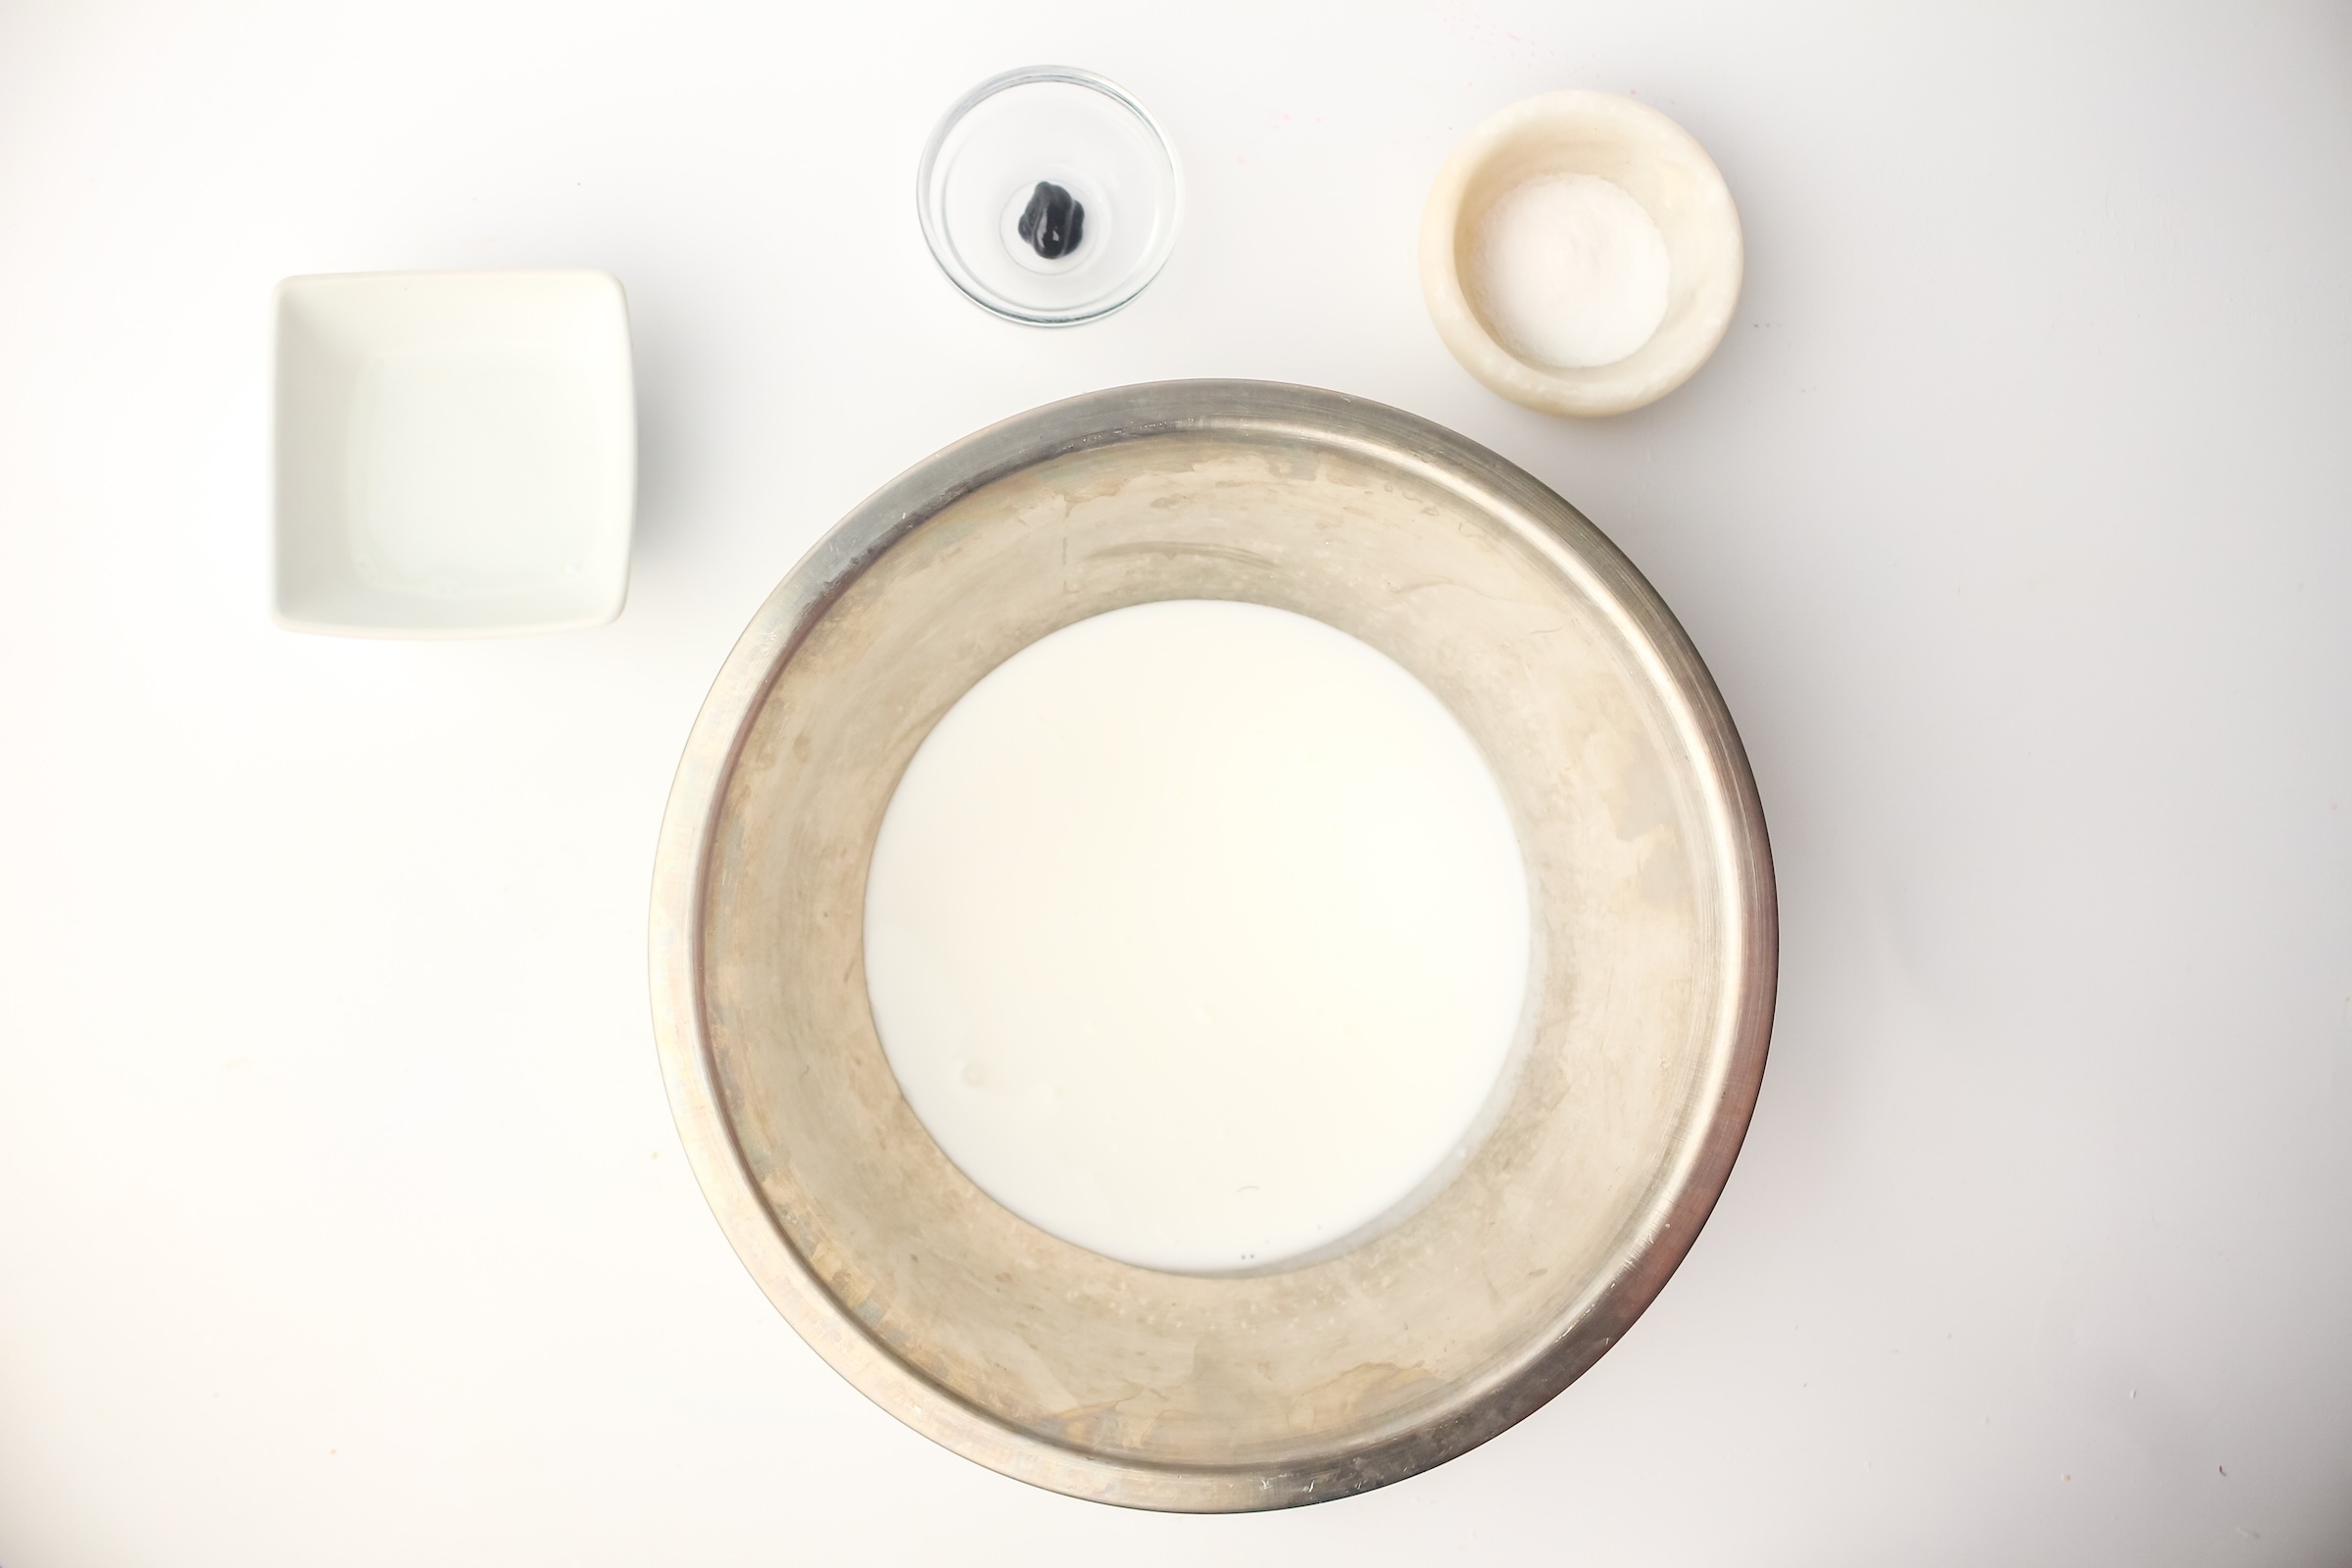
Ingredients:
- ½ cup school glue (120 ml)
- ½ teaspoon baking soda
- 1 tablespoon contact lens solution
- Food coloring (any color)
Instructions:
- Add the school glue to a mixing bowl.
- Stir in the baking soda until combined.
- Add the contact lens solution and food coloring.
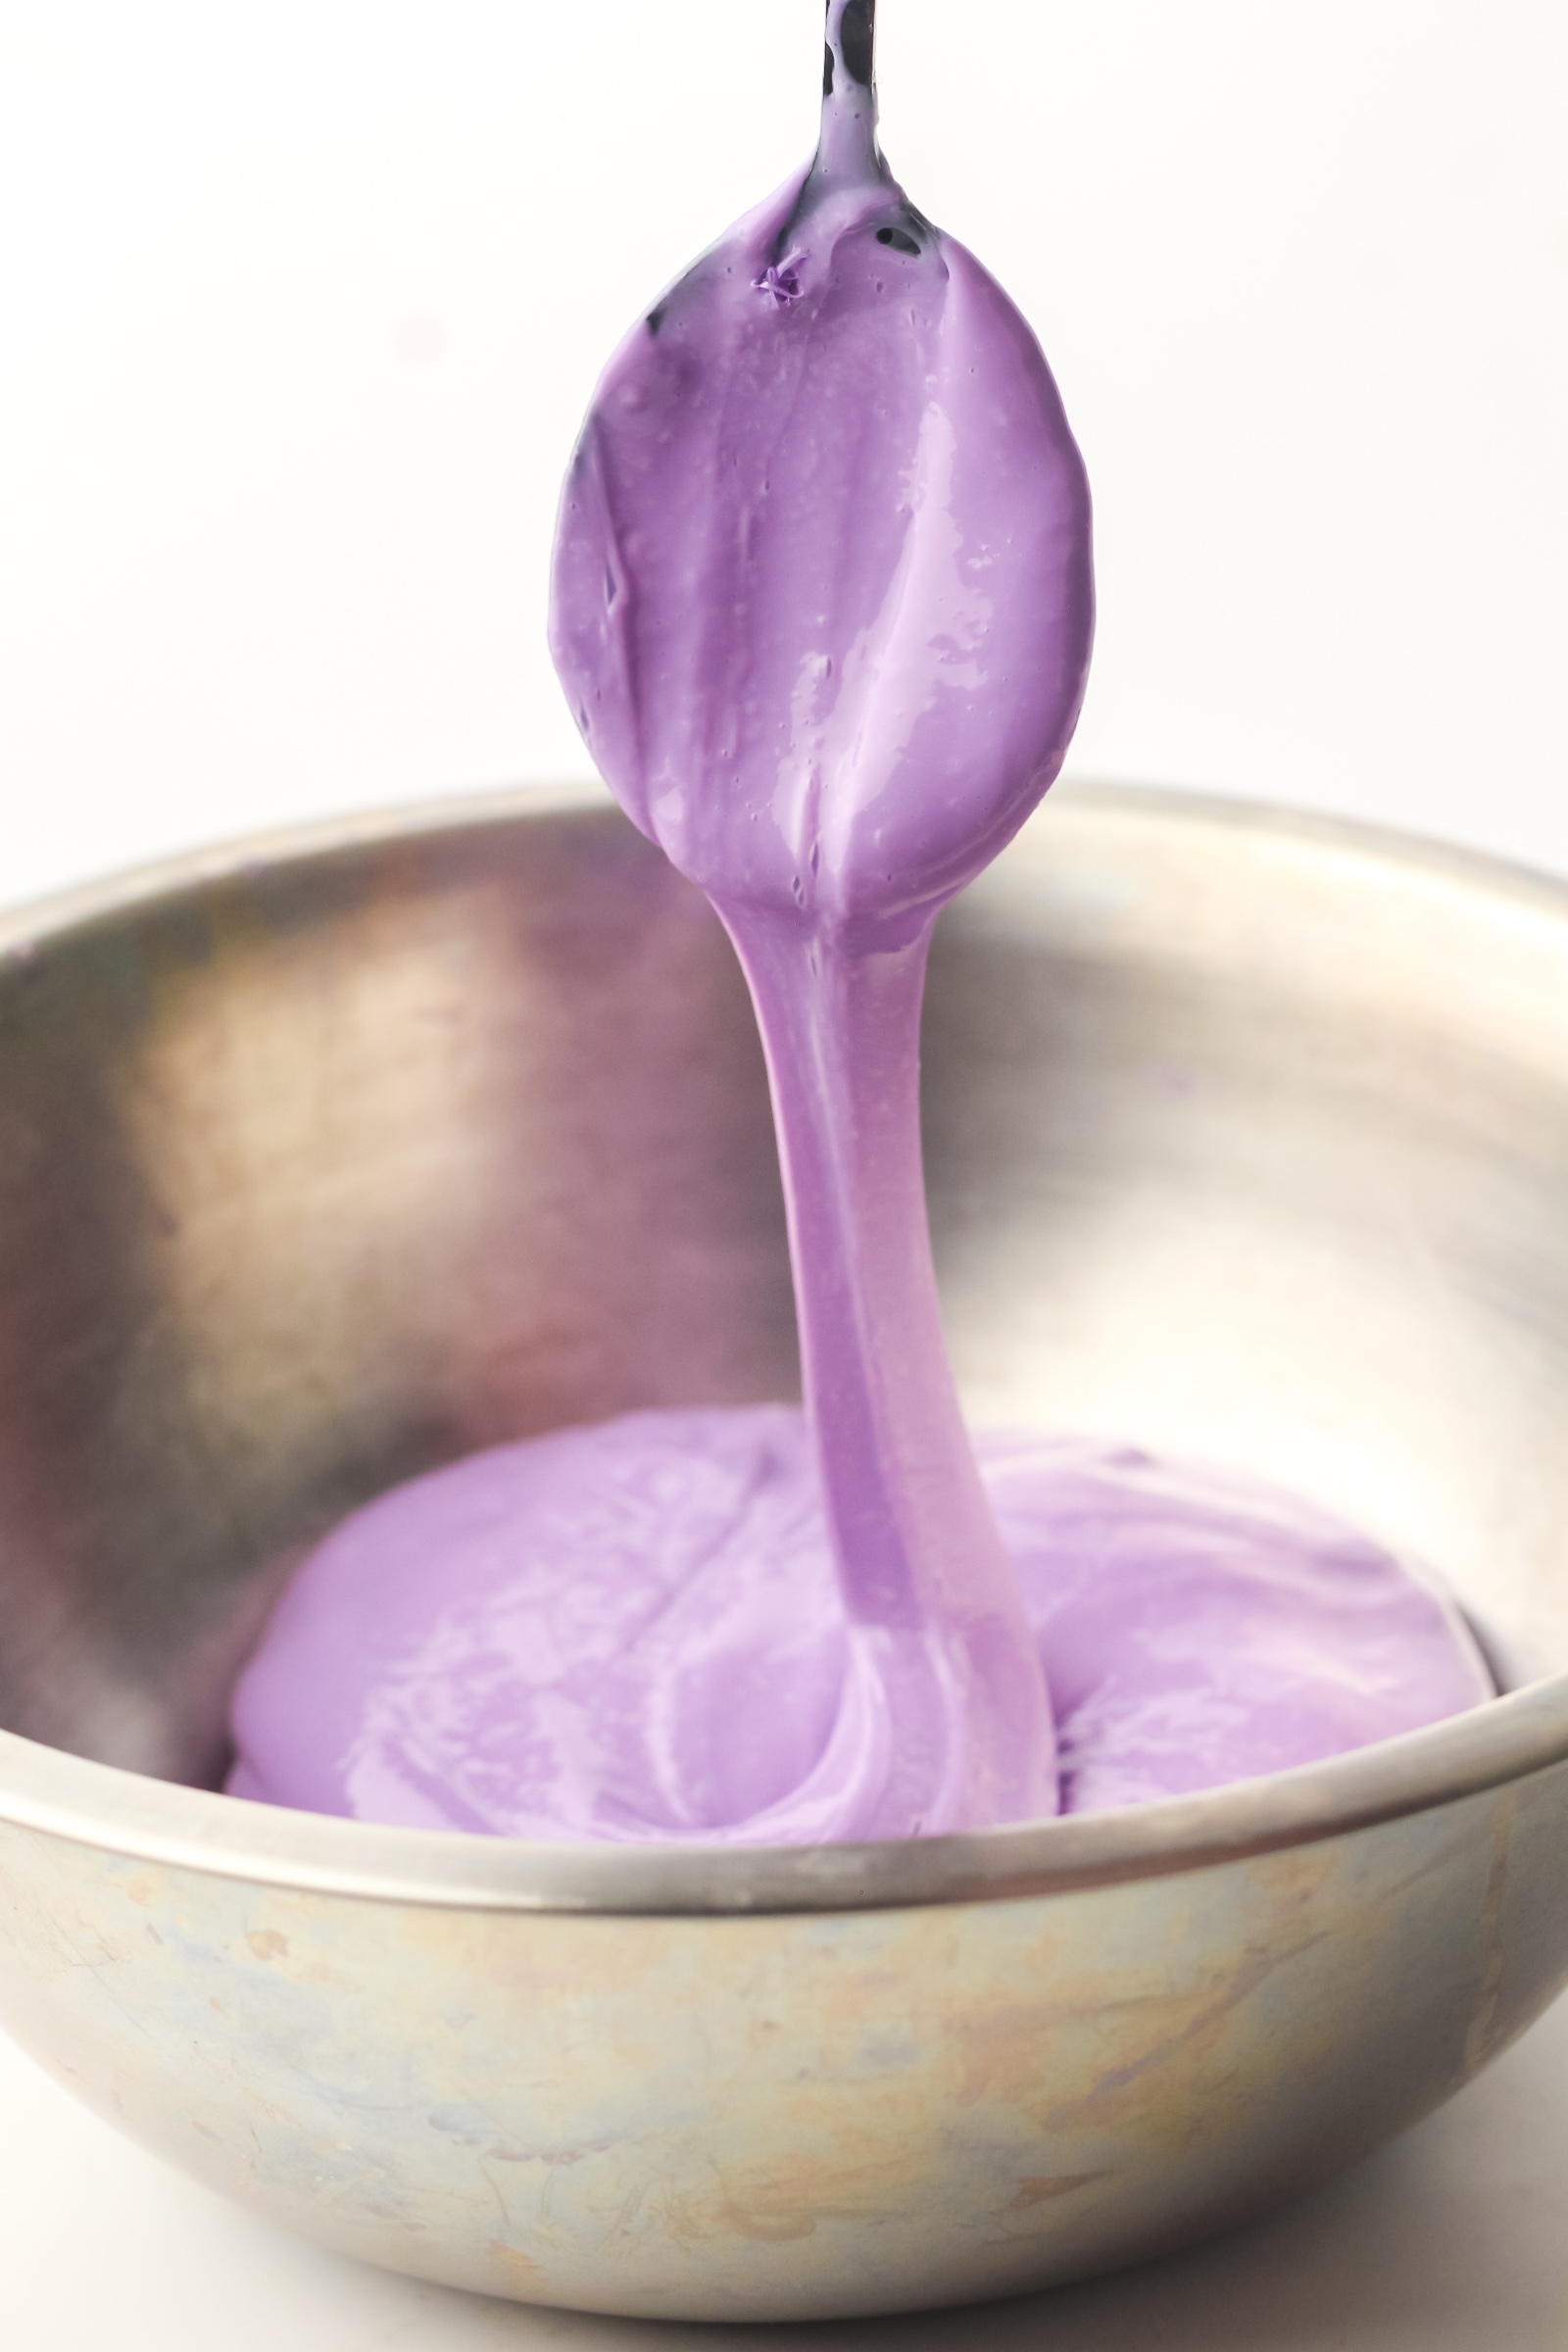
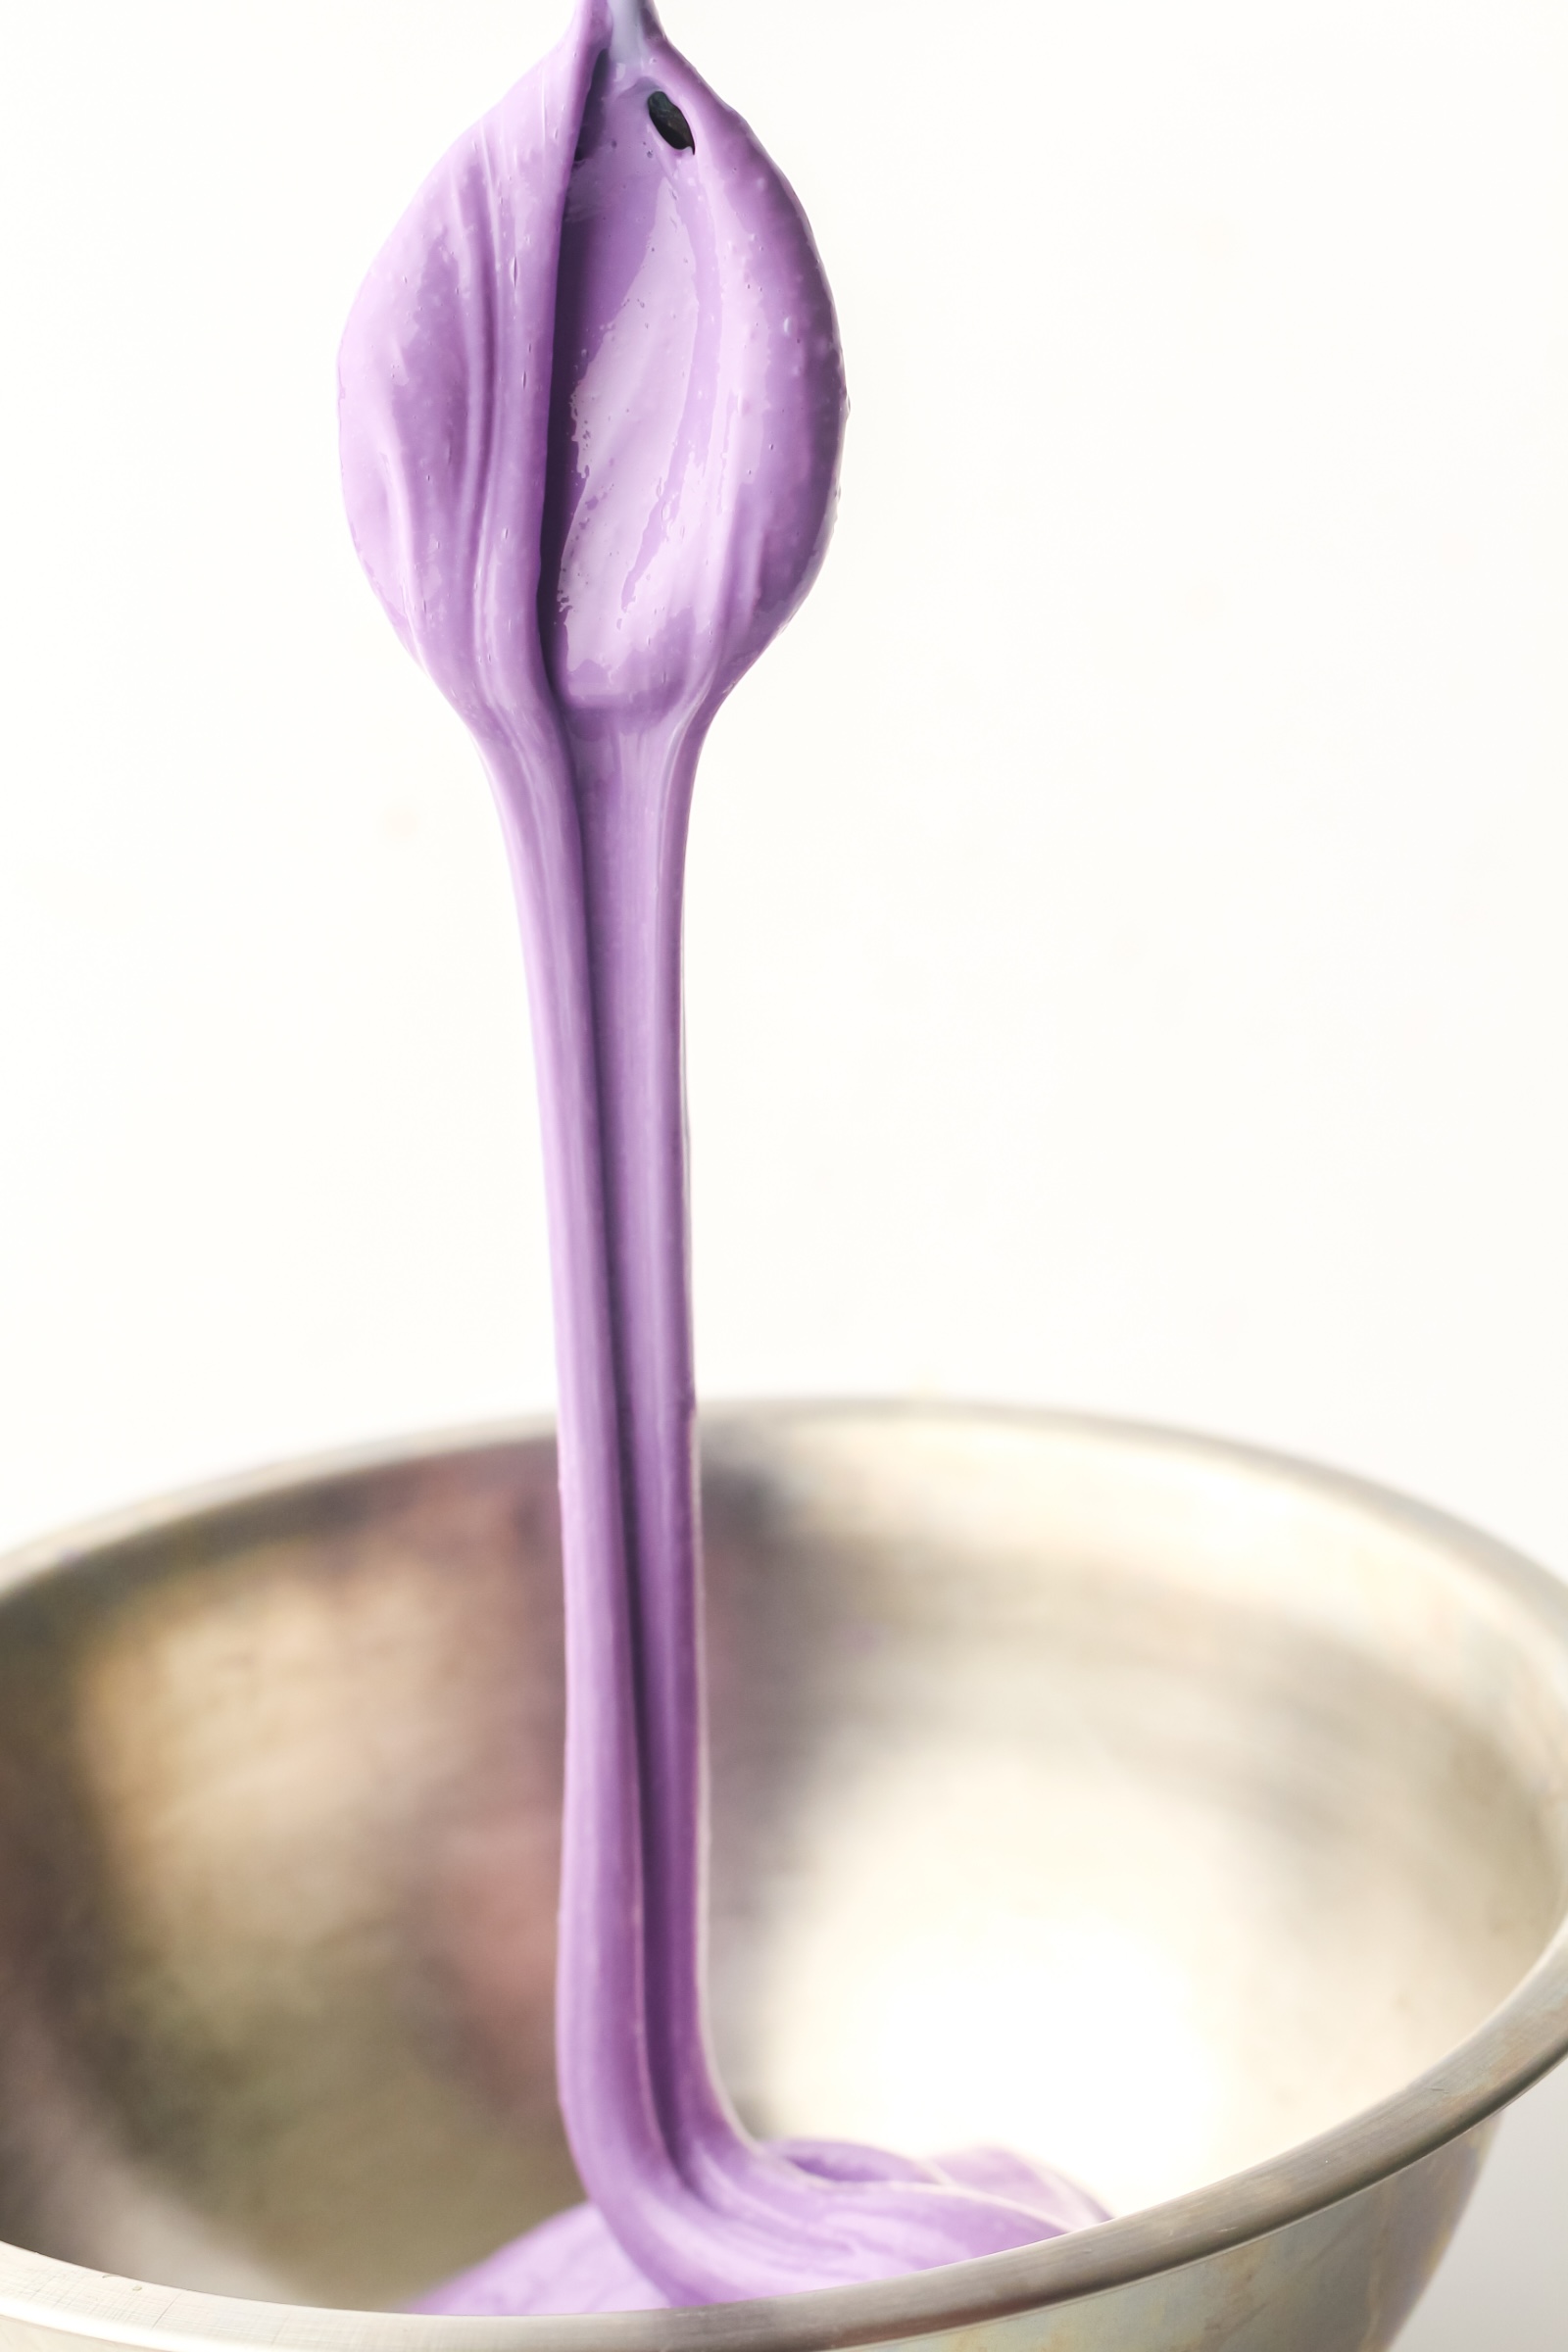
- Continue stirring until the slime begins pulling away from the sides of the bowl. You’ll notice the sides of the bowl start to look clear as the slime comes together.
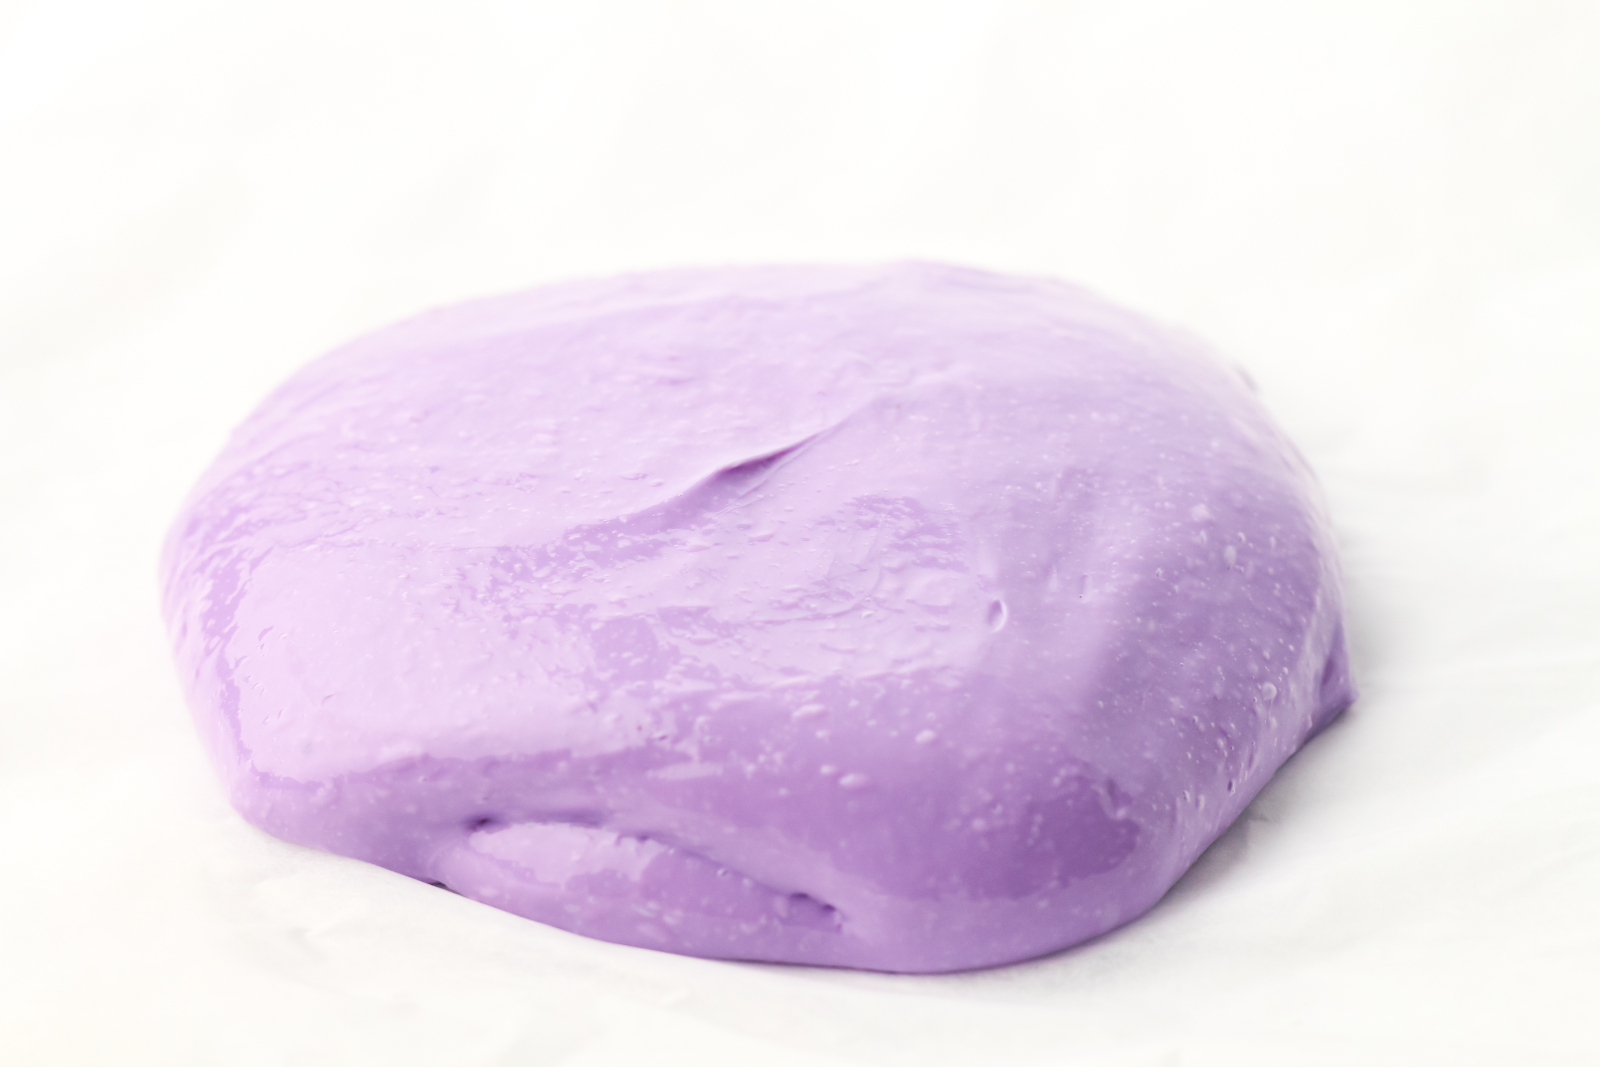
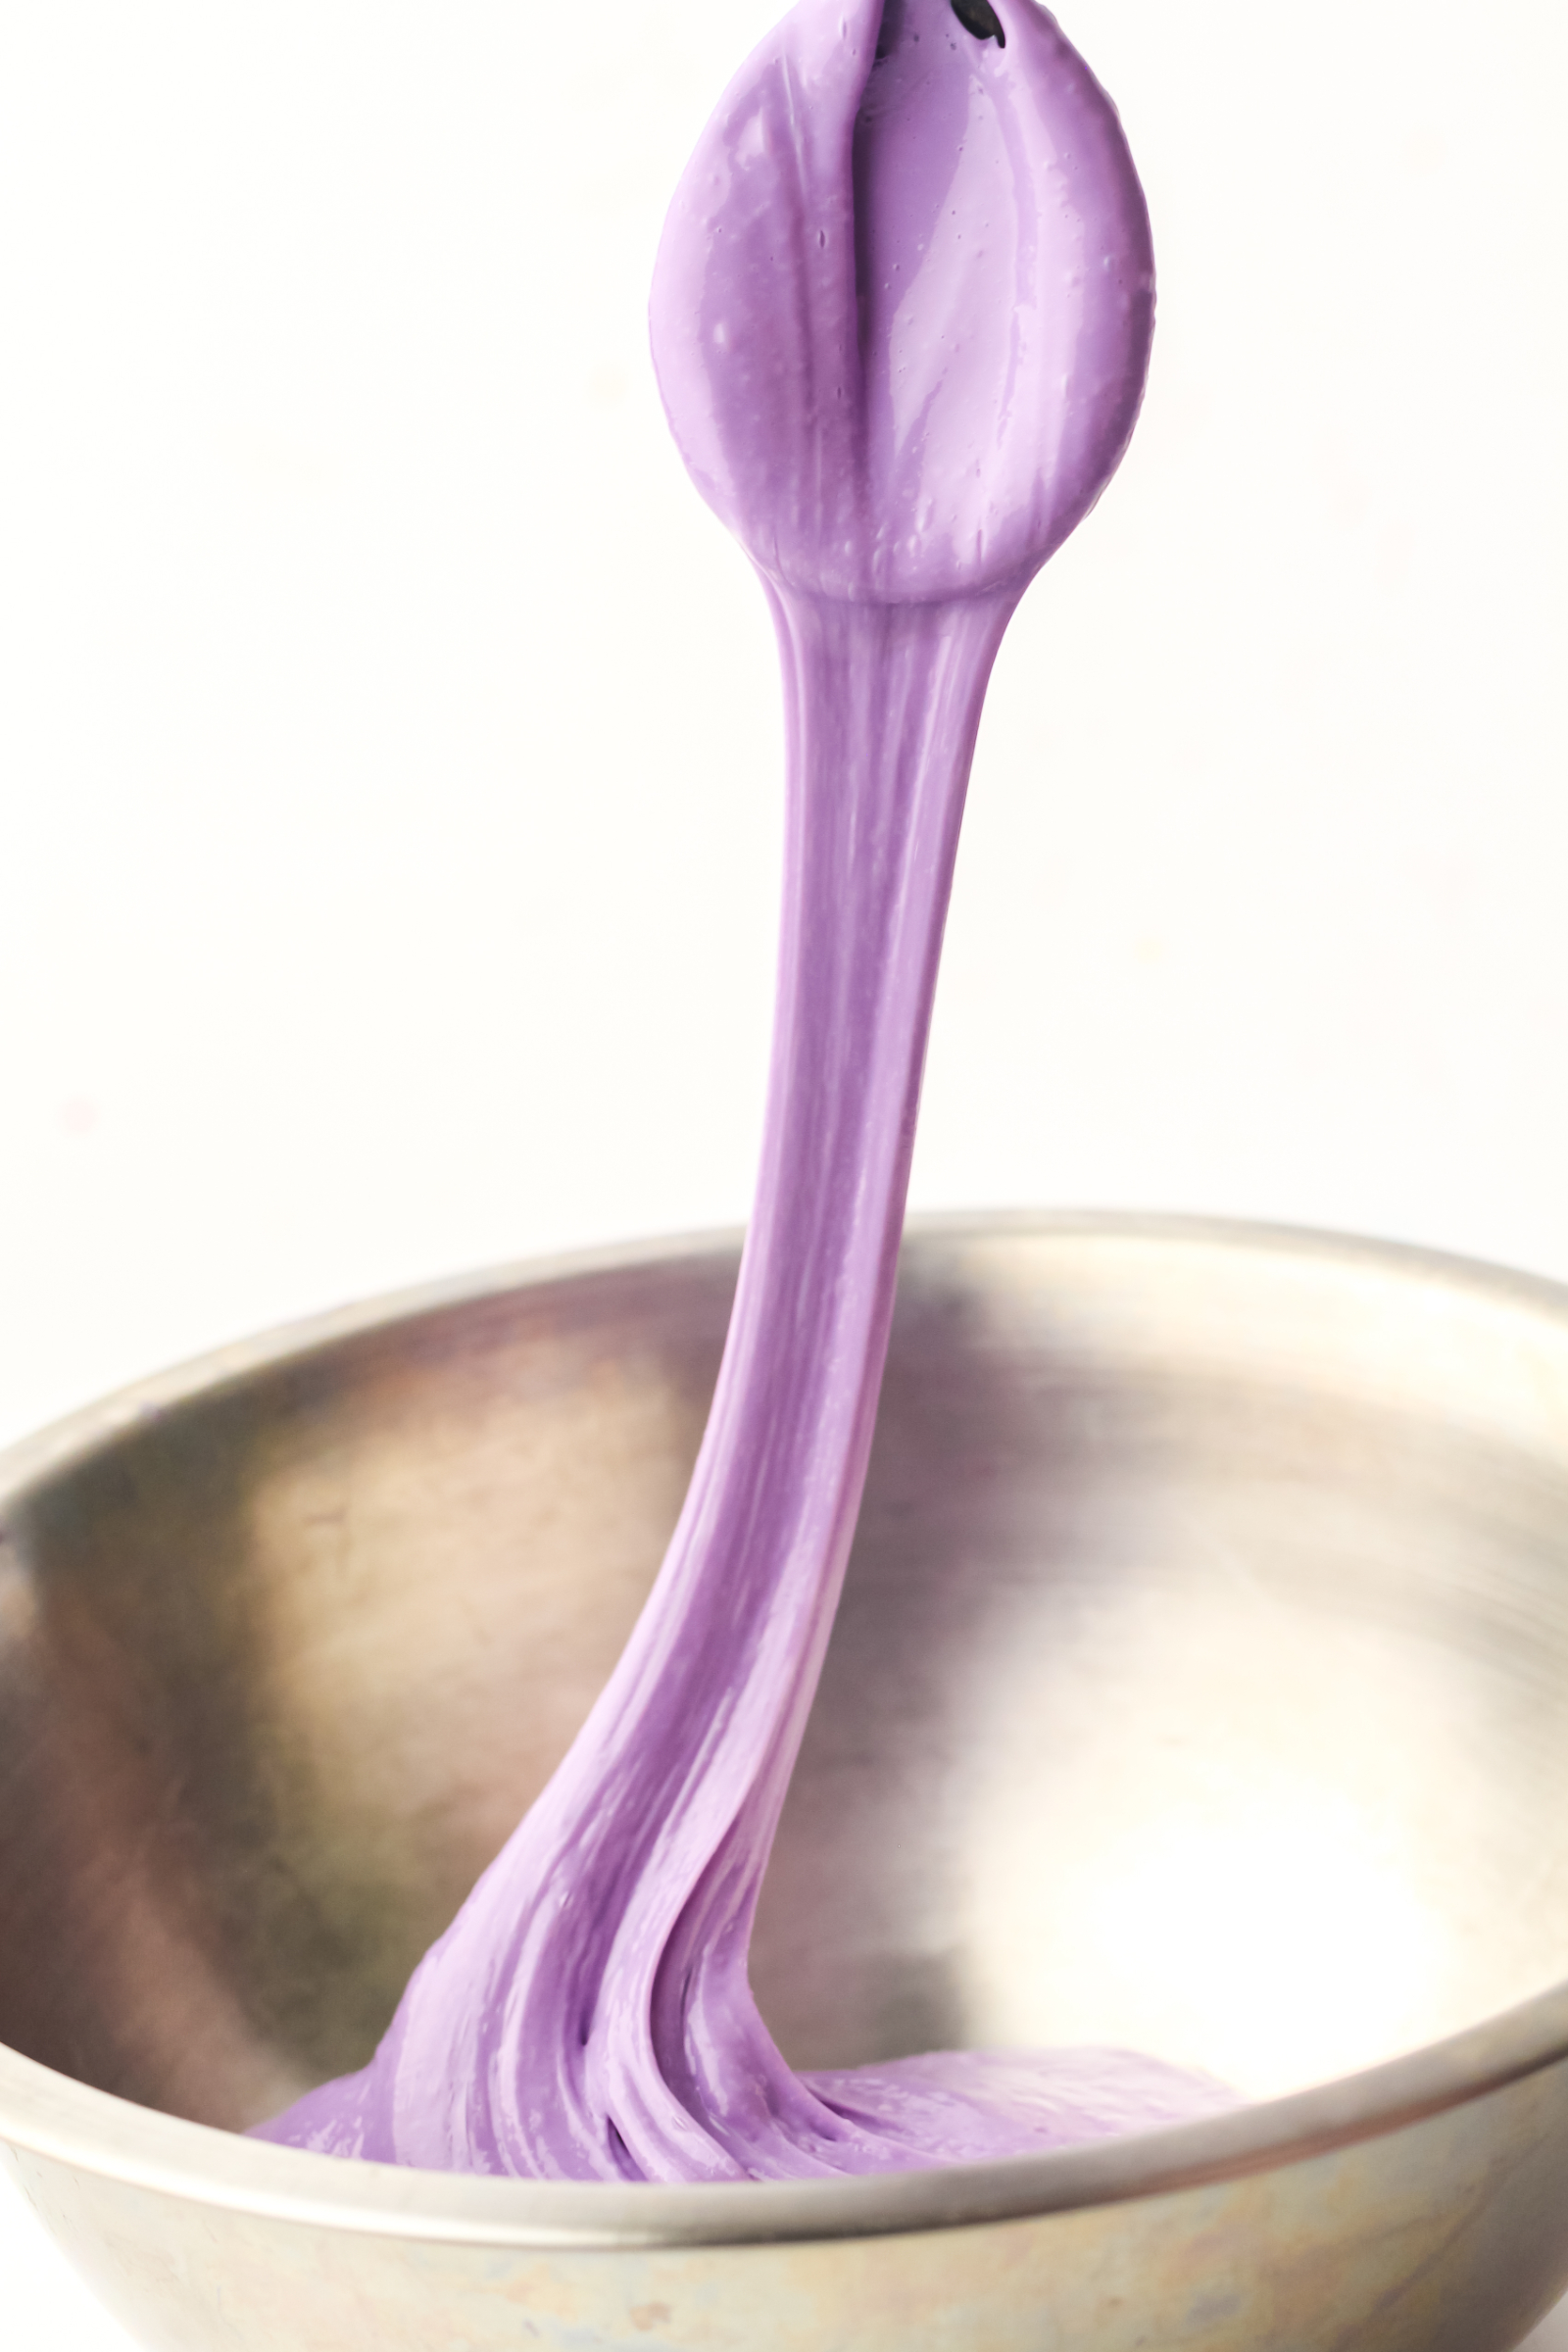
- Knead the slime with your hands or a spoon until it becomes smooth and stretchy.
- Store your finished slime in an airtight container or sealed food storage bag.
Note: Use contact lens solution that lists boric acid and/or sodium borate as ingredients. These ingredients help activate the slime. Follow the product label and supervise children during preparation.
How to Make Homemade Slime Step by Step
Making slime is easy, even if this is your first time trying a DIY slime recipe. Here’s a closer look at each step to help you get the perfect consistency.
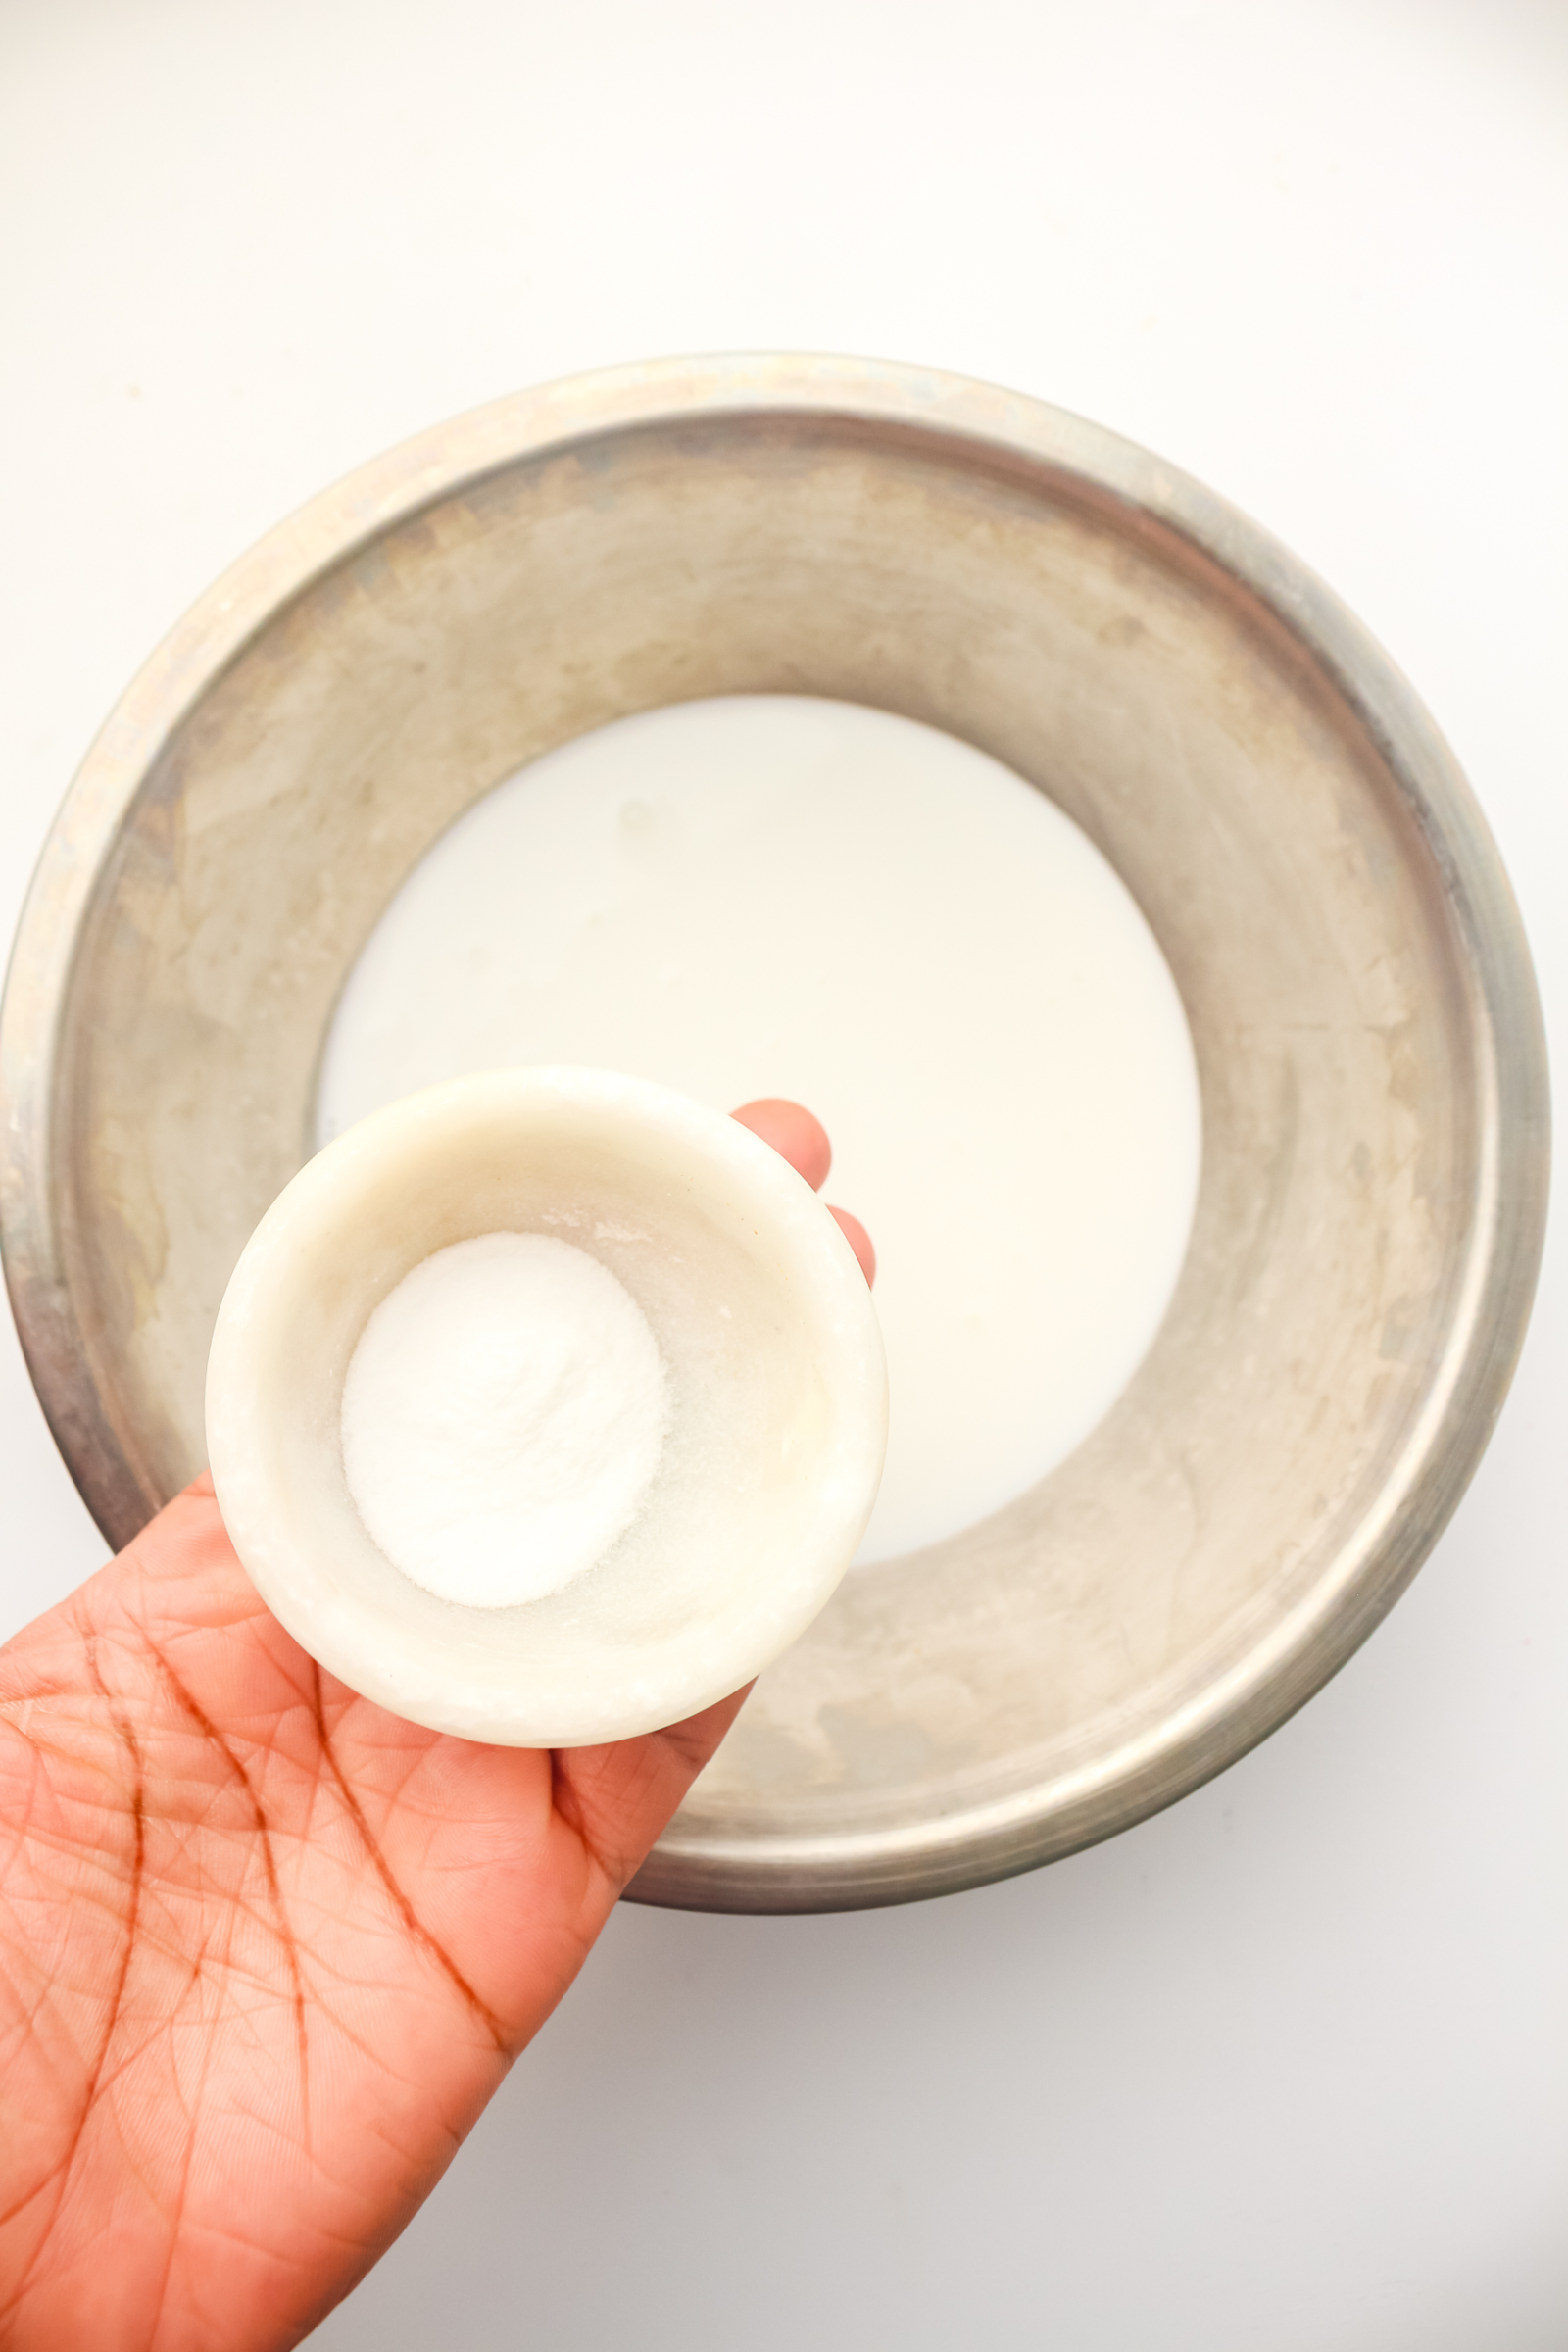
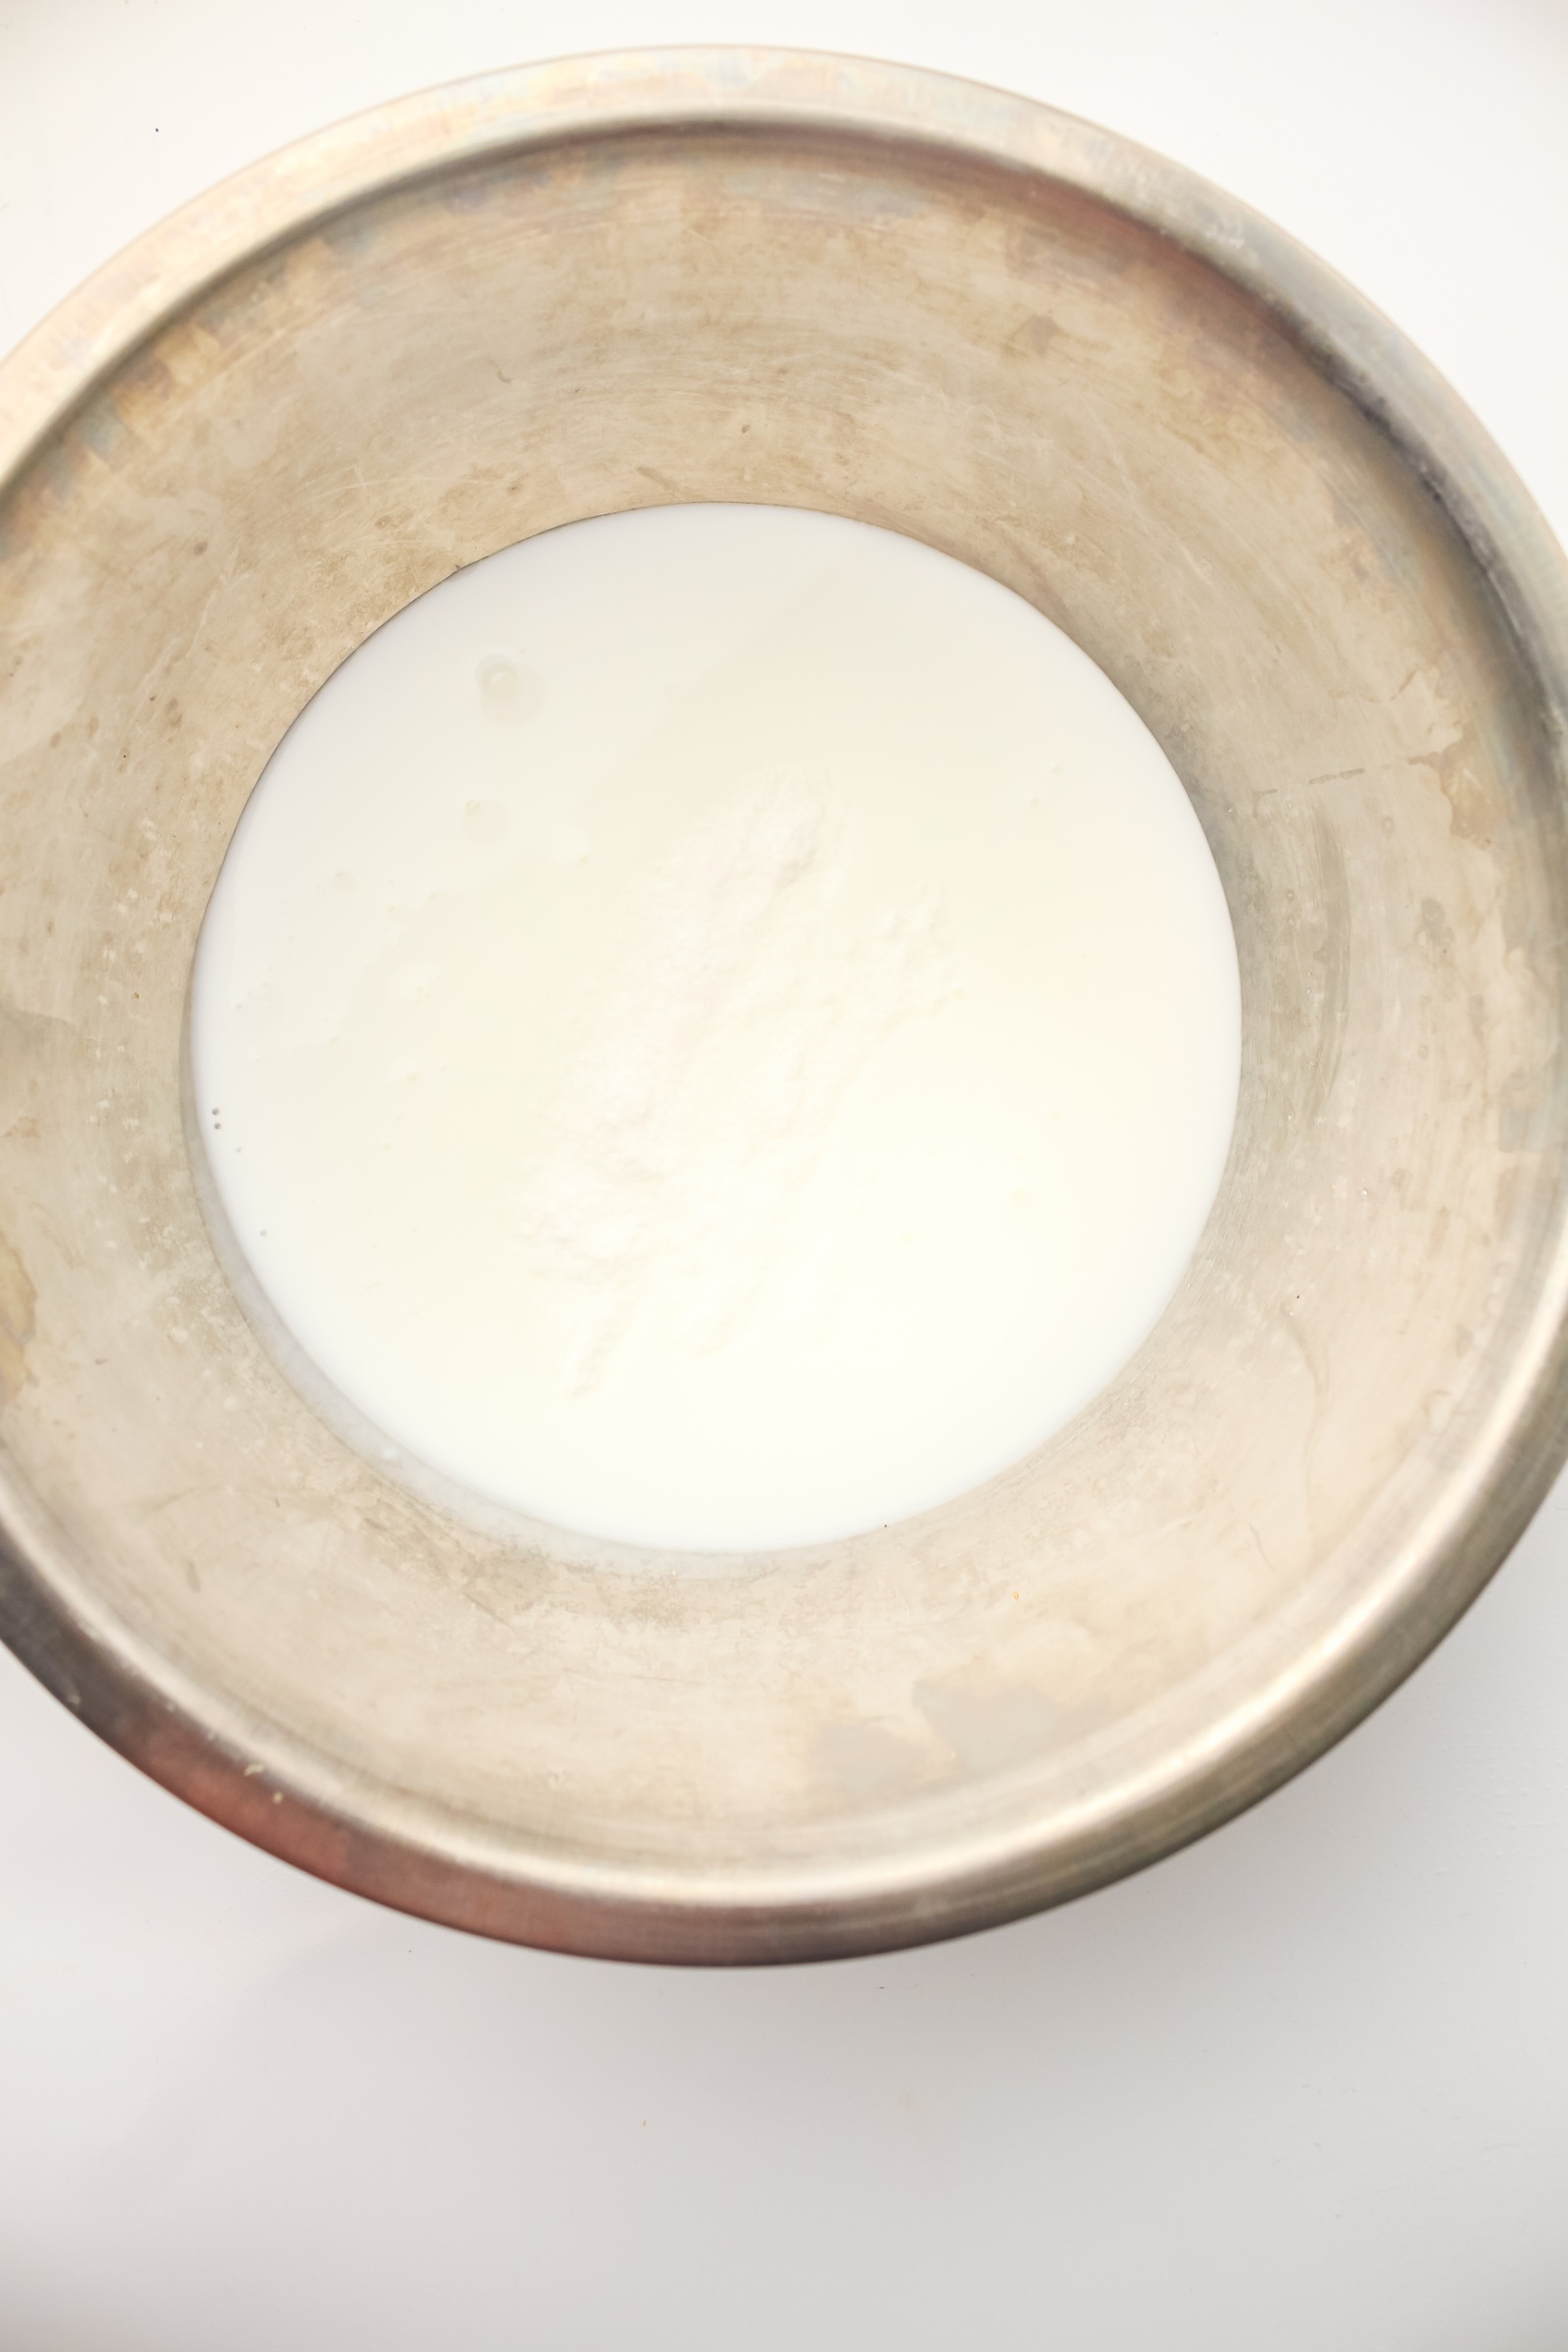
Step 1: Add the Glue
Start by pouring ½ cup of school glue into a mixing bowl. Regular white school glue works well for this recipe and creates a classic opaque slime.
Make sure you’re using washable school glue rather than a different type of household adhesive.
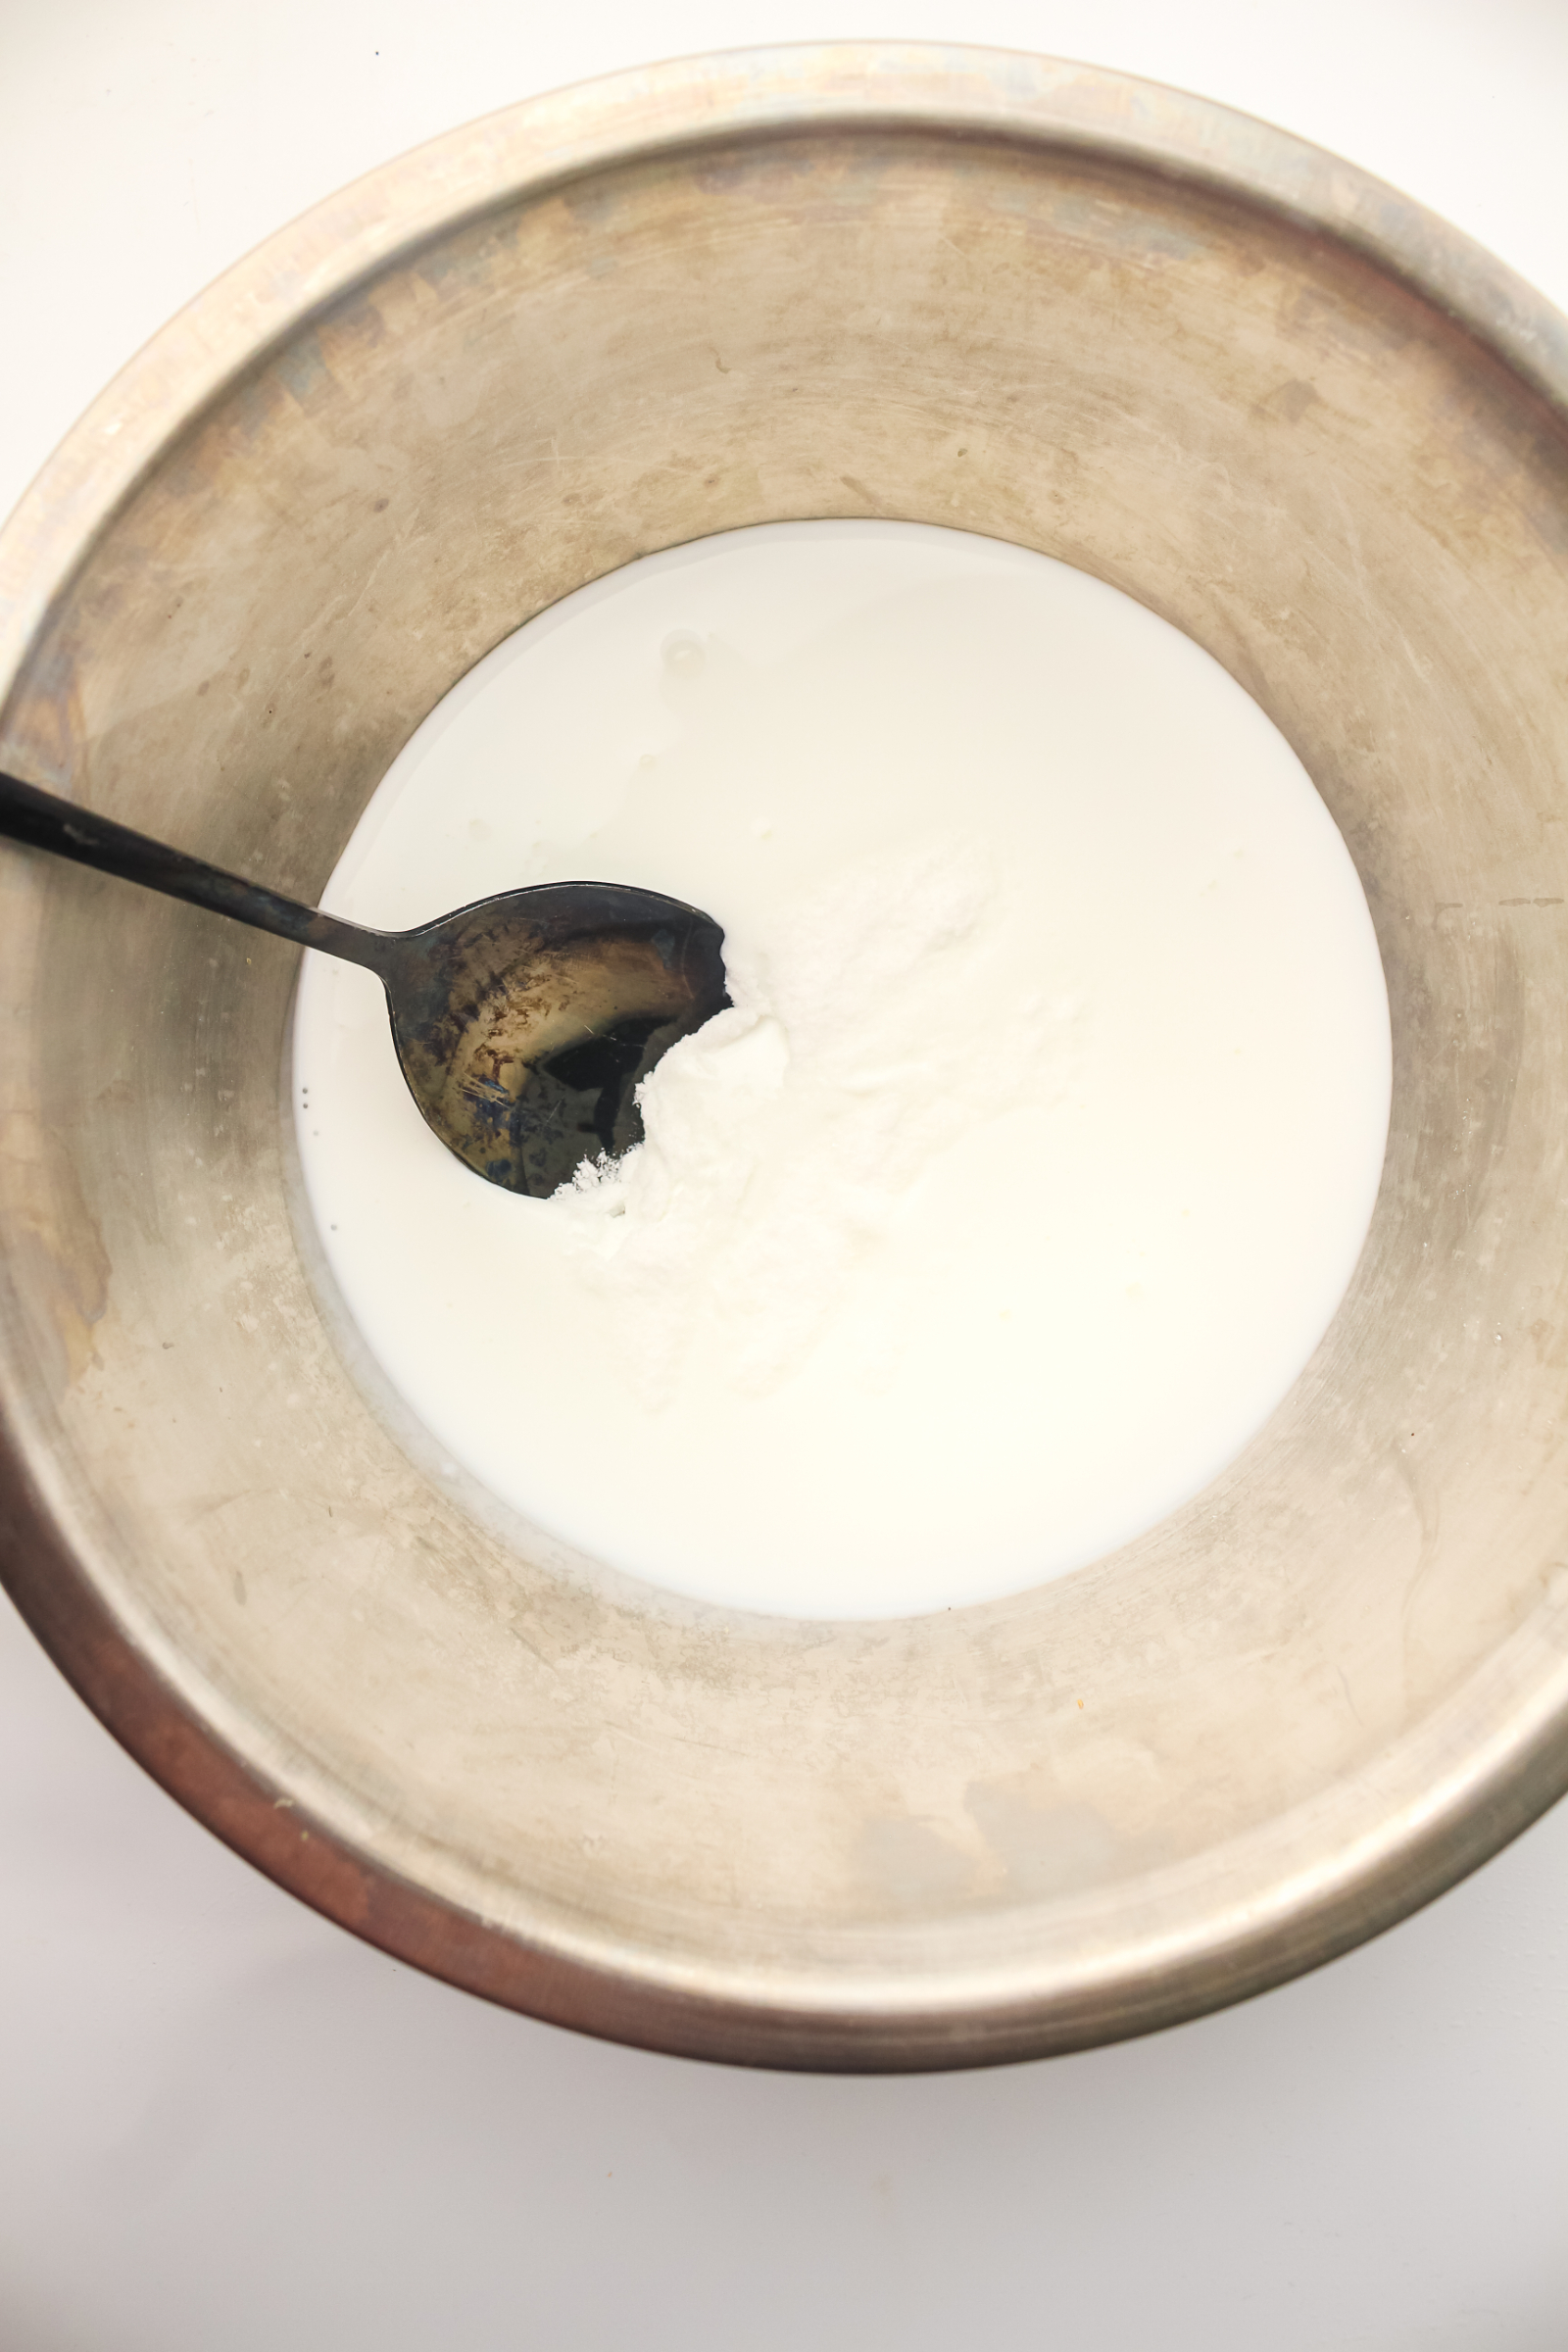
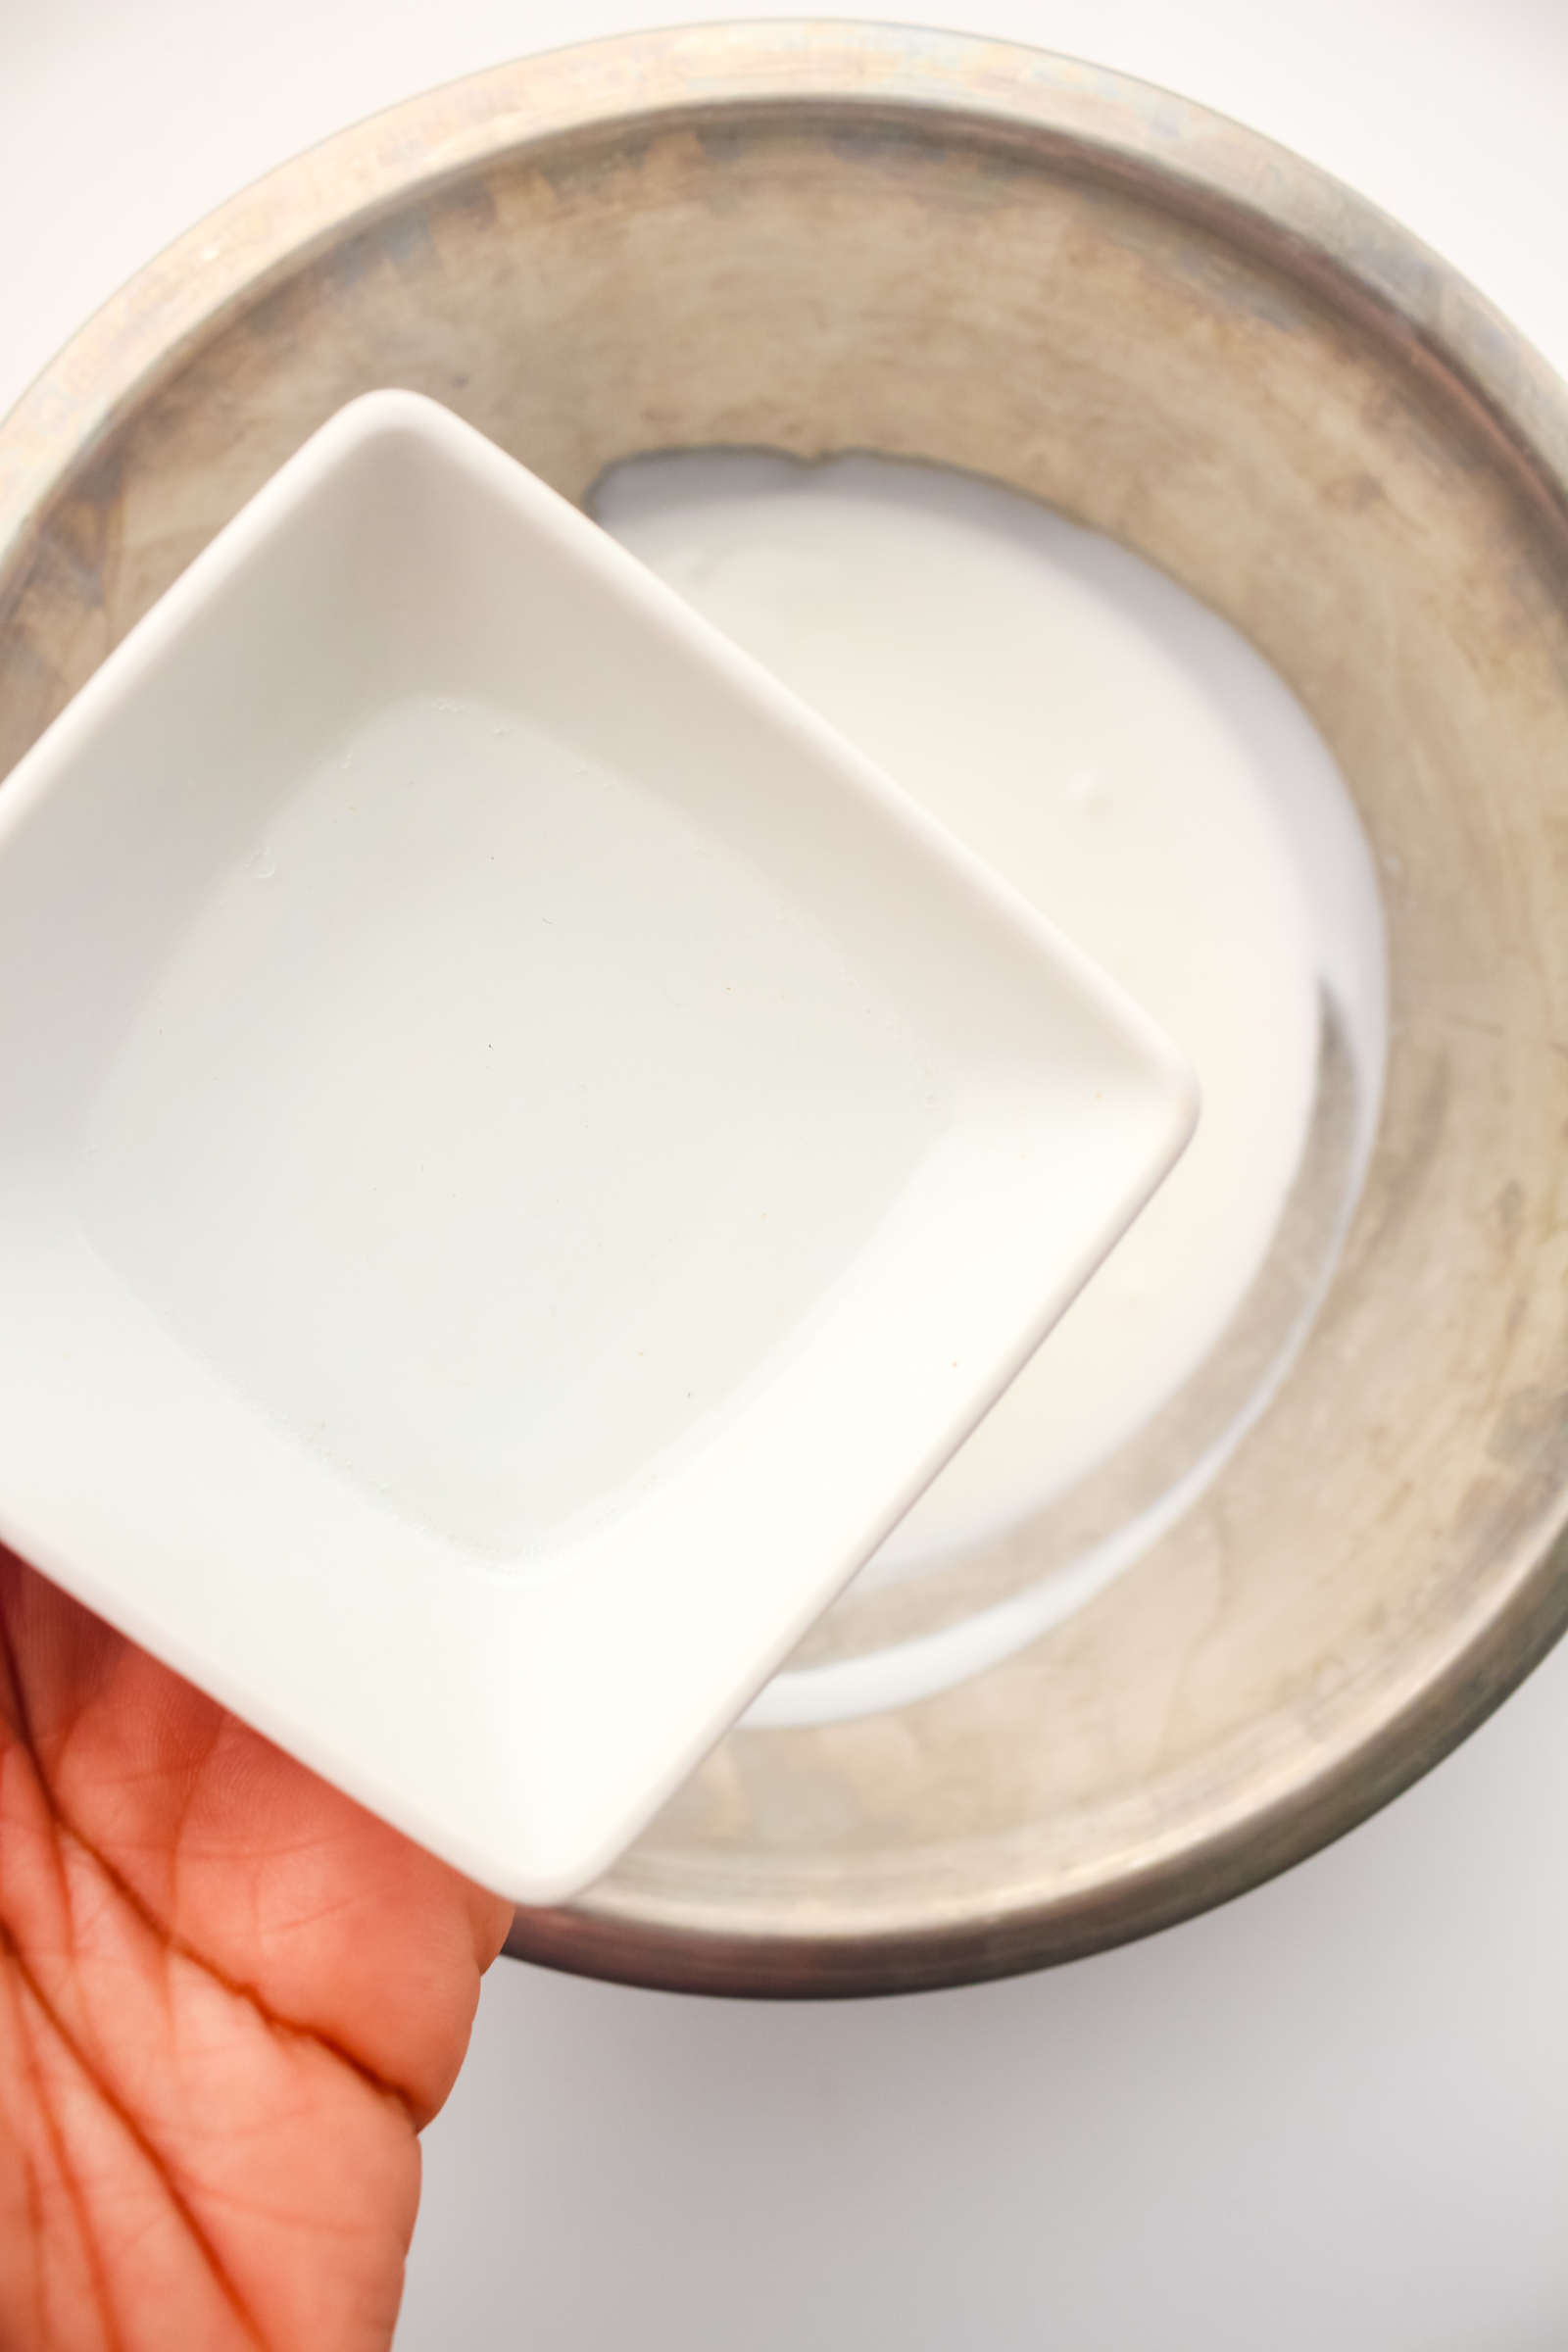
Step 2: Stir in the Baking Soda
Add ½ teaspoon of baking soda to the glue. Stir until the baking soda is evenly incorporated.
This step helps prepare the glue mixture so it can transform into slime once you add the contact lens solution.
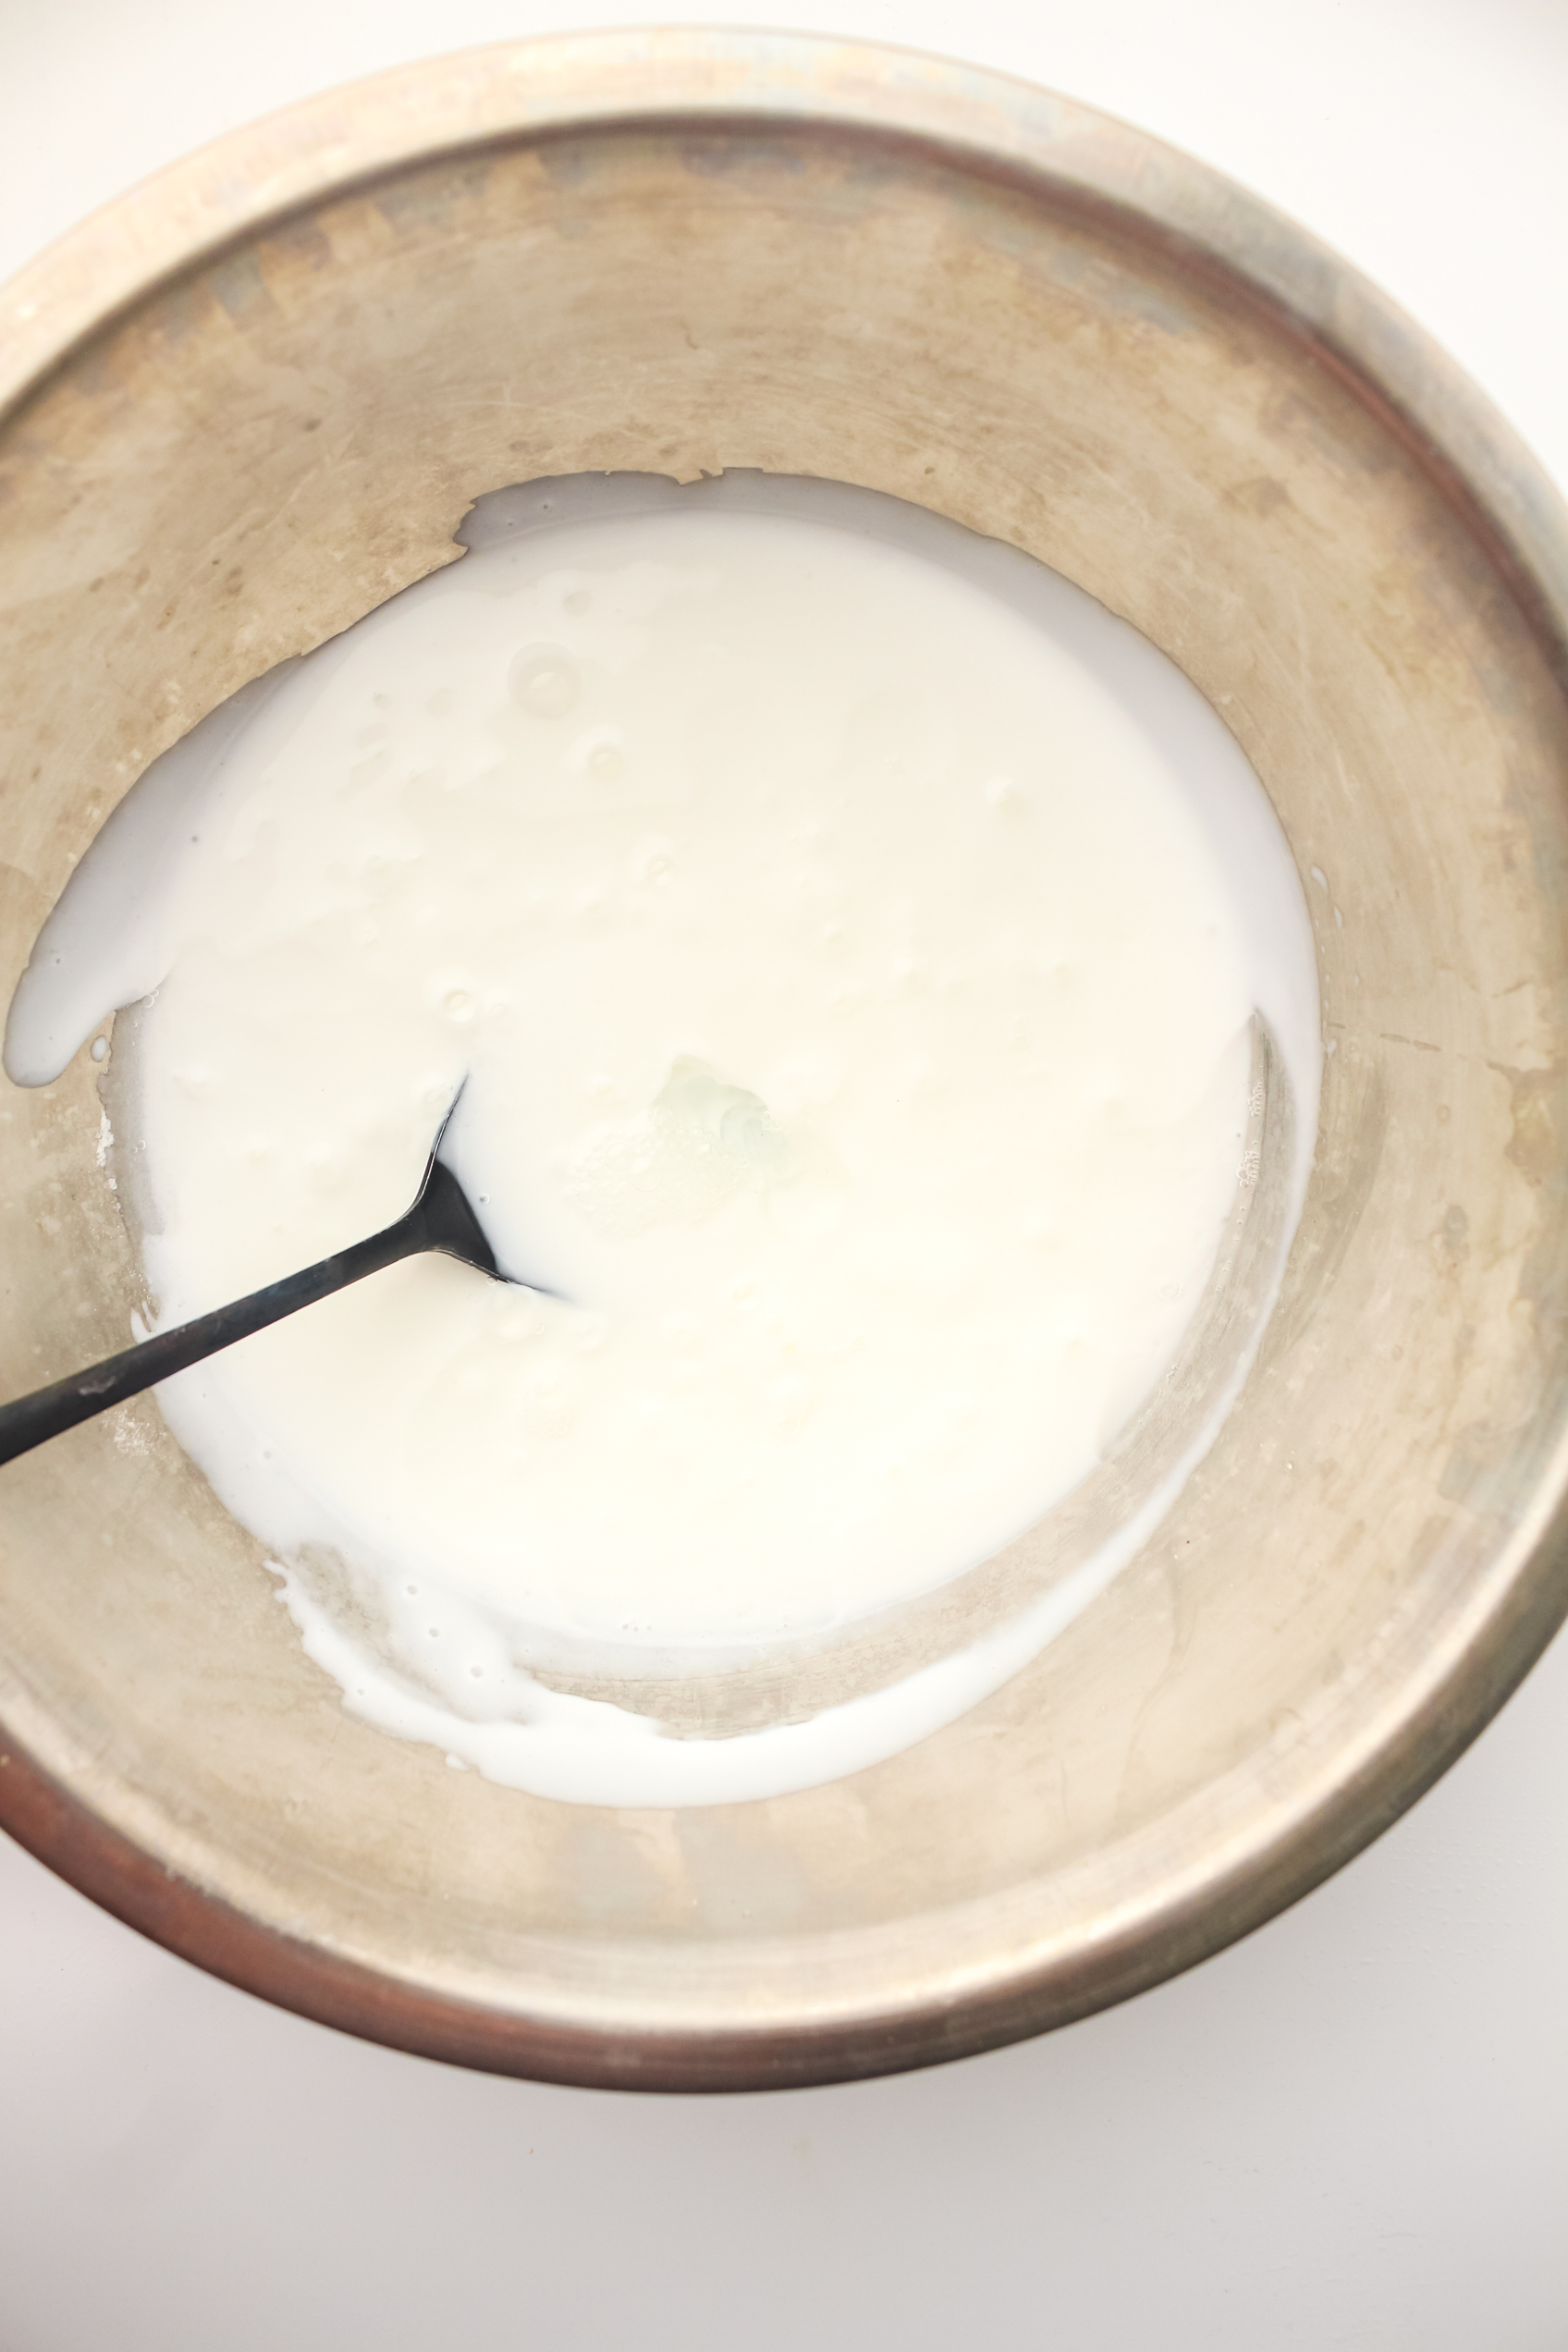
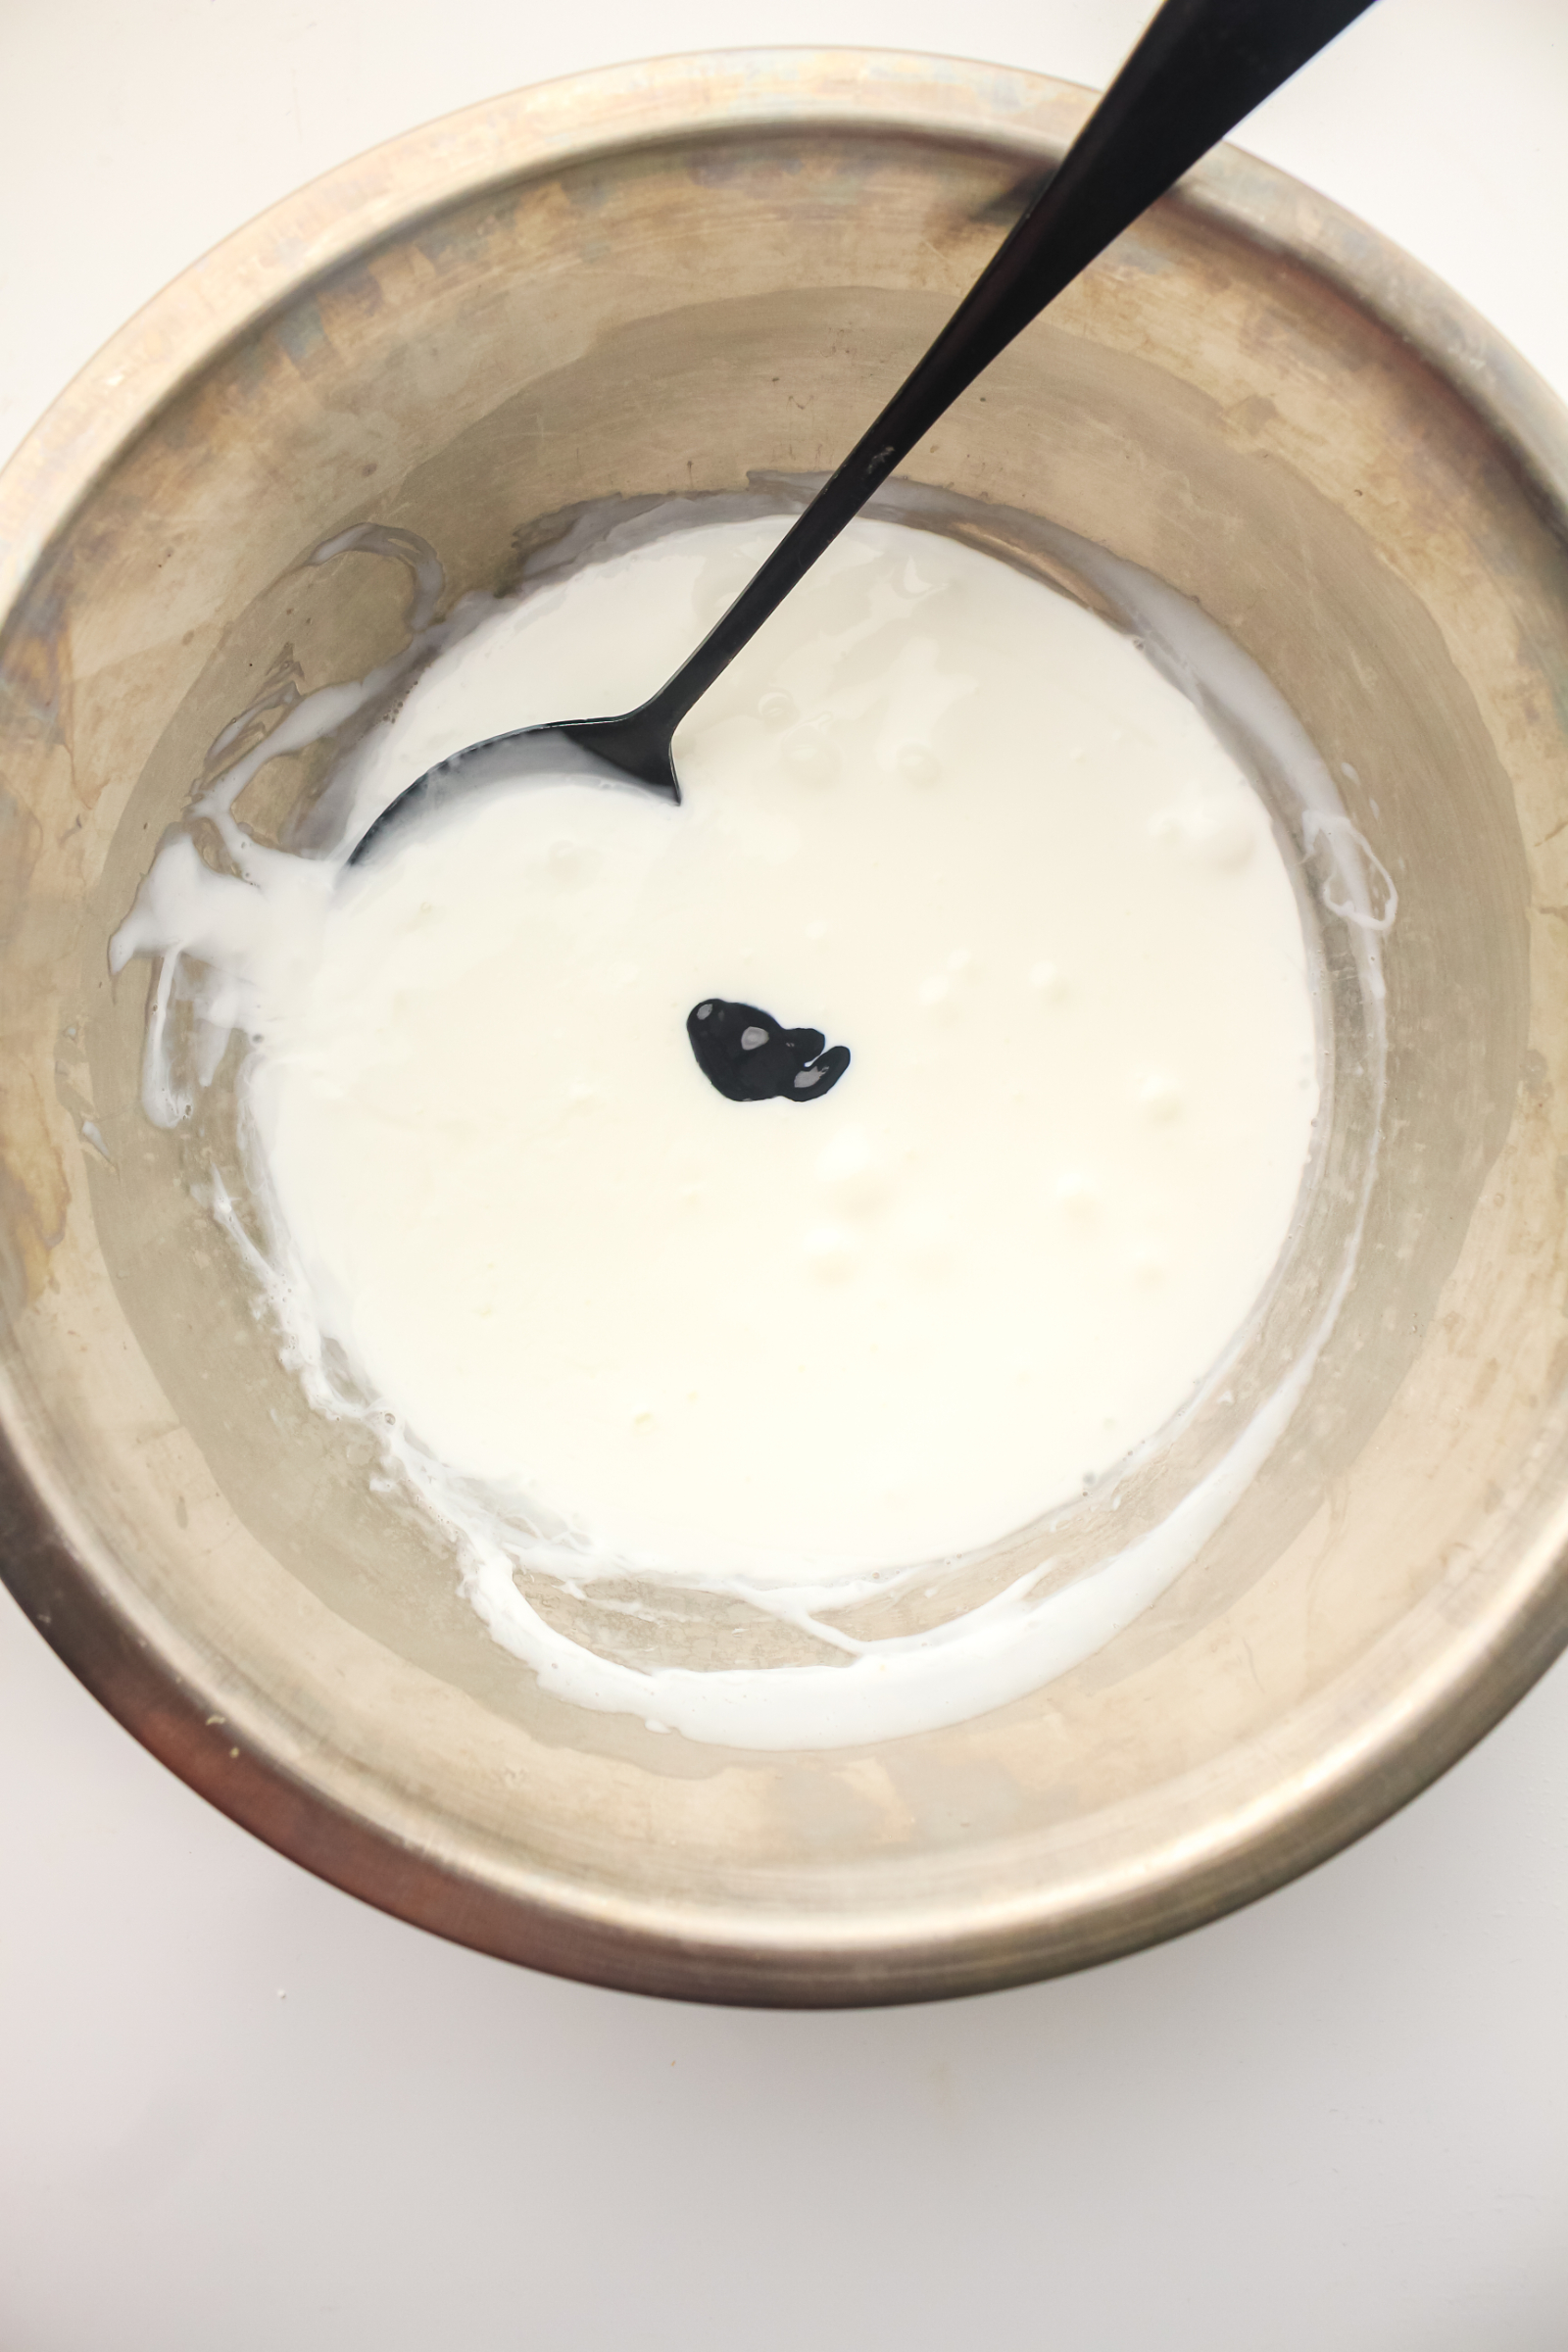
Step 3: Add Contact Lens Solution and Food Coloring
Next, add 1 tablespoon of contact lens solution along with your preferred food coloring.
I used purple food coloring, but this is where you can get creative! Try pink, blue, green, yellow, or any other color your kids love.
If you want a deeper color, add a little more food coloring until you reach your desired shade.
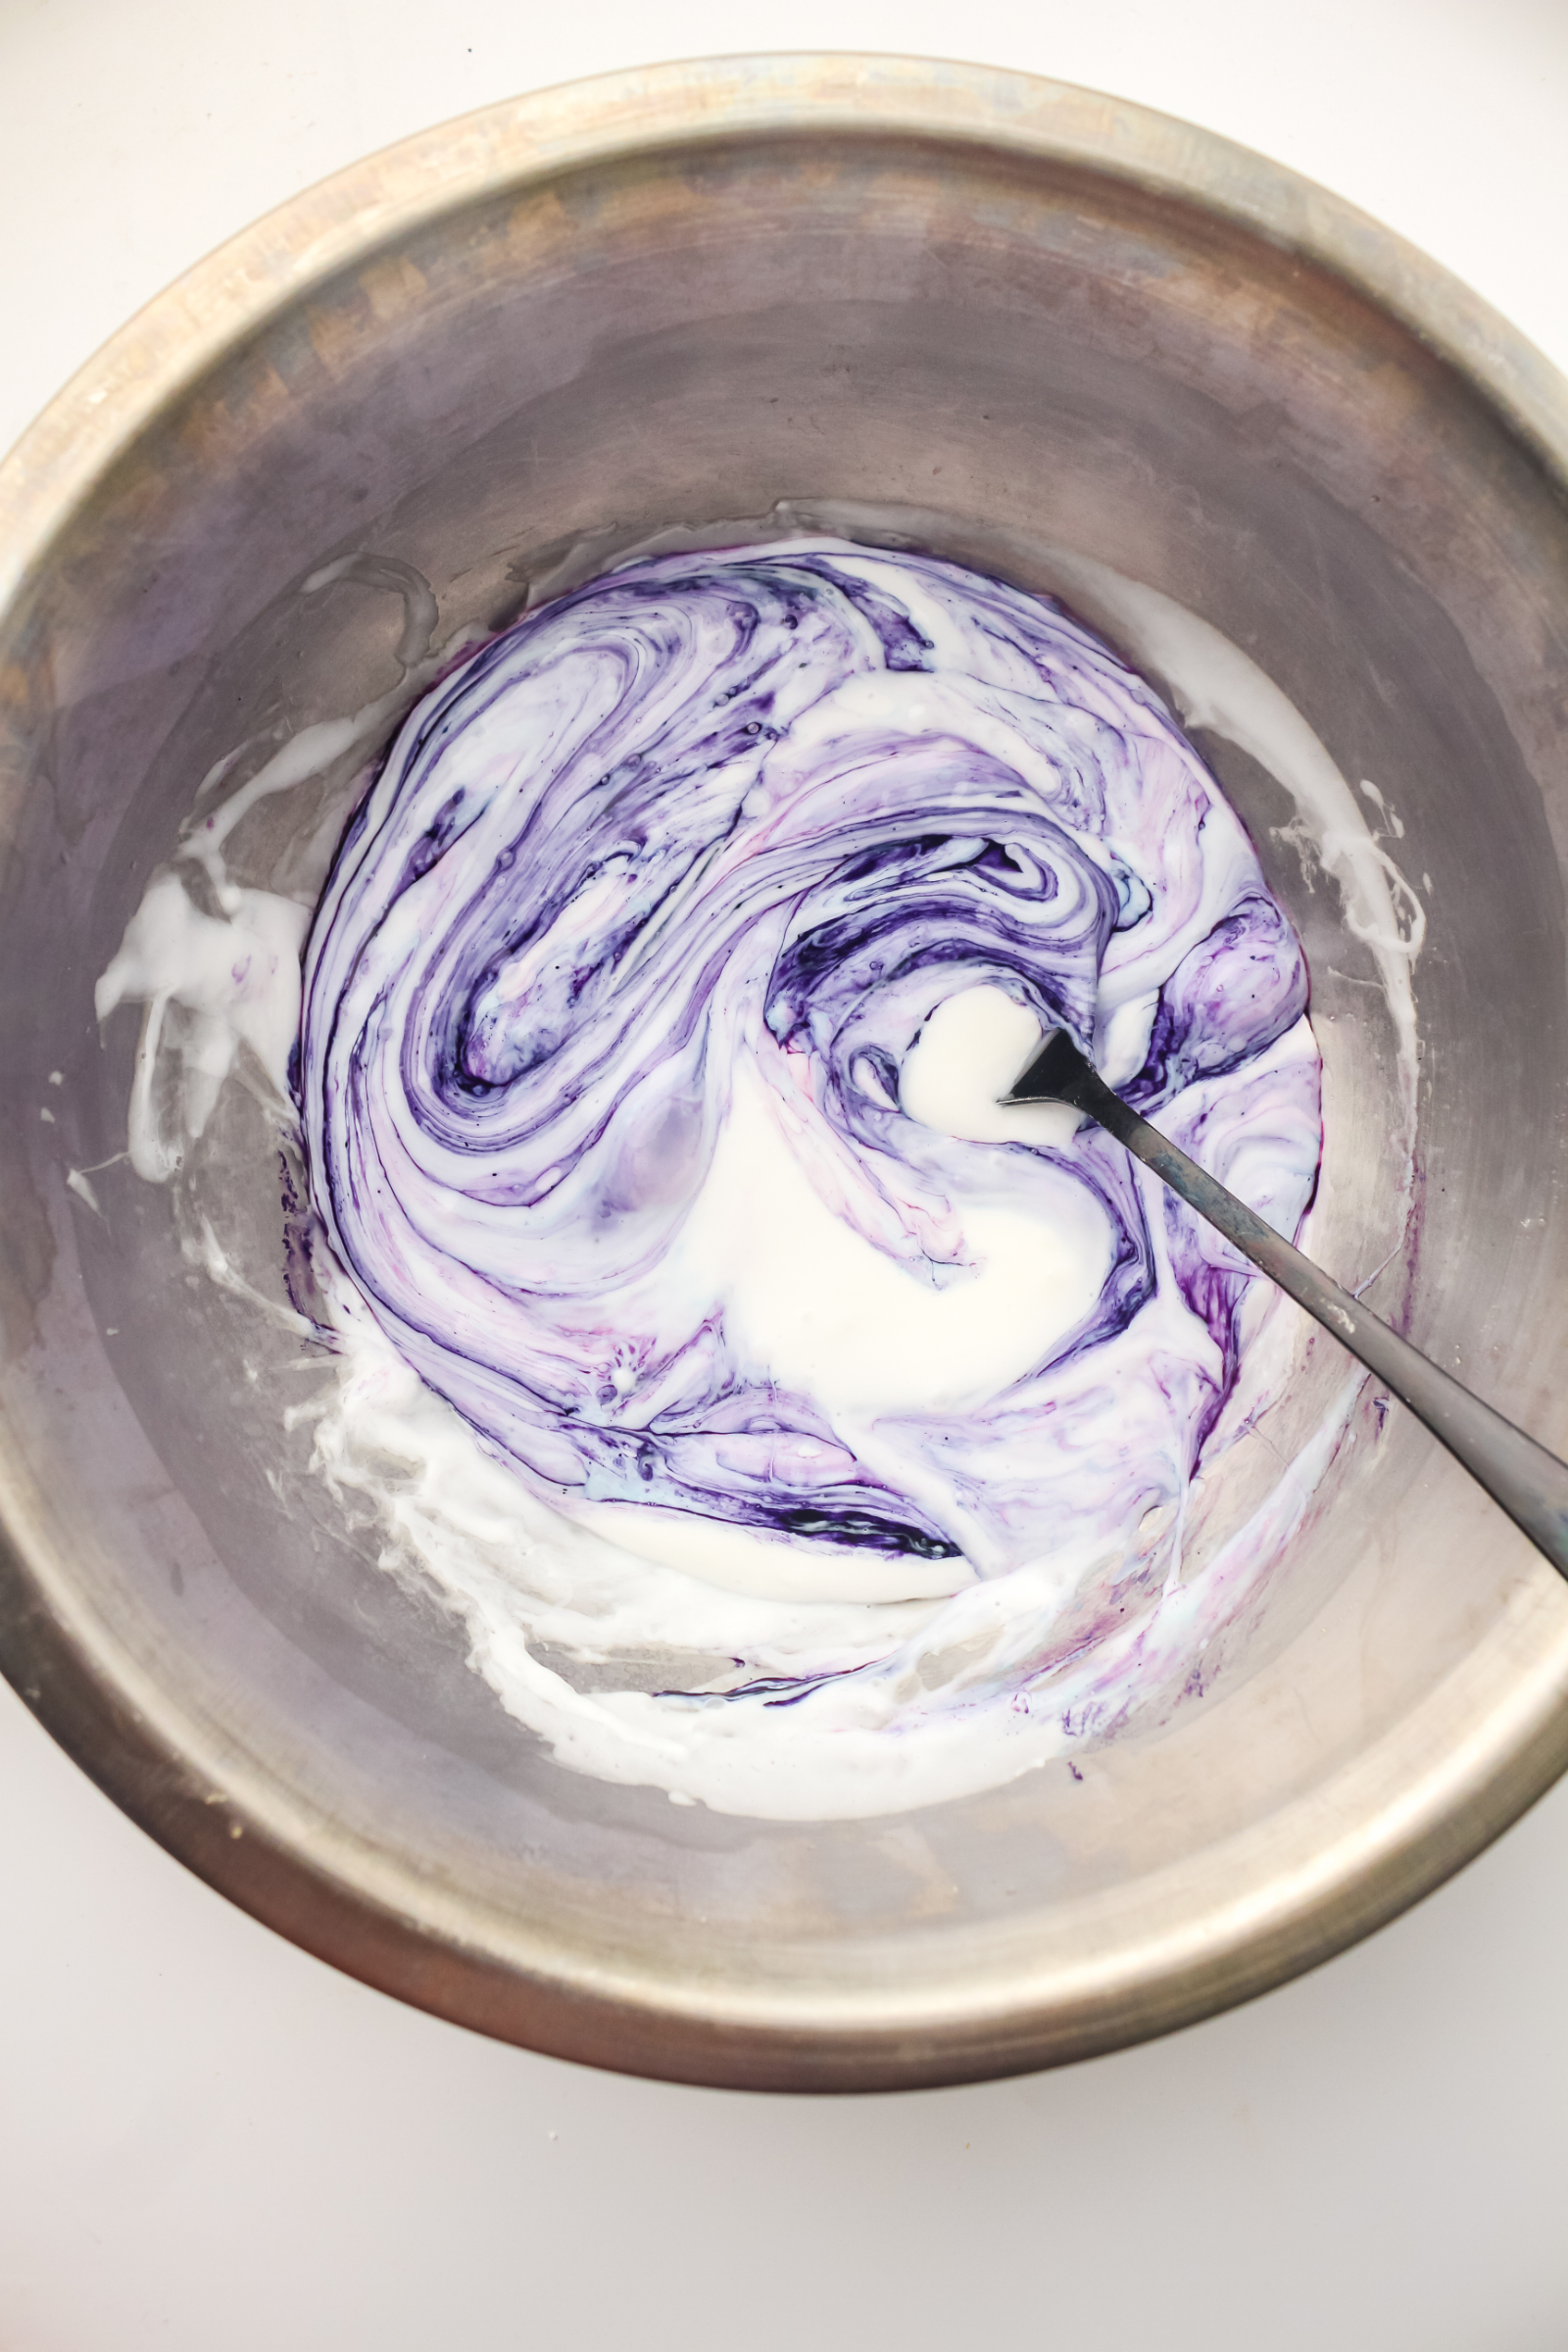
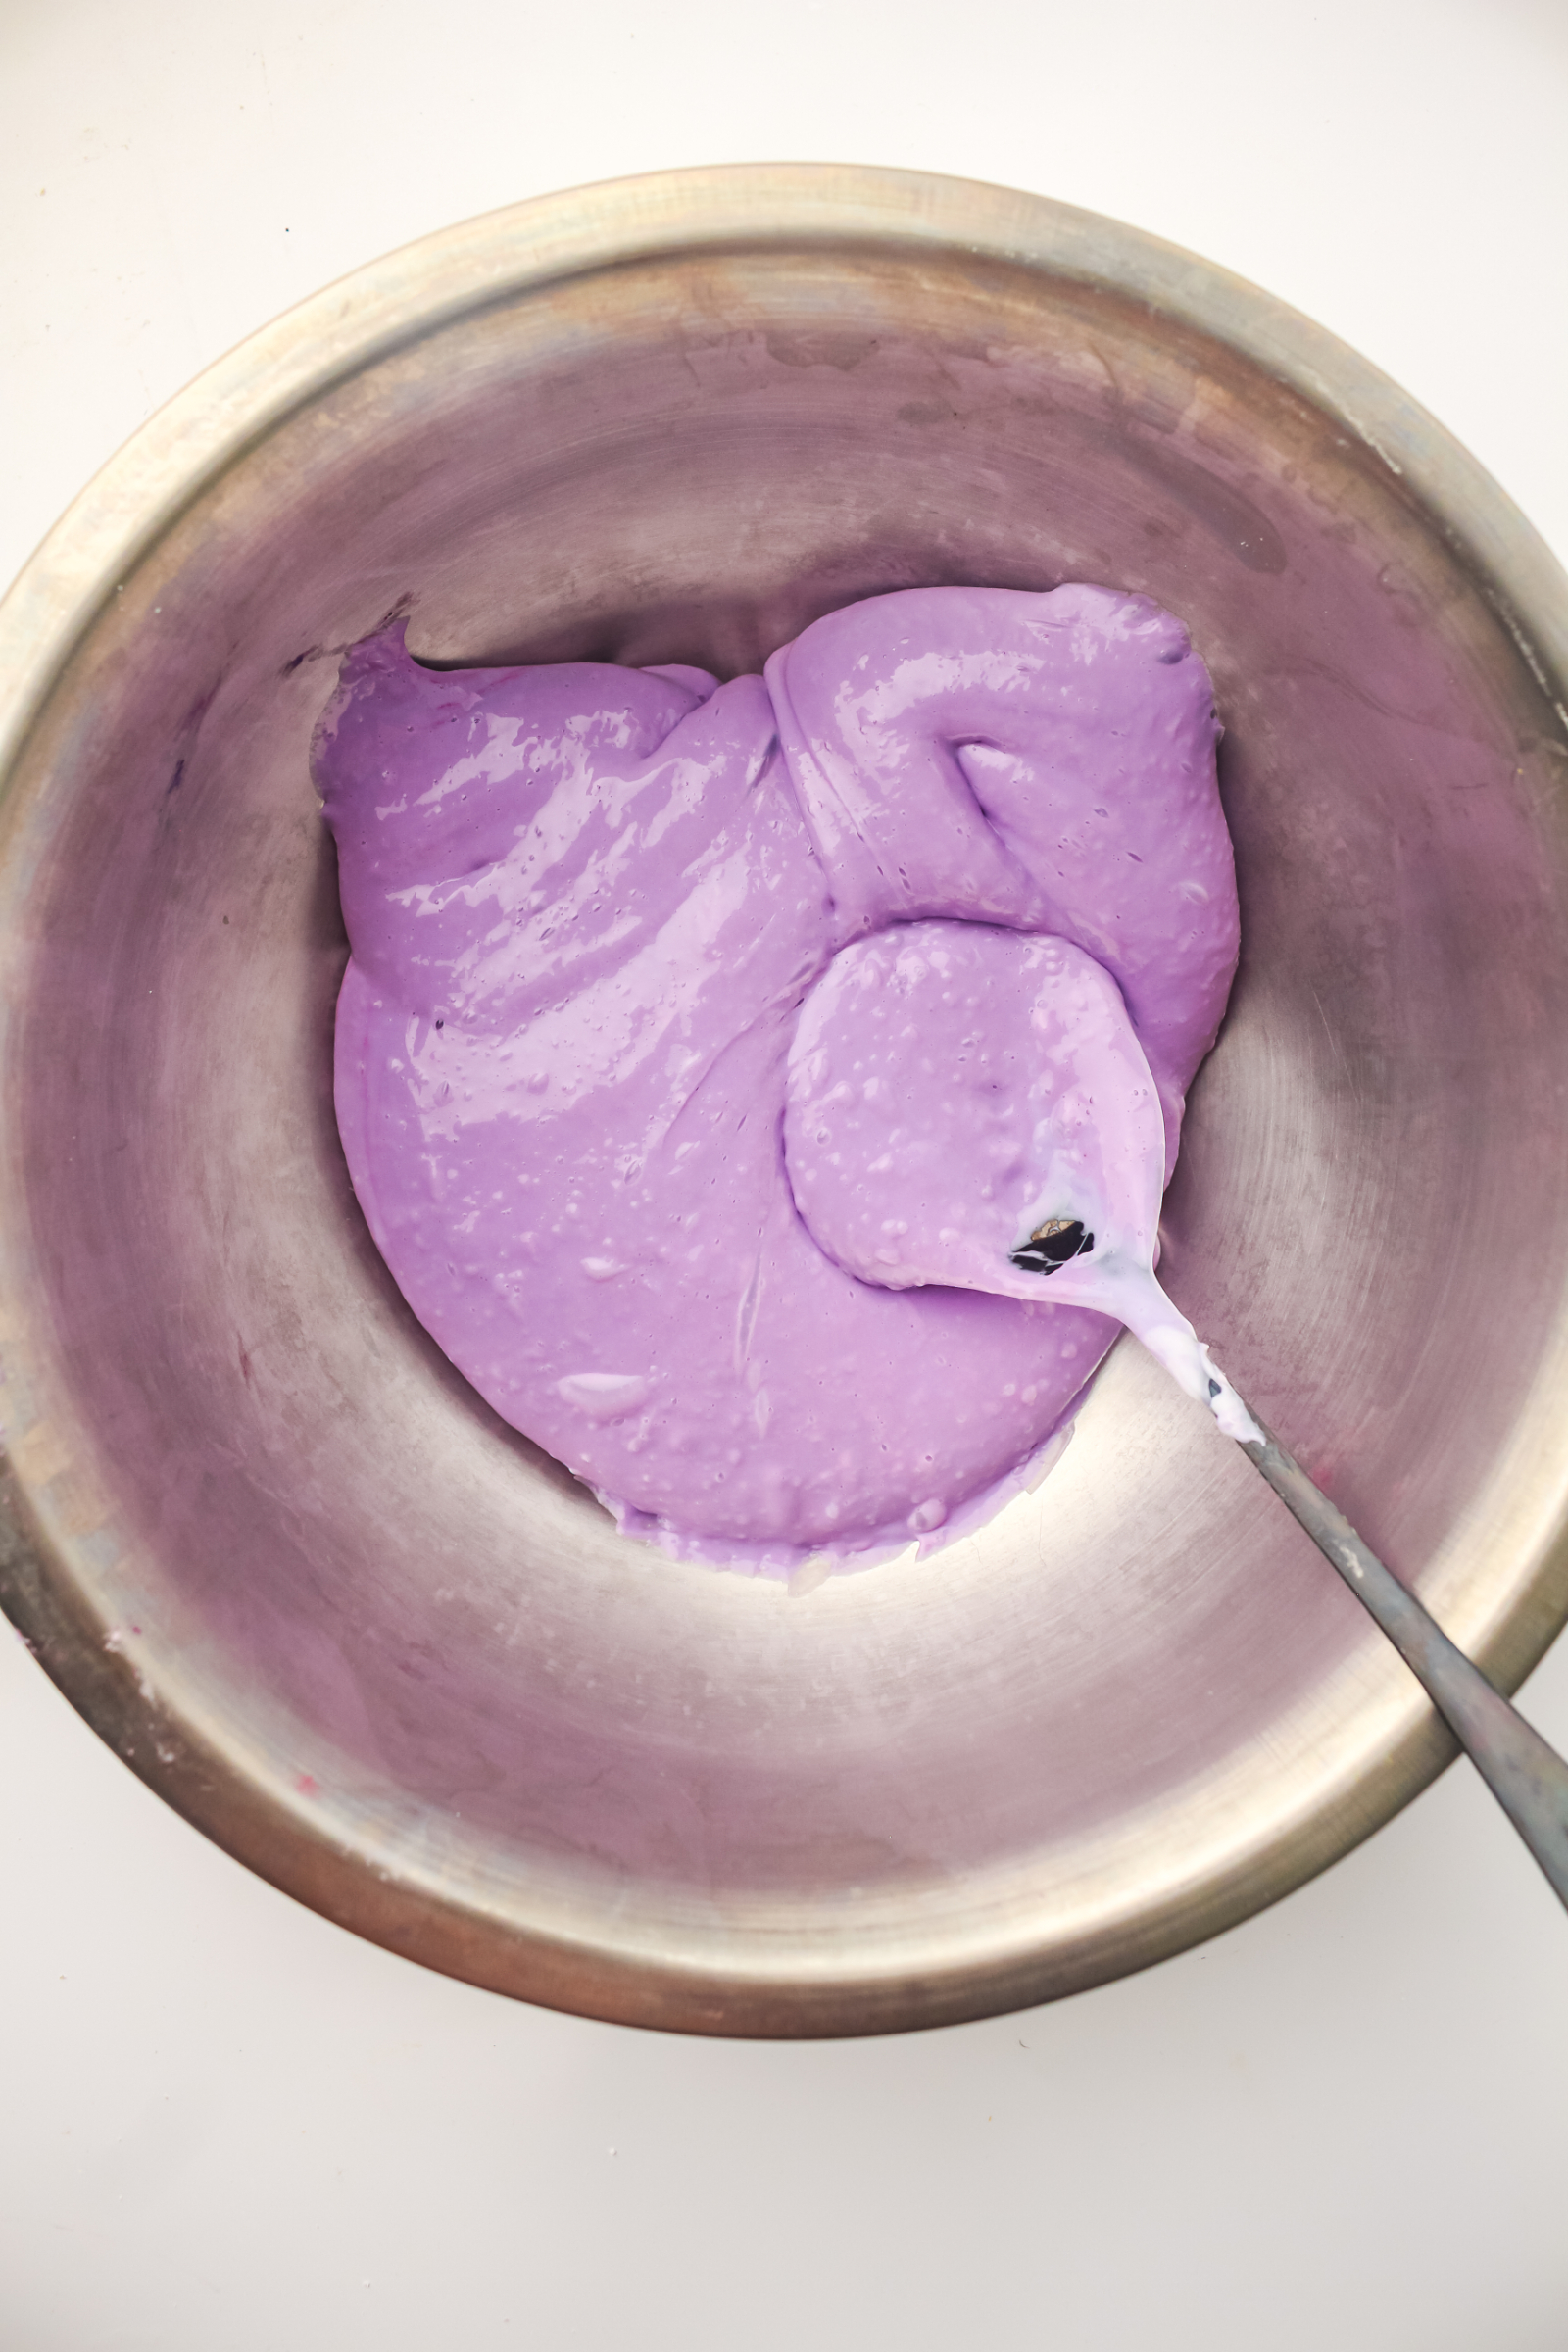
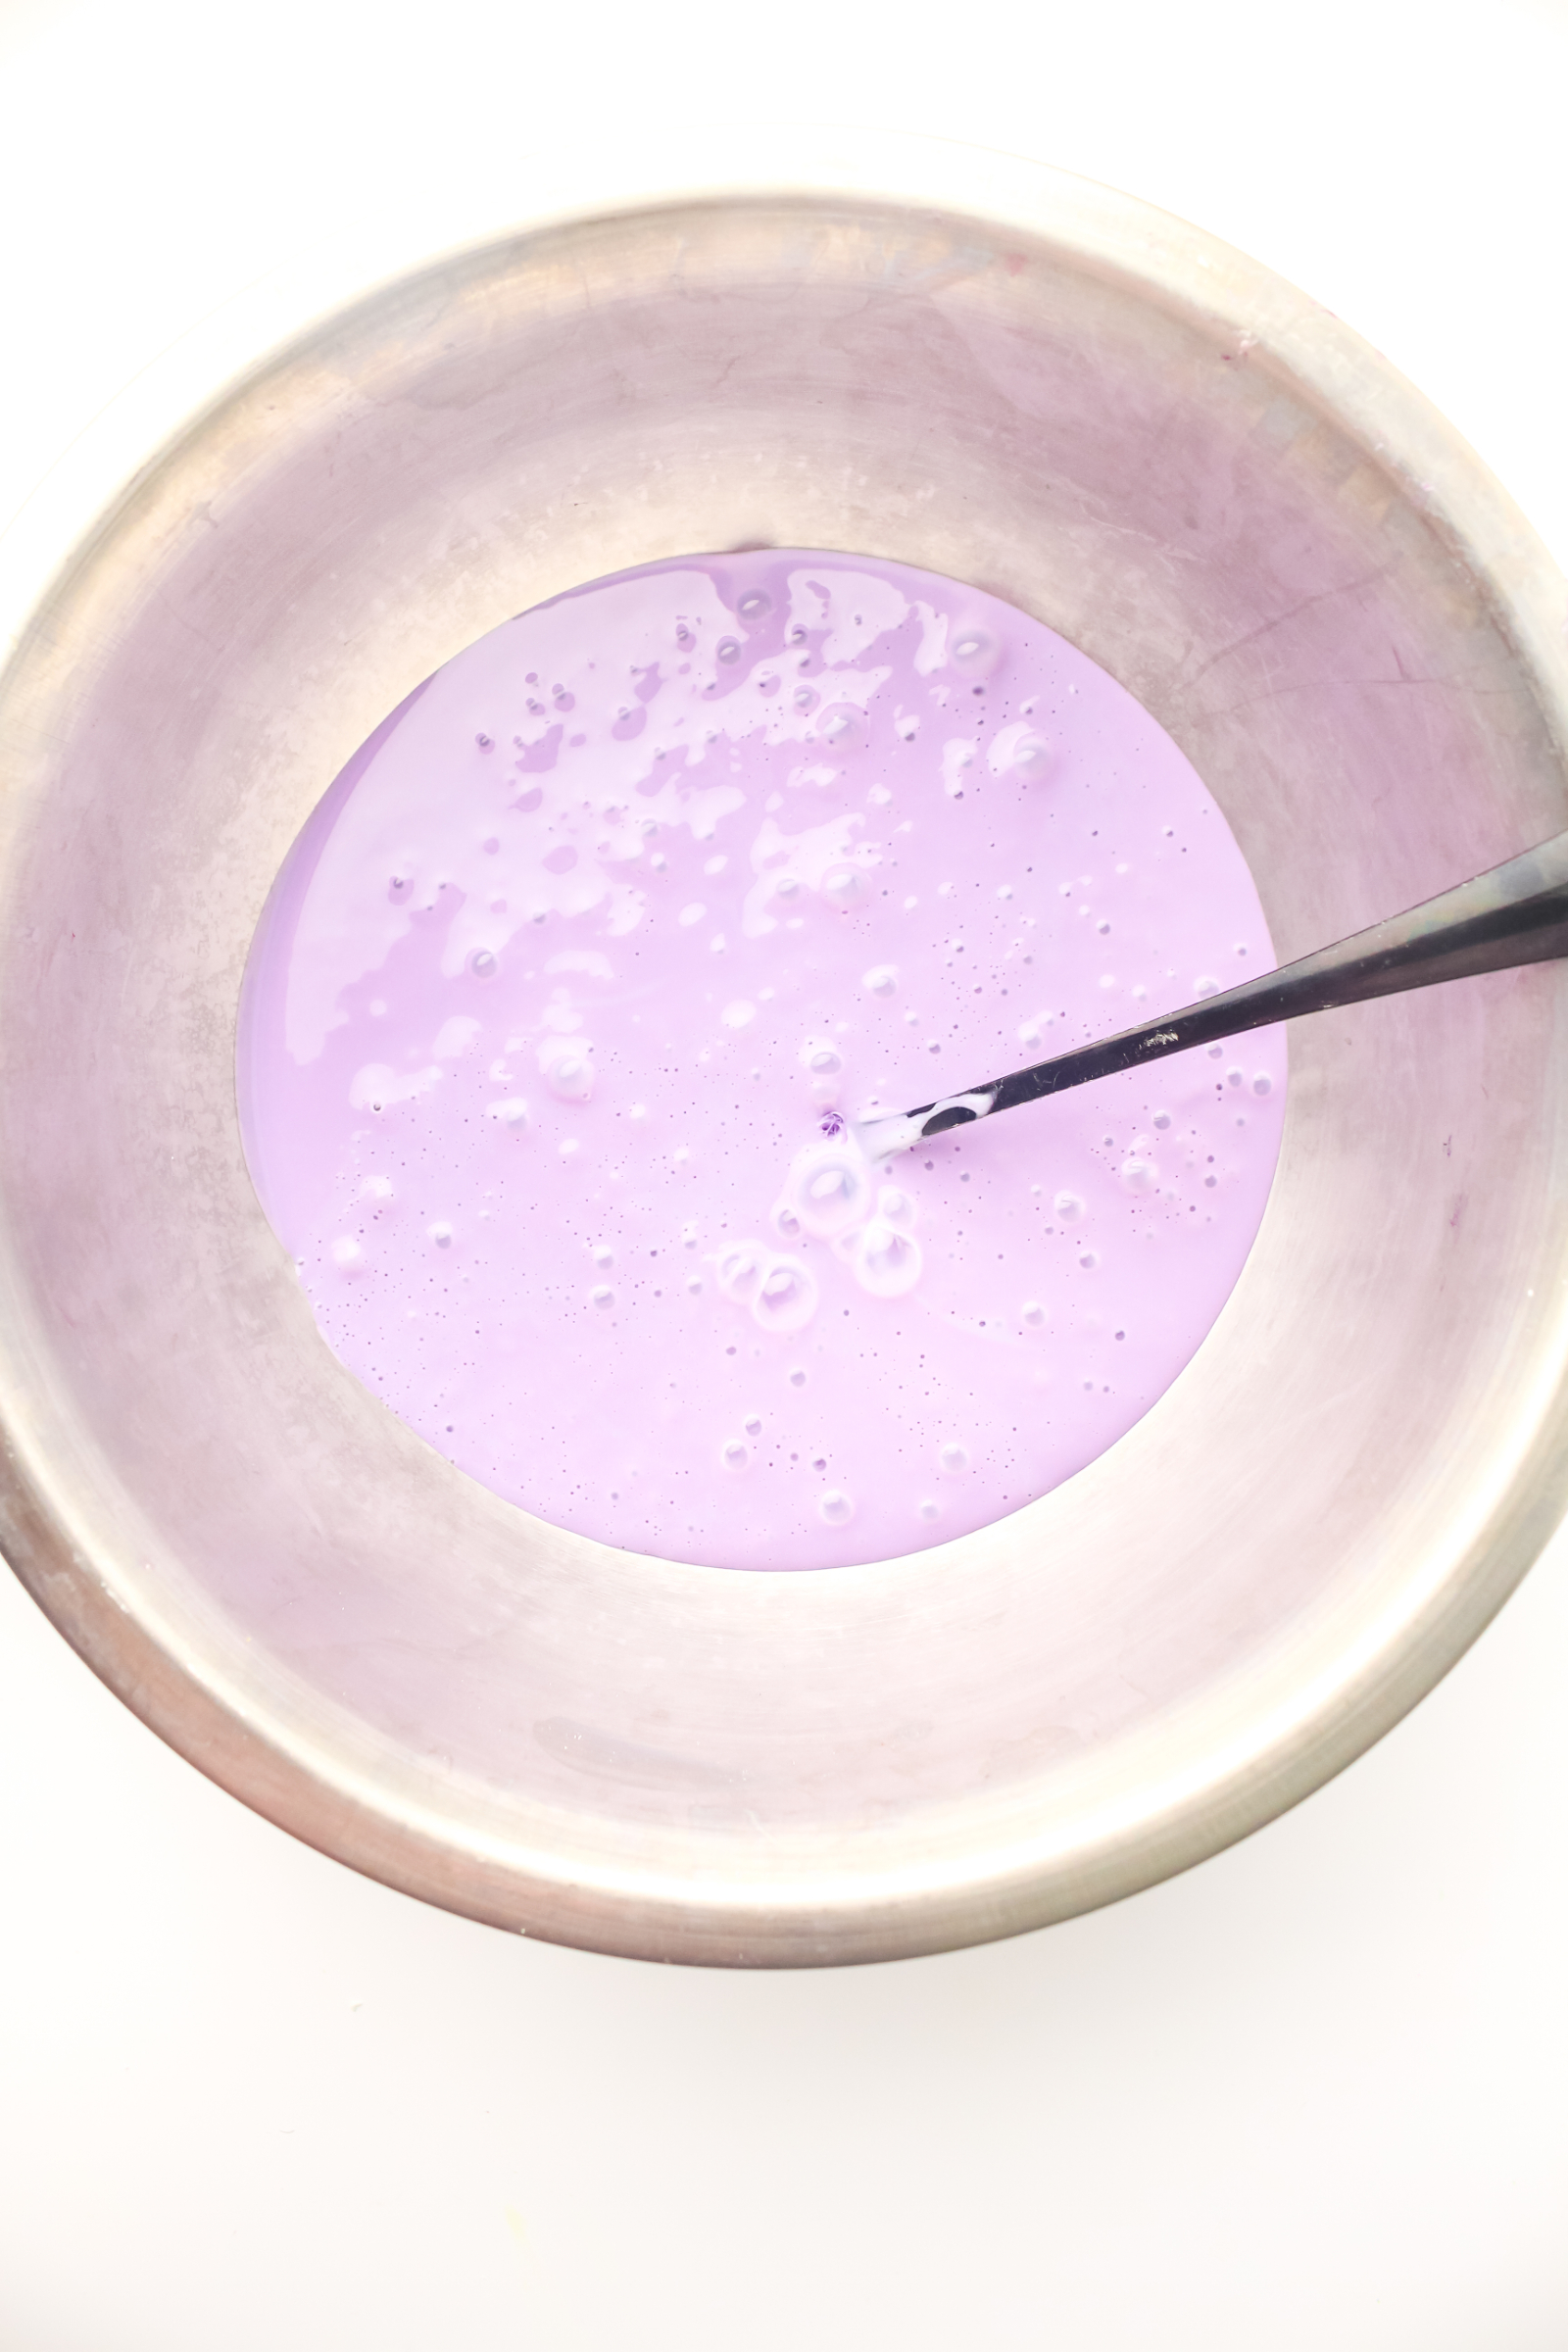
Step 4: Stir Until the Slime Forms
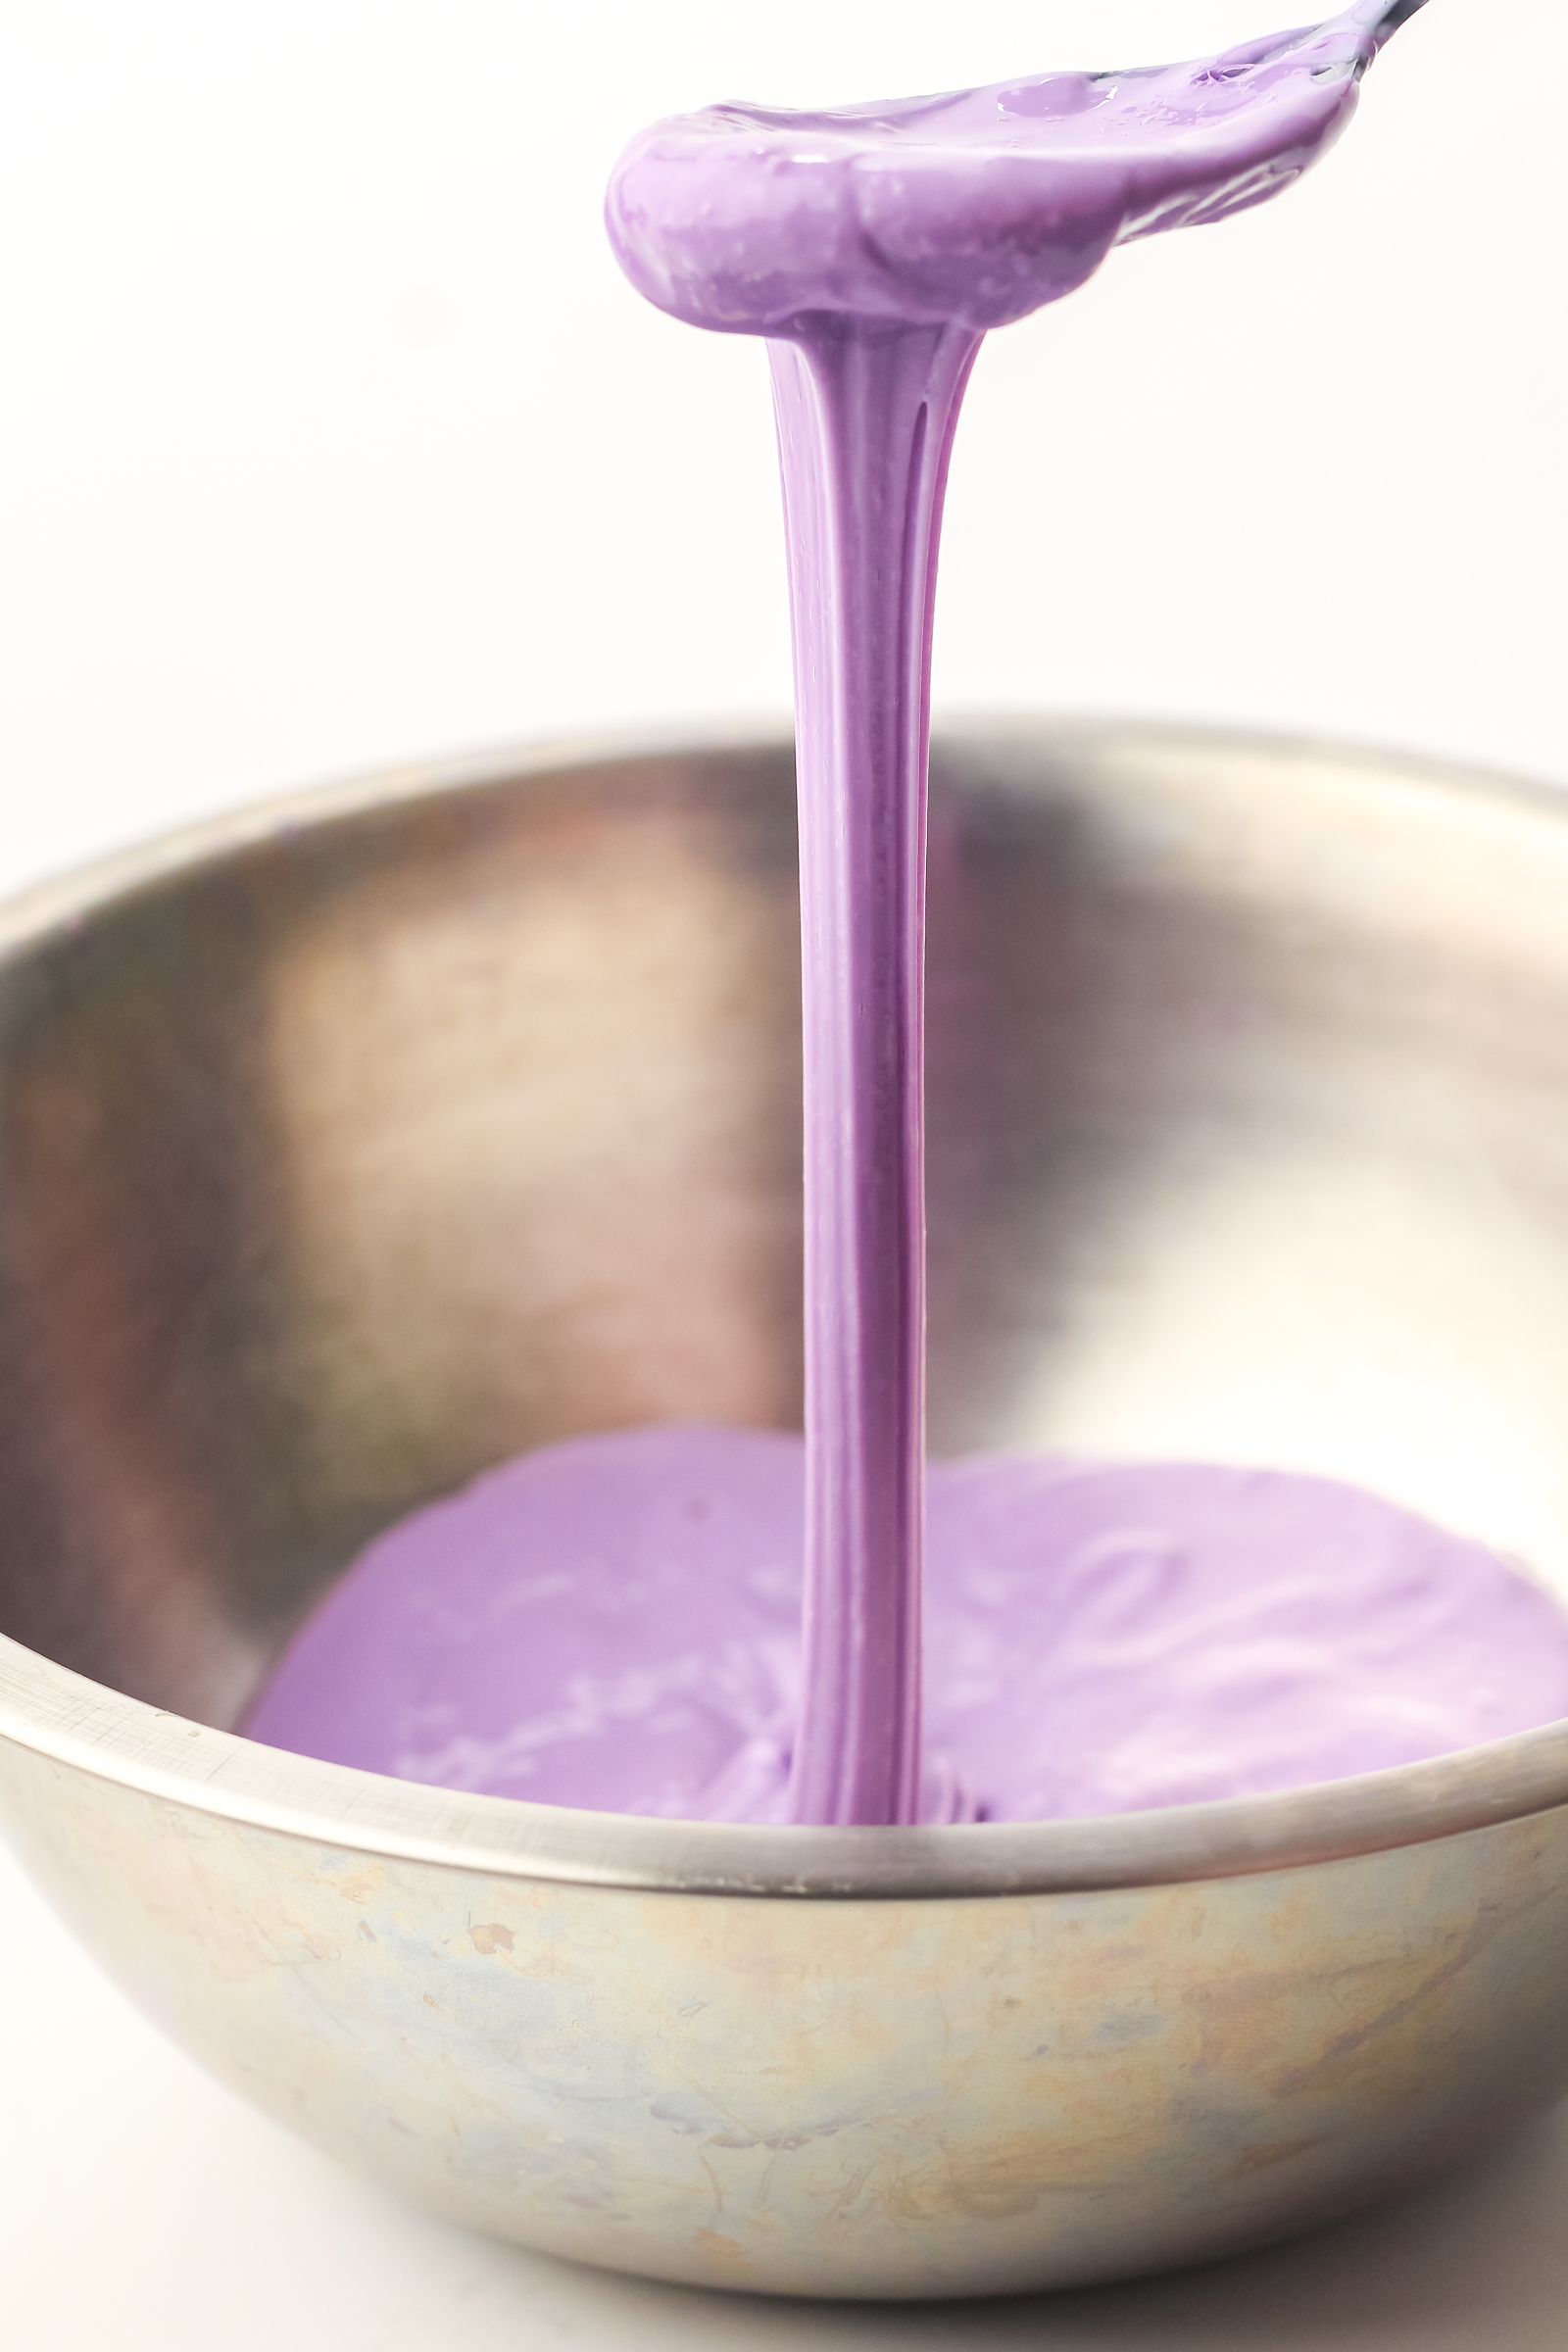
Continue stirring the ingredients together. You’ll notice the mixture gradually becoming thicker and starting to pull away from the sides of the bowl.
Once the slime begins gathering together and the bowl looks relatively clean around the edges, it’s almost ready!
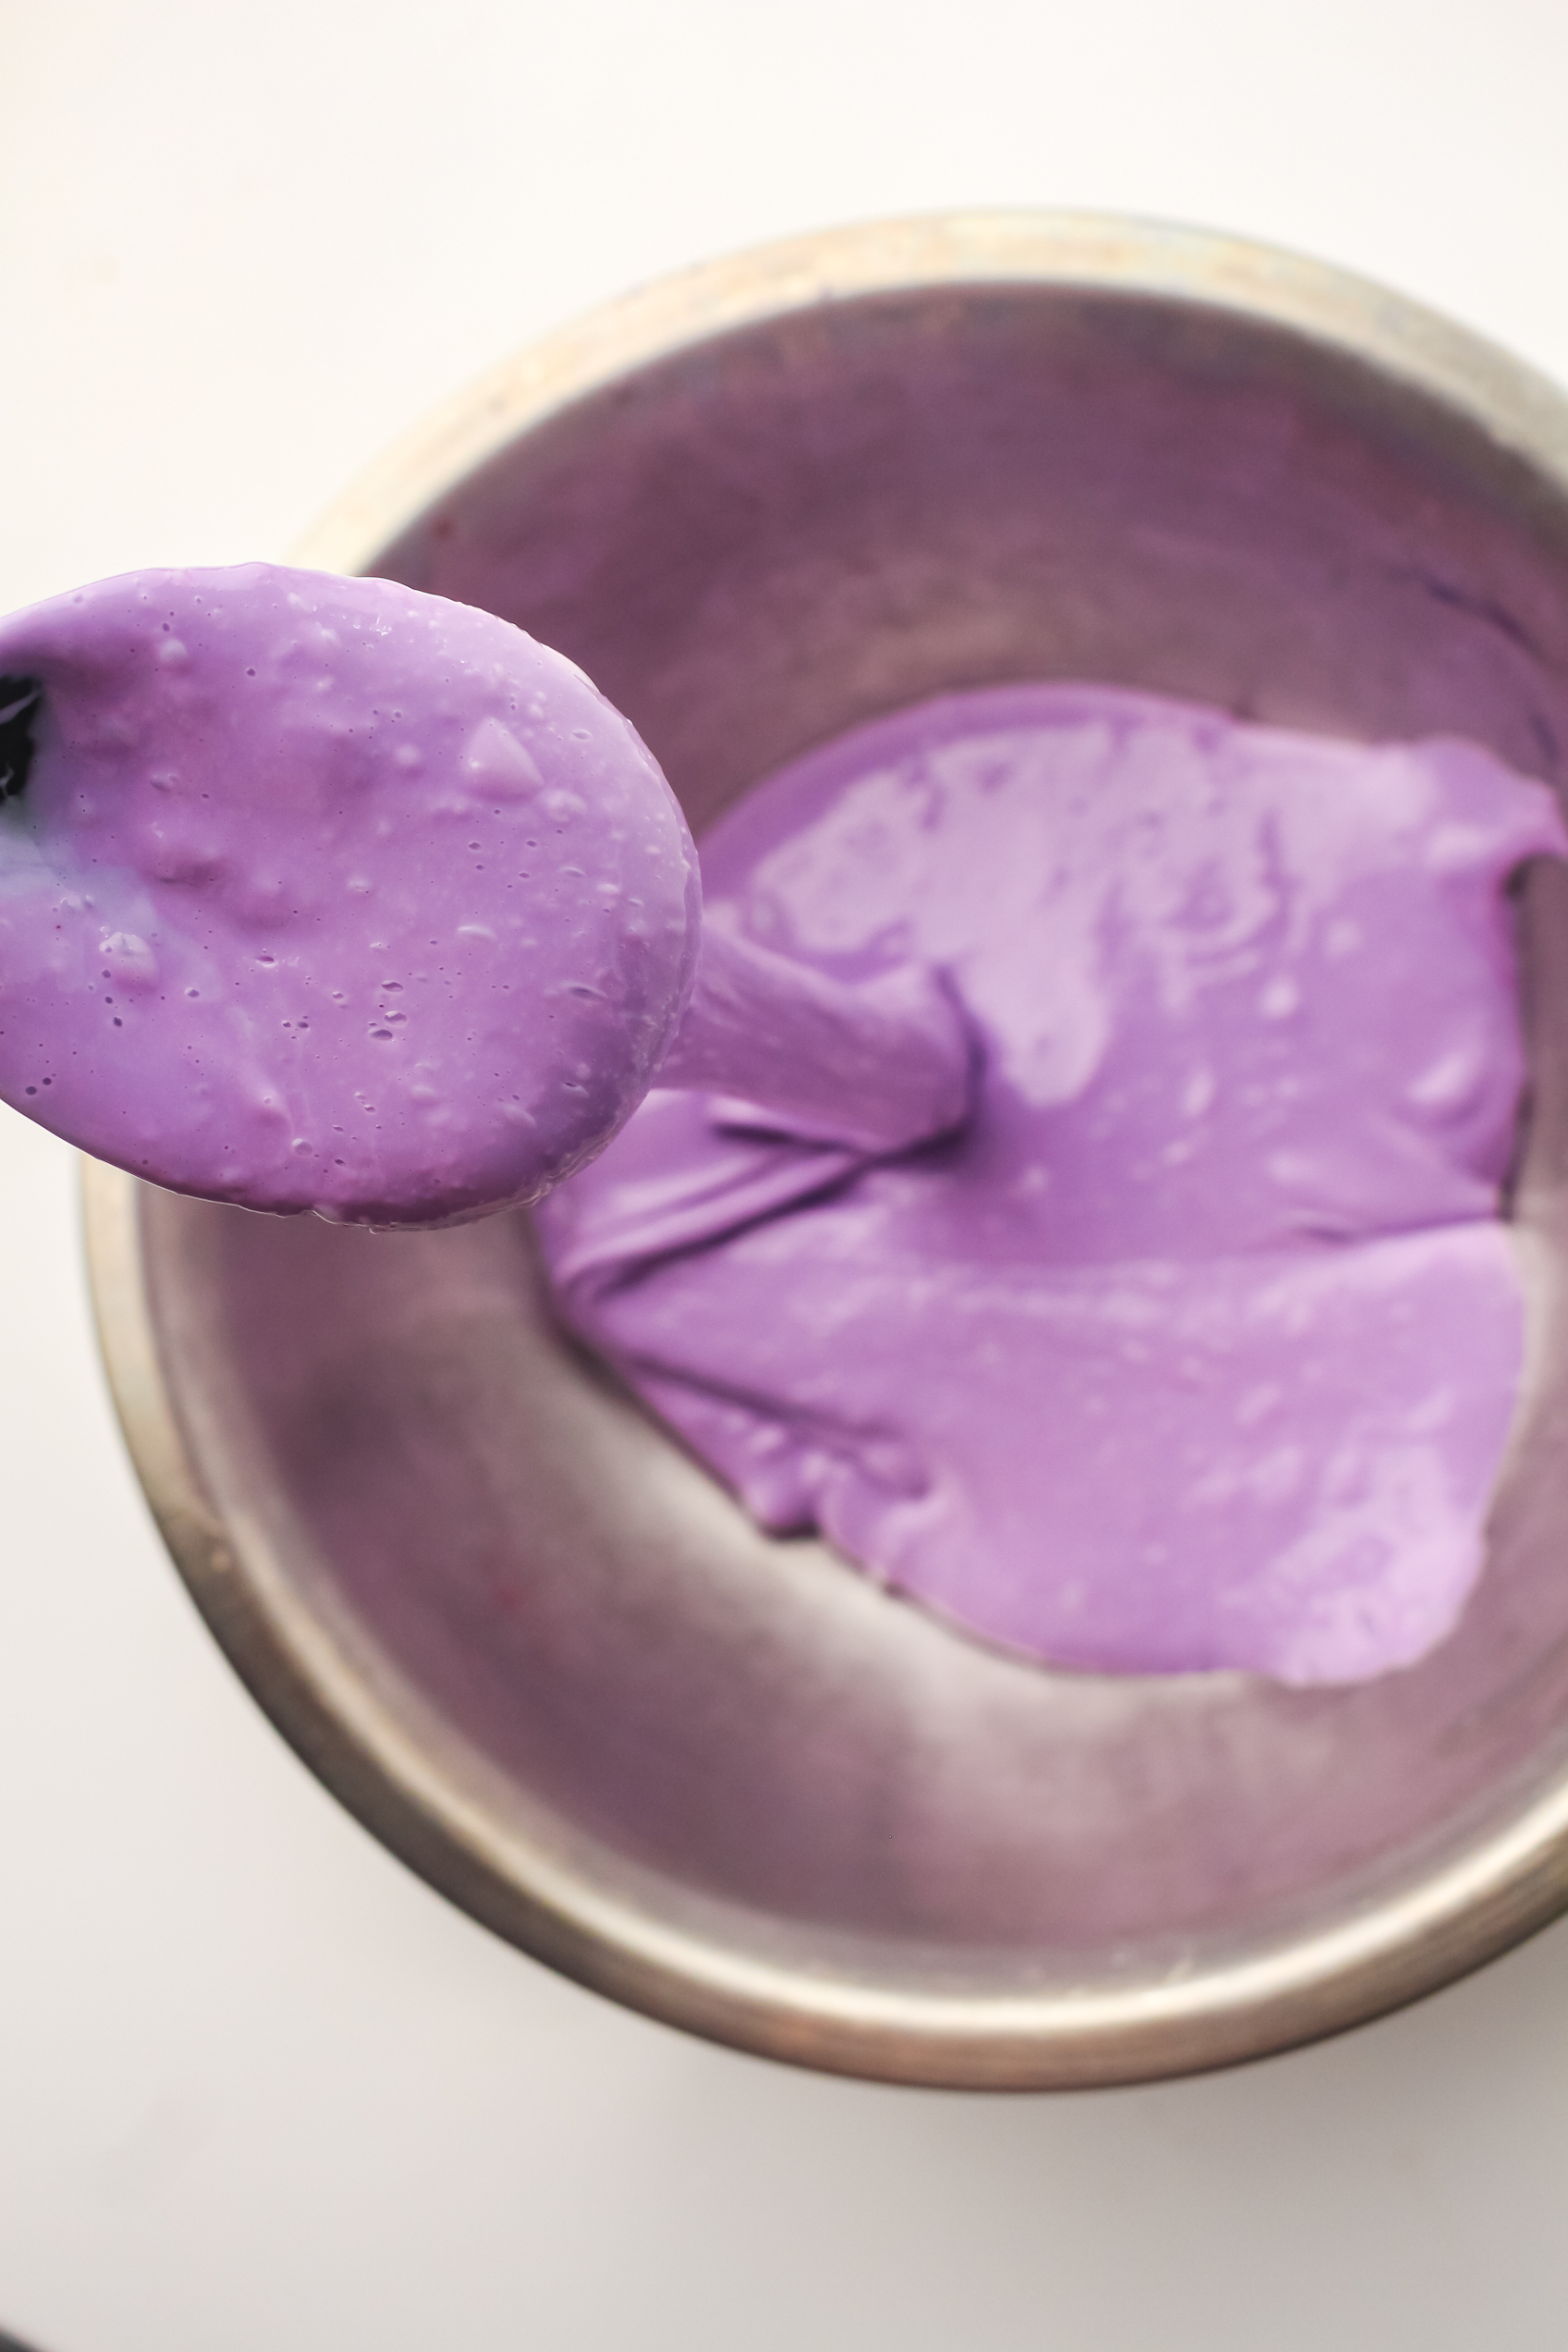
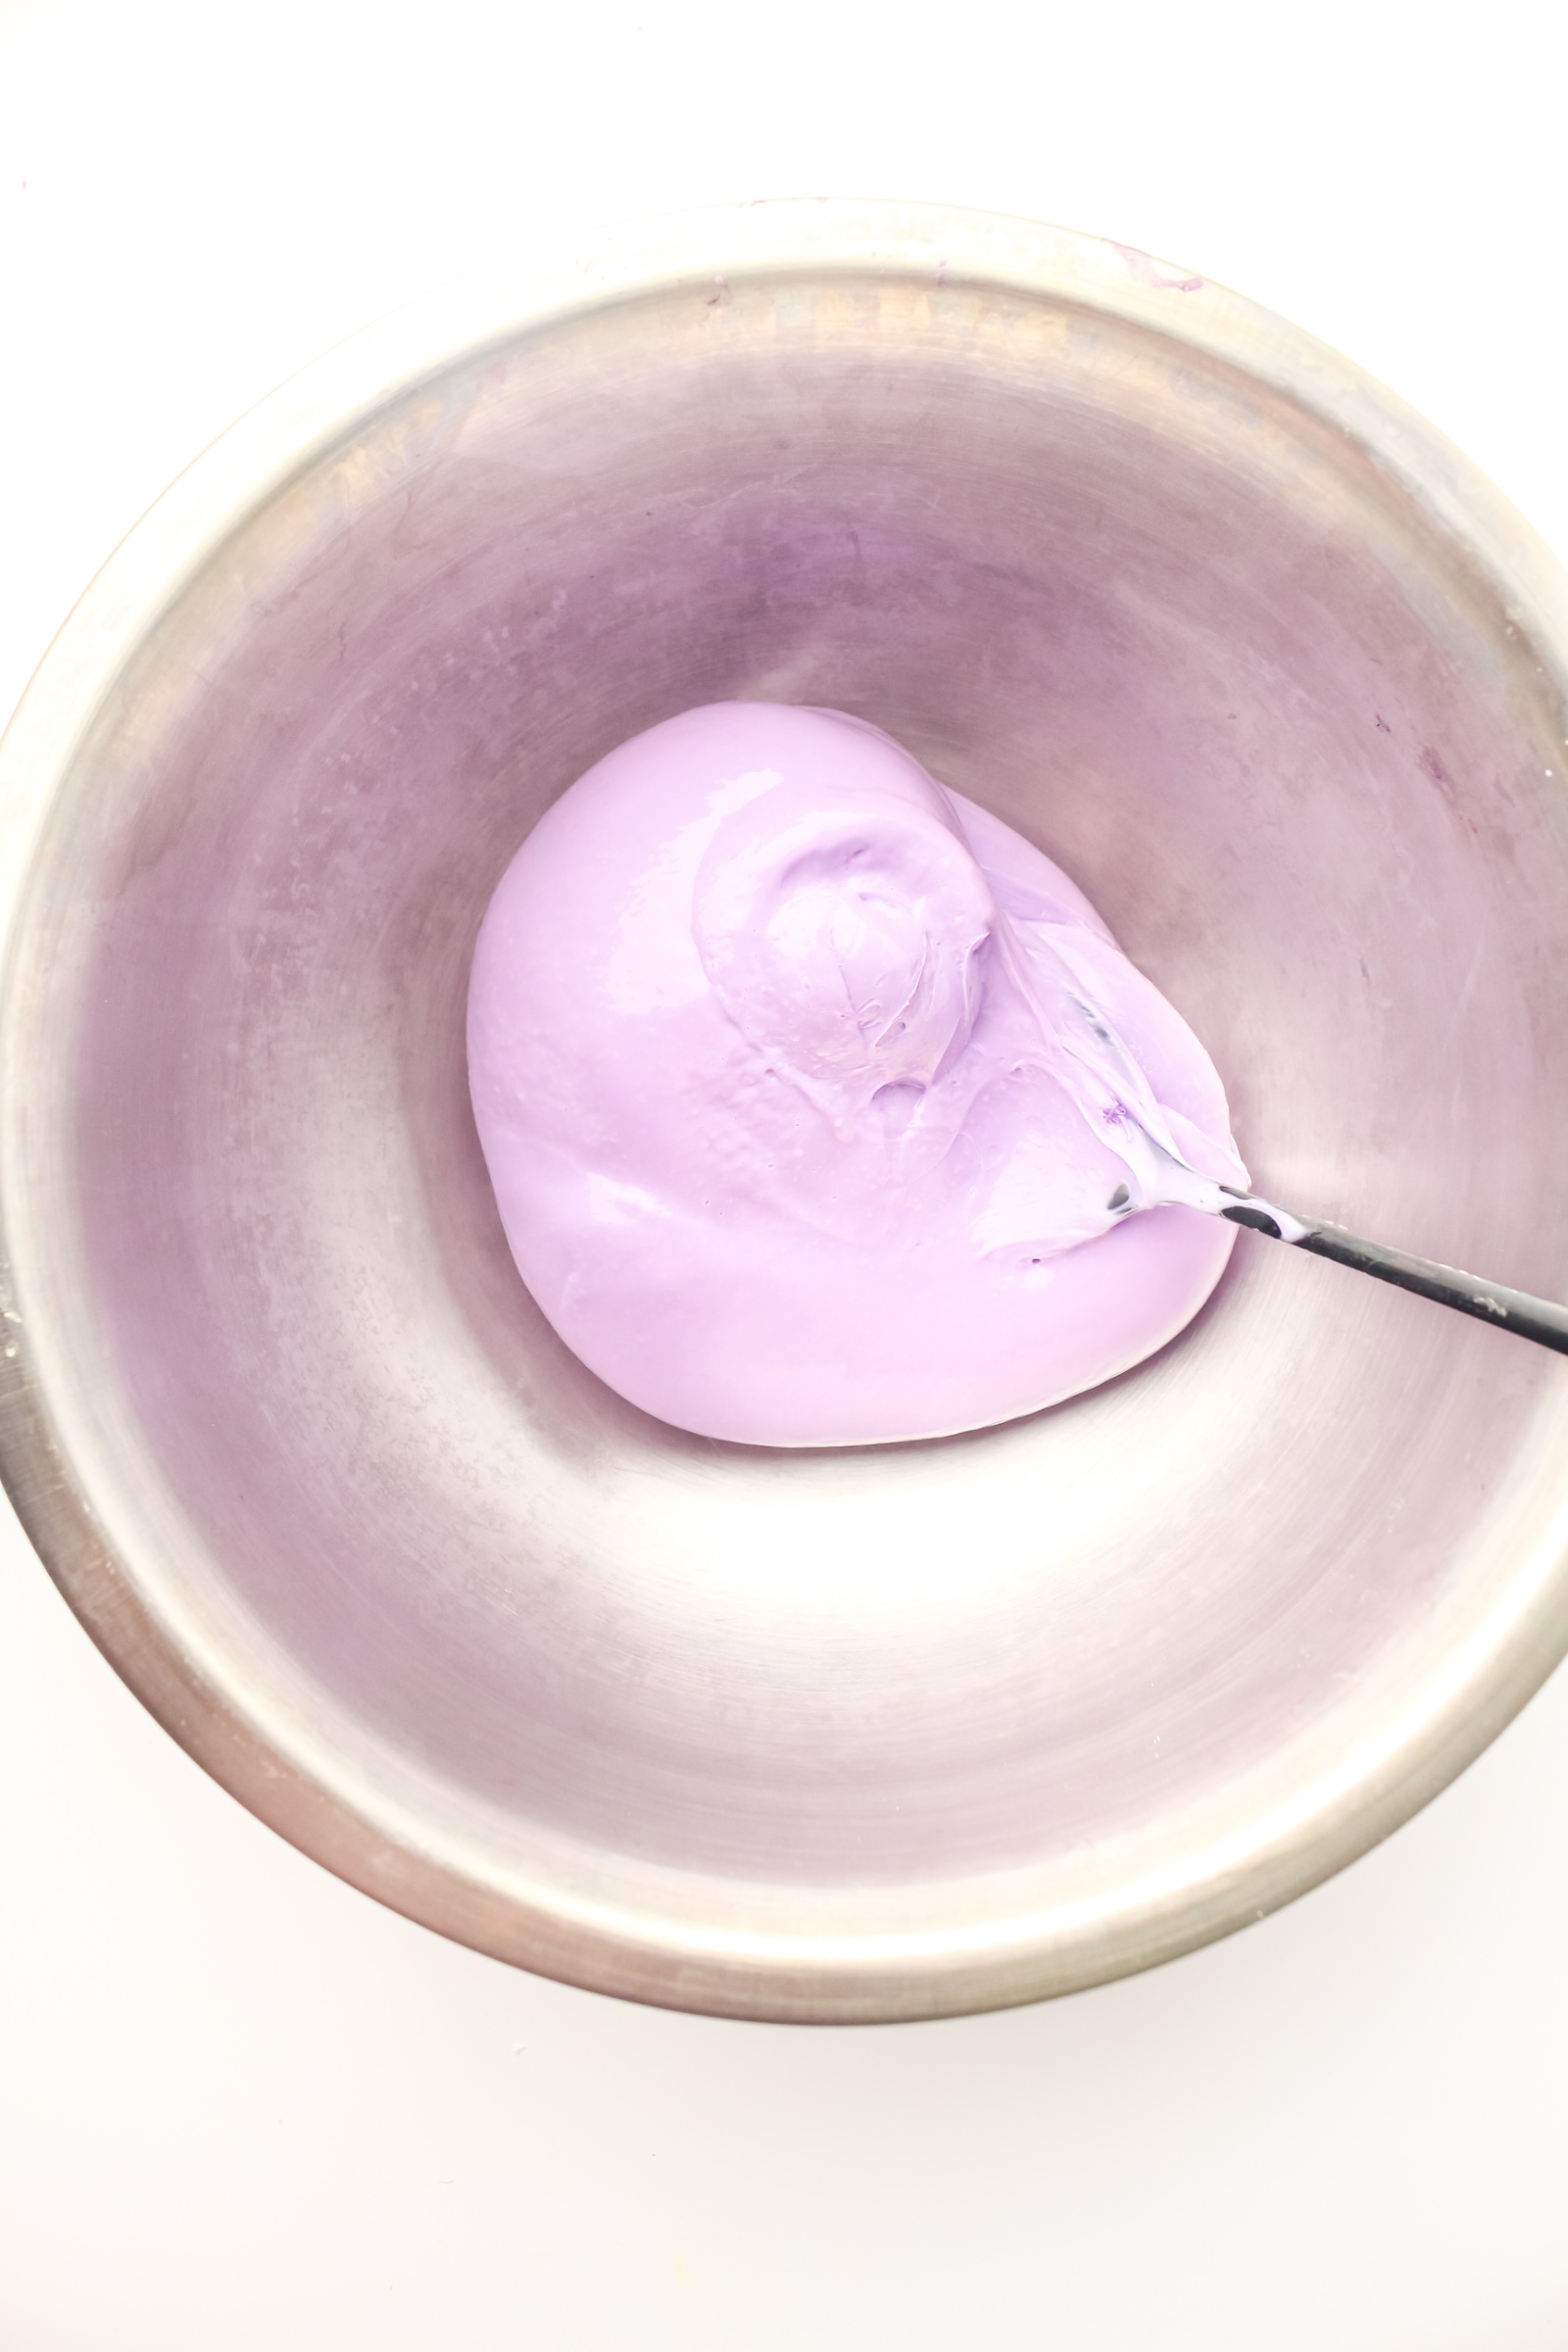
Step 5: Knead Until Smooth and Stretchy
Remove the slime from the bowl and begin kneading it with your hands.
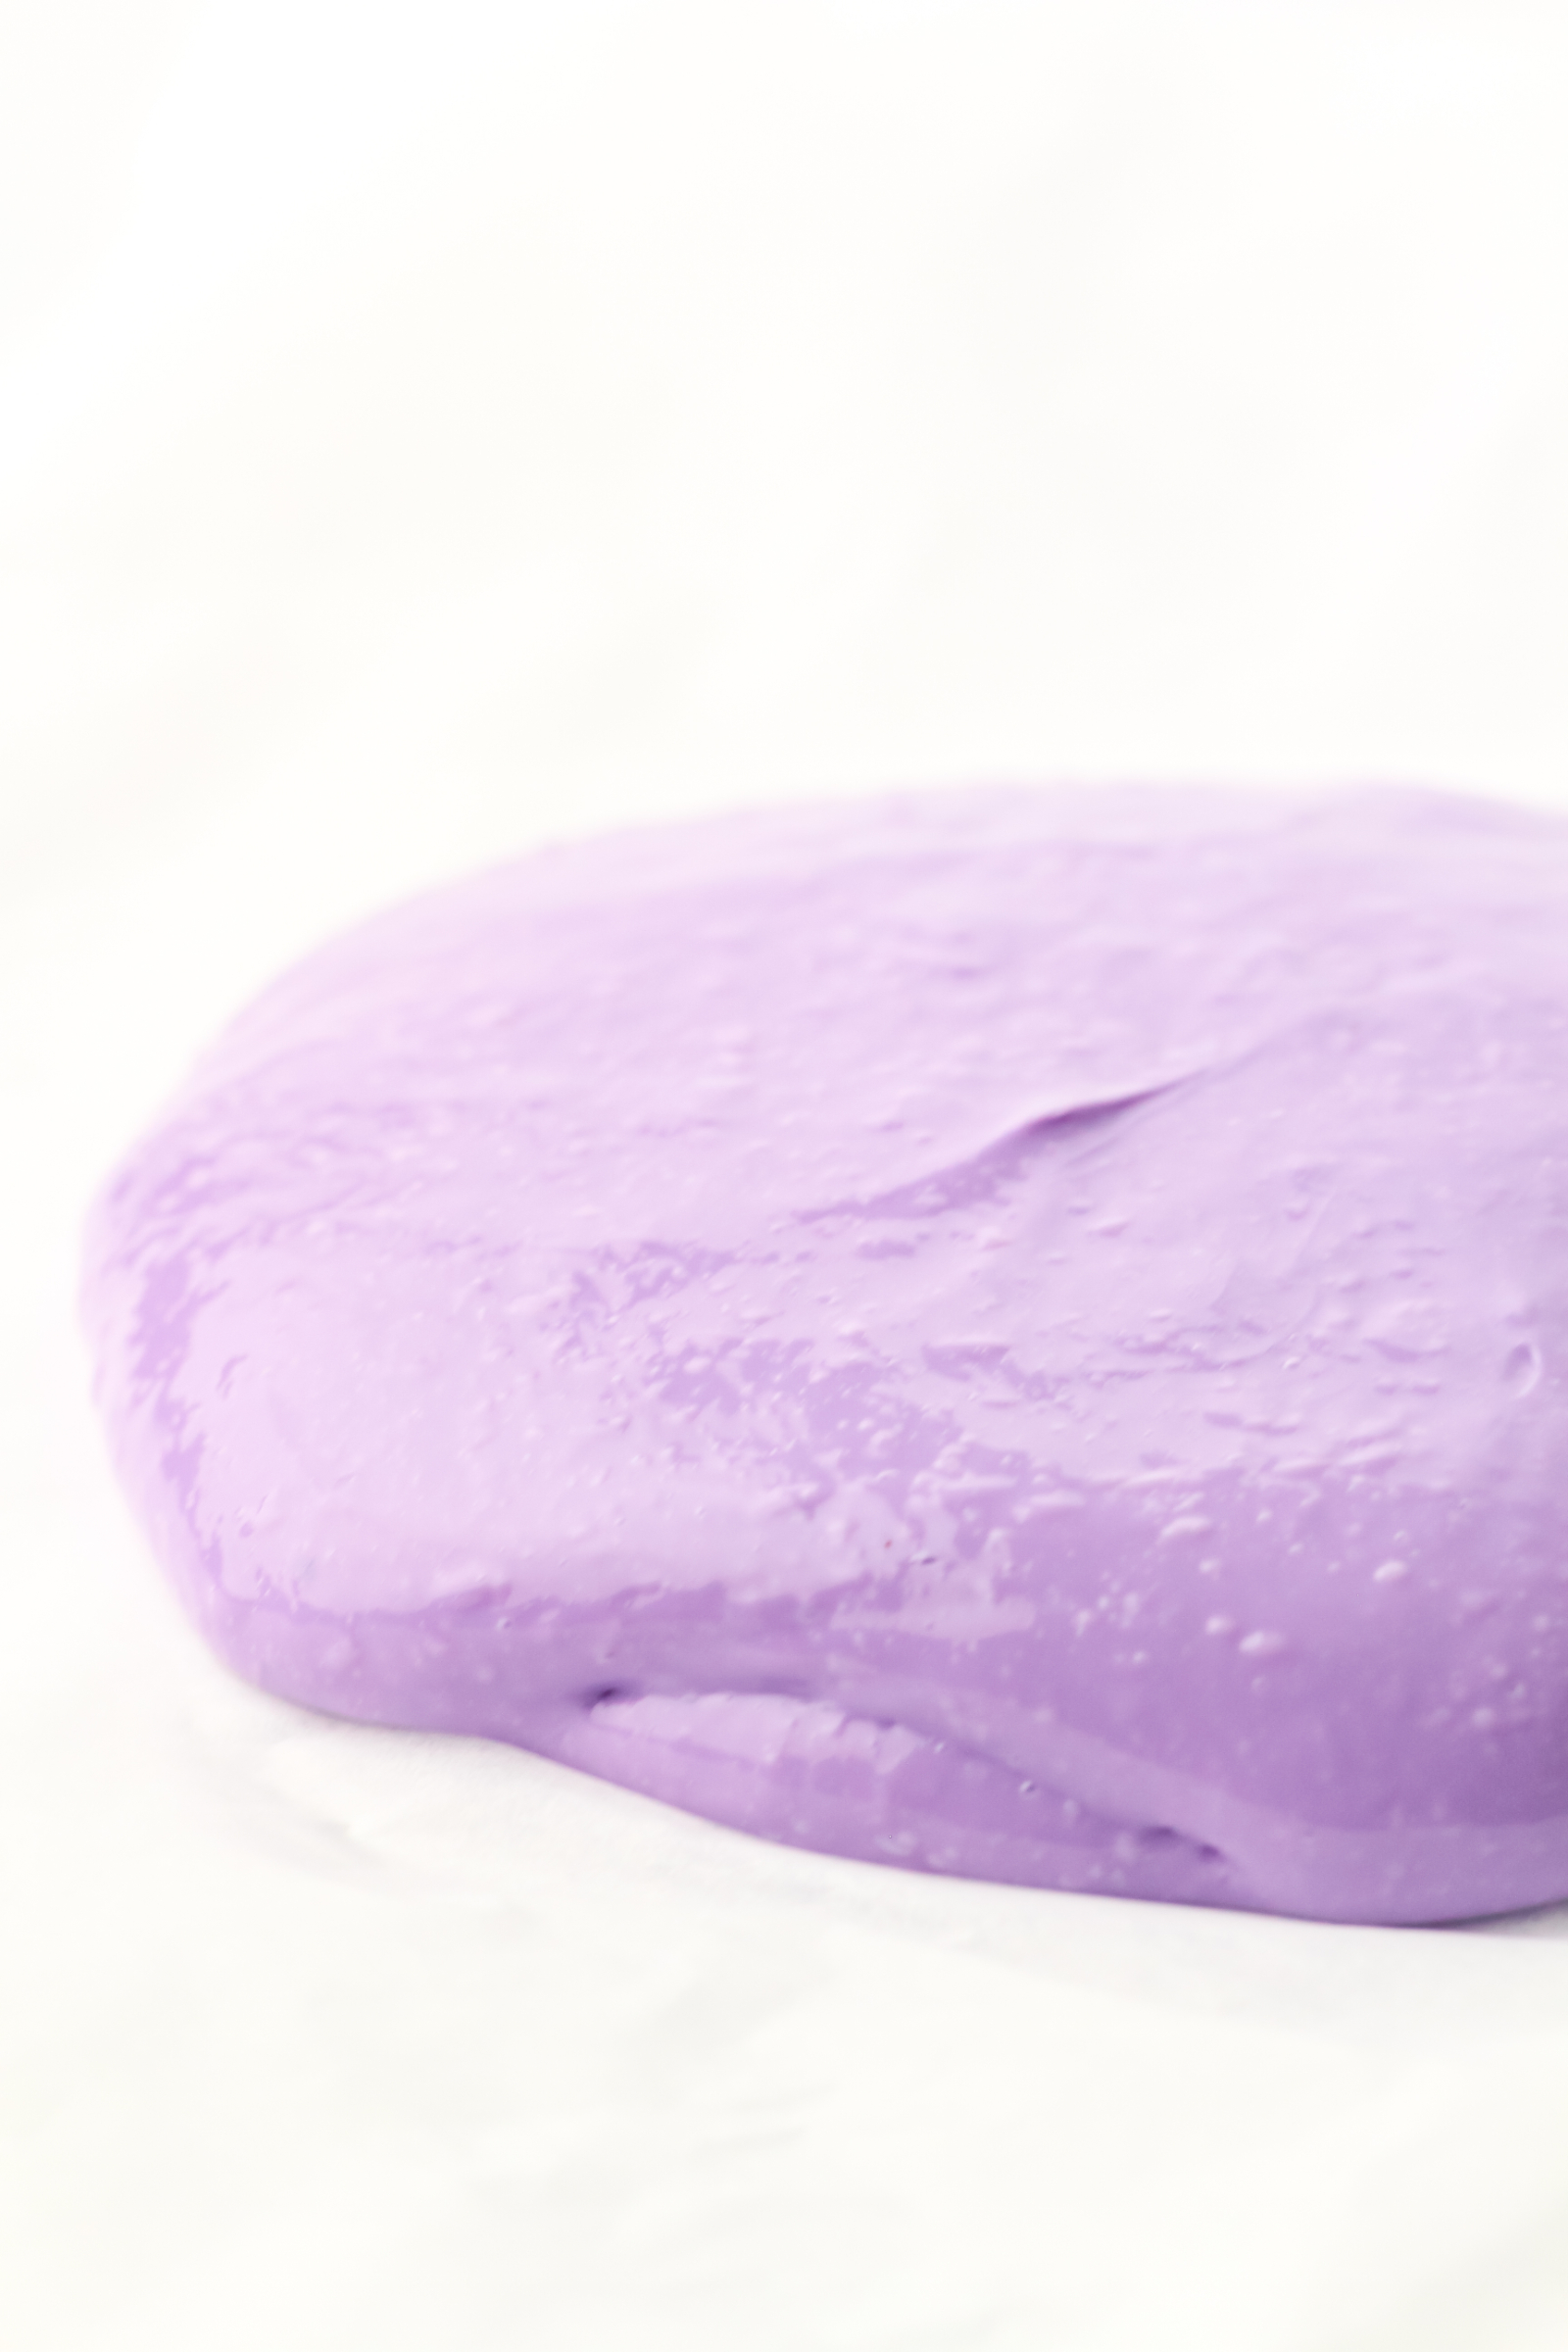
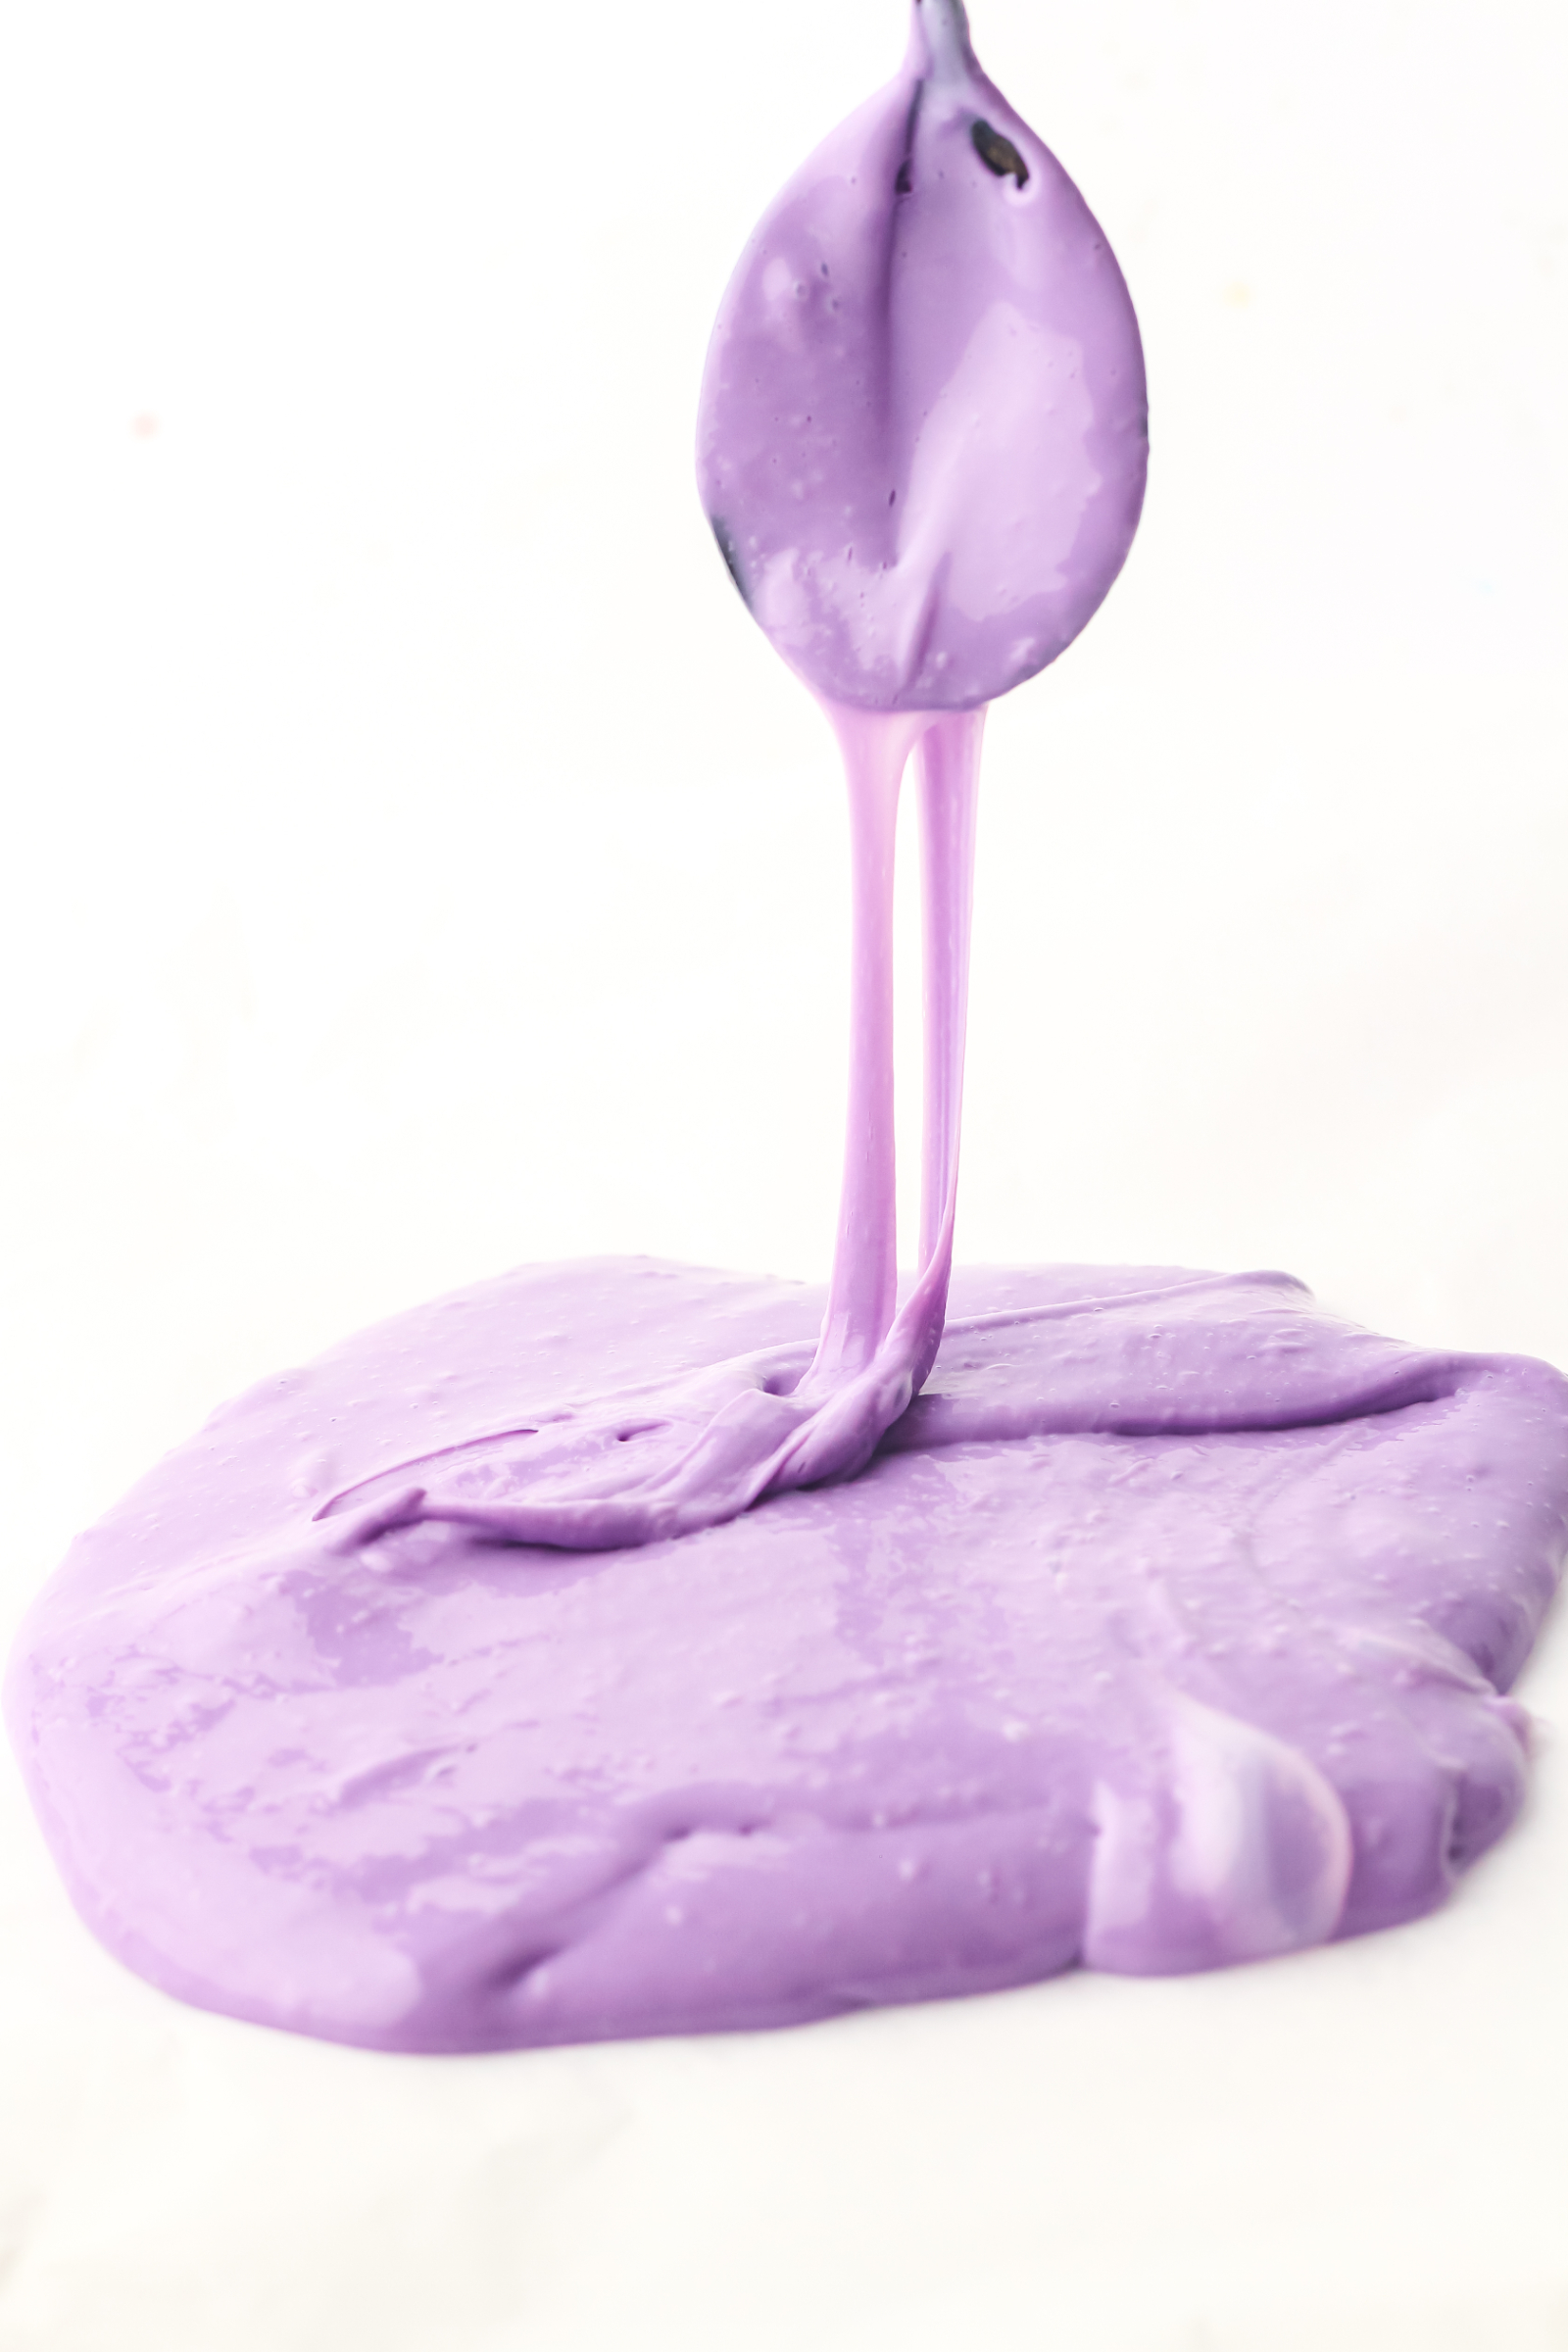
At first, it might feel a little sticky, but keep working it until the texture becomes smooth and stretchy. You can also use a spoon if you prefer not to touch the slime right away.
This is usually everyone’s favorite part of the process! Once the slime reaches the right consistency, it’s ready for play.
Step 6: Store Your Homemade Slime
When you’re finished playing, place the slime in an airtight container or sealed food storage bag. Keeping air out helps prevent the slime from drying out and becoming hard.
Tips for Making the Best Homemade Slime
Although this is a simple recipe, a few small adjustments can make a difference in the finished texture.
- Don’t add too much contact lens solution at once. Start with the recommended amount. Adding too much can make your slime overly firm.
- Give it time to come together. Stir thoroughly before deciding whether you need additional activator.
- Knead the slime well. Sometimes slime feels sticky immediately after mixing but becomes smoother as you work it with your hands.
- Use a little food coloring at a time. You can always add more, but it’s harder to lighten the color once it’s mixed in.
- Keep your work surface protected. Use a washable table or place a craft mat underneath your mixing bowl.
If you’re making this activity with younger children, an adult should handle measuring and adding the contact lens solution.
Frequently Asked Questions About Homemade Slime
Why Is My Slime Too Sticky?
If your homemade slime feels too sticky, add a few extra drops of contact lens solution and knead it thoroughly. Continue adding small amounts as needed until you reach a smooth, stretchy consistency.
Avoid adding too much at once, as excess activator can make the slime rubbery or firm.
Why Is My Slime Too Firm or Hard?
Slime that feels too firm may have too much activator. Try kneading in a tiny amount of water to help soften it.
Add just a few drops at a time and work them into the slime before adding more.
Can I Use Any Food Coloring?
Yes! Liquid, gel, and paste food coloring can all work for homemade slime.
Liquid food coloring is easy to mix in, while gel and paste coloring can create more vibrant shades. Start with a small amount and adjust until you get the color you want.
Can I Make Different Colors of Slime?
Absolutely! This is a great way to make the activity even more fun.
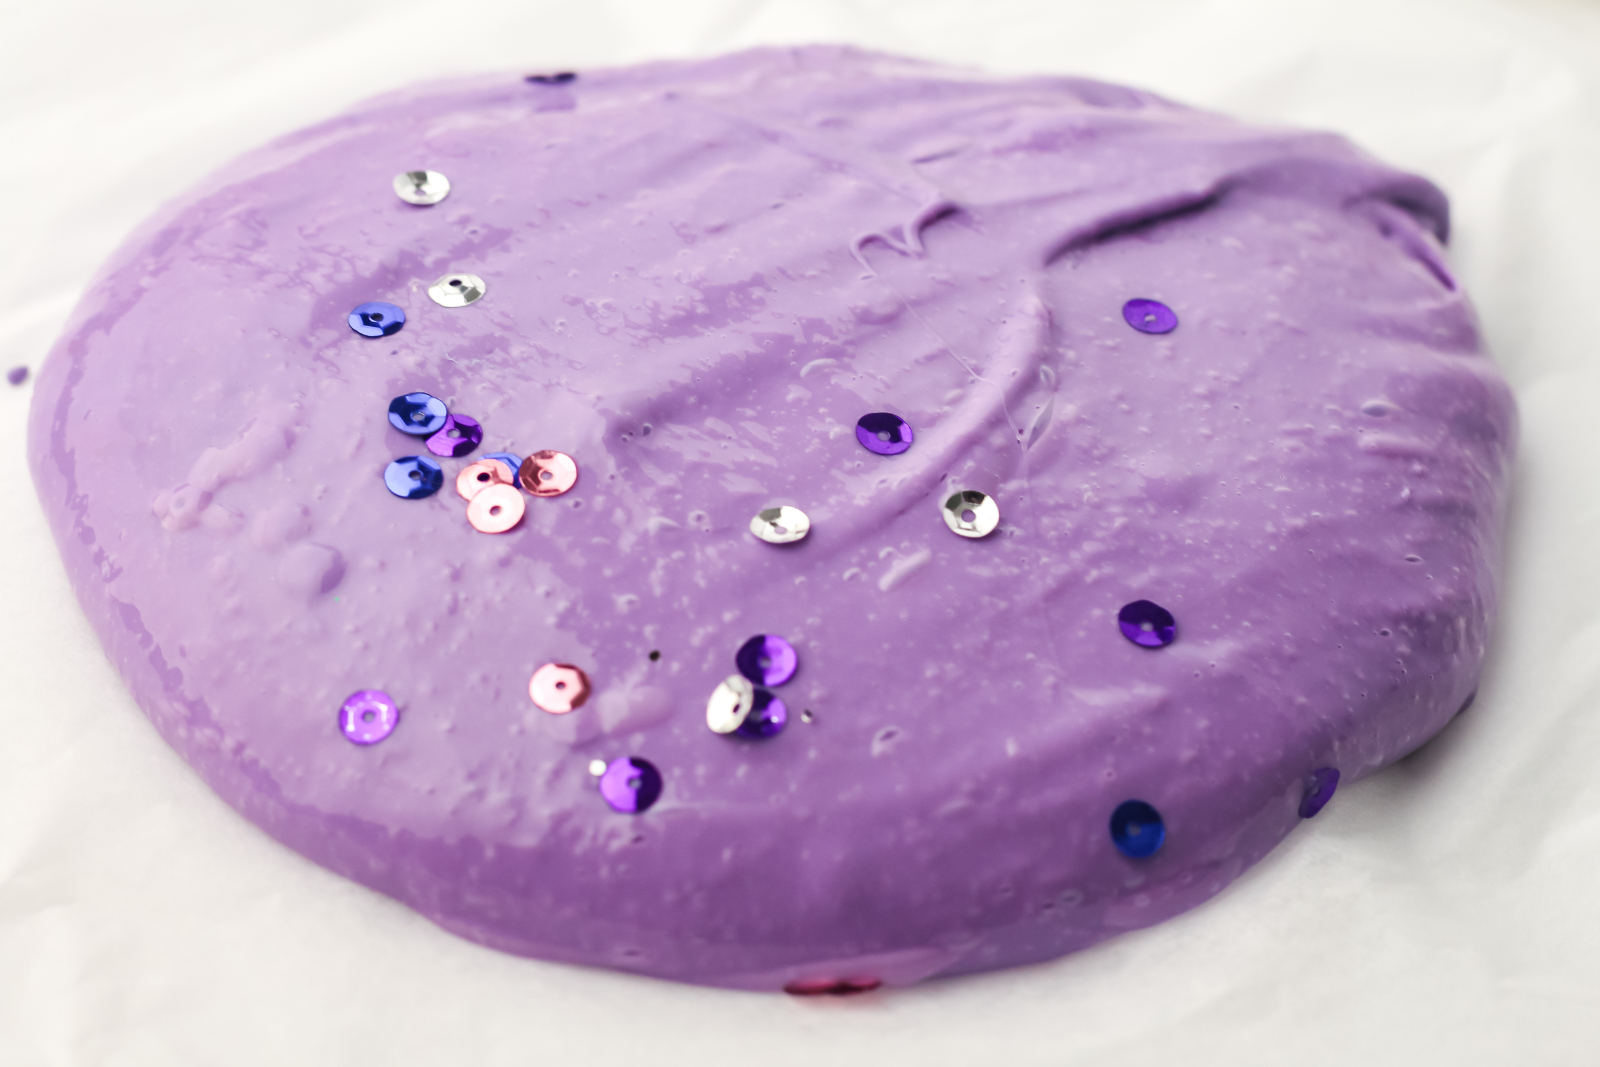
Simply divide your finished slime into separate portions and add a different food coloring to each one. You can make a rainbow collection or let each child create their own favorite color.
How Long Does Homemade Slime Last?
When stored properly in an airtight container or sealed food bag, homemade slime typically lasts about 1–2 weeks.
Its lifespan depends on how frequently it’s handled and how well it’s stored. Always check the texture and smell before playing with stored slime.
Is Homemade Slime Safe for Kids?
Homemade slime is a popular supervised craft activity, but it isn’t edible and should never be put in the mouth.
Children should wash their hands after playing with slime, and anyone with sensitive skin should avoid prolonged contact. Follow the contact lens solution label, keep ingredients away from eyes, and have an adult supervise the activity. Discontinue use if irritation occurs.
How to Store Homemade Slime
Proper storage is important if you want your slime to stay stretchy and usable for as long as possible.
Follow these simple storage tips:
- Store slime in an airtight container or sealed food storage bag.
- Keep it at room temperature.
- Avoid leaving it in direct sunlight or near heat.
- Make sure little hands are clean before playing with it.
- Keep slime separate from food and out of reach of pets.
If your slime becomes dry, hard, develops an unusual smell, or shows signs of contamination, throw it away rather than trying to restore it.
Enjoy This Easy DIY Slime Activity!
Homemade slime is one of those simple activities that can provide plenty of entertainment without requiring expensive supplies or hours of preparation. With just four ingredients and five minutes, you can make a fun, stretchy sensory activity right in your own kitchen.
I love that you can customize this recipe with different food coloring, make multiple batches, and let everyone experiment with their favorite colors.
Whether you’re looking for a rainy-day activity, a fun weekend craft, or an easy project to add to your list of things to do with the kids, give this homemade slime recipe a try!
Just remember to store it properly, supervise younger children, and enjoy the fun of making your own slime at home.