DIY Postcards with Rubber Stamps – A Fun and Kid-Friendly Craft Project

There’s something magical about sending and receiving postcards—especially when they’re handmade! Whether you’re a parent looking for a screen-free activity or a teacher planning a creative classroom project, making DIY postcards with rubber stamps is a wonderful way to spark creativity, connect with others, and have a whole lot of fun.
In this blog post, we’ll walk you through everything you need to know to create your own rubber-stamped postcards. This kid-friendly craft is perfect for rainy days, birthday parties, homeschool art lessons, or just some quality bonding time. Let’s roll up our sleeves, break out the ink pads, and dive into the colorful world of postcard making!


Why Rubber Stamps?
Rubber stamps are one of the easiest and most versatile tools for crafting. They come in endless designs—from animals and flowers to letters and cute characters—and they’re super fun to use. For kids, they’re a great way to build fine motor skills and explore patterns, repetition, and storytelling.
Plus, rubber stamps are mess-friendly. Unlike paint or glitter (yikes!), stamps offer a neat, controlled way to get crafty.

What You’ll Need
Before we start stamping, let’s gather some basic supplies. The best part? You probably already have many of these at home.
Essential Supplies:
- Blank postcards or thick cardstock (cut to 4″x6″) – If you plan to mail them, make sure they are standard size approved by the post office.
- Rubber stamps
- Ink pads (washable for kids)
- Markers, crayons, or colored pencils
- Stickers or washi tape (optional)
- Ruler and pencil (for drawing postcard lines)
- Baby wipes or damp cloth (for easy clean-up)
Optional Supplies:
- Glue and paper scraps (for collage-style postcards)
- Stencils
- Glitter pens
- Embossing powder (for older kids or teens)

Step-by-Step: How to Make DIY Rubber Stamp Postcards
Step 1: Cut and Prepare Your Postcards
Start with a blank canvas! You can buy blank postcards at craft stores or cut your own from cardstock. Standard postcard size is 4″x6″, but you can go slightly larger or smaller depending on your needs.
Pro tip for kids: Let them use safety scissors and help decorate the edges with wavy lines or borders!
On one side, draw a vertical line down the center and divide the right half into two sections—one for the recipient’s address and one for the stamp. The left side is for your message.

Step 2: Choose a Theme
Kids love having a focus, so choosing a theme can make the crafting process even more fun. Here are a few postcard theme ideas to inspire your little artists:
- Animal Adventure
- Under the Sea
- Outer Space
- Fairy Tale Land
- Happy Holidays
- Thank You Notes
- Birthday Greetings
- Nature and Garden
You can even create a whole postcard series with matching themes and gift the bundles to friends and family!

Step 3: Start Stamping!
Now the fun begins! Choose your rubber stamps and start creating. You can use one stamp repeatedly for a pattern, combine several for a little story, or even create a “scene” with different stamps. Let your kids explore stamping in different colors, overlapping stamps, or rotating them in different directions. For older kids, they can use letter stamps to write words and names.
Tips for kids:
- Press the stamp gently but firmly into the ink pad.
- Make sure the stamp is evenly coated.
- Press it onto the paper with steady hands and lift straight up.
- Encourage kids to practice on scrap paper before stamping on the final postcard.

Step 4: Add Personal Touches
Once your stamping is done, it’s time to add those extra details that make your postcard pop!
- Use markers or colored pencils to color in stamped designs.
- Add speech bubbles or little messages next to characters.
- Write a joke, riddle, or fun fact on the back.
- Decorate with washi tape, doodles, or stickers.
- Sign your name or include the date.
Older kids can get creative with storytelling—each postcard could tell a mini adventure!


Step 5: Write and Send!
Have your child write a cheerful note on the back of the postcard. Here are a few writing prompts to help get them started:
- “Hi! Guess what I did today…”
- “I made this postcard just for you because…”
- “Will you be my penpal?”
- “I hope you have the best day ever because…”
Make sure to write the recipient’s address clearly, stick on a stamp, and pop it in the mail!
You can also keep postcards in a memory box, scrapbook, or turn them into wall art.

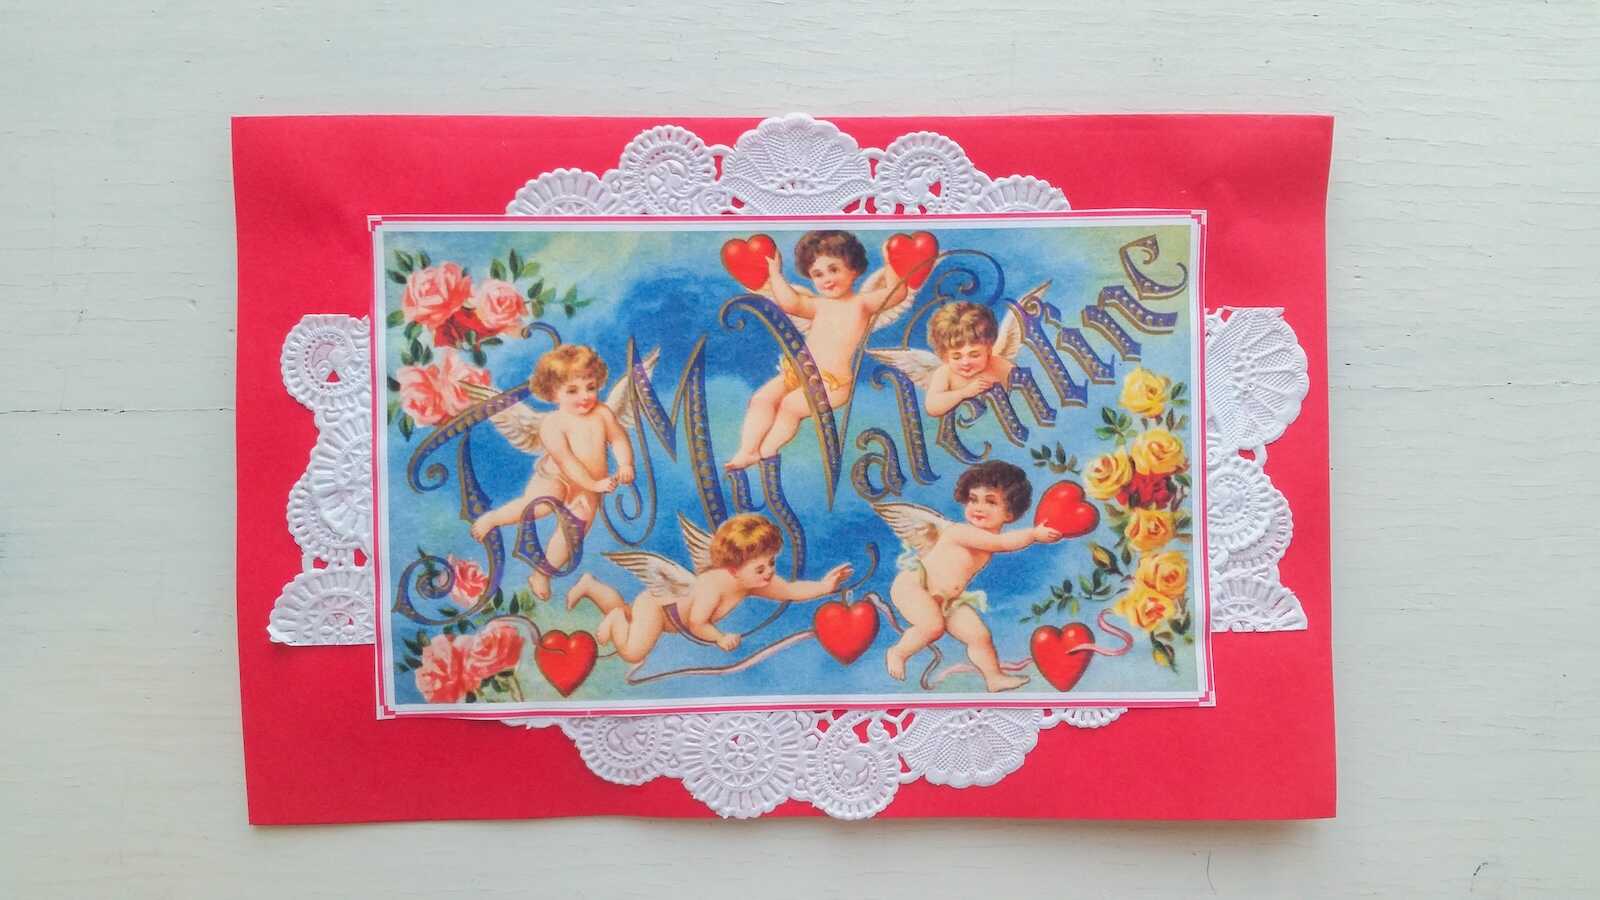
Holiday Themed Postcards
Kids love getting creative, and making DIY holiday-themed postcards with stamps is a fun way for them to express themselves while learning the joy of giving. Whether they’re crafting cheerful greeting cards for Christmas, sweet notes for Valentines, or thoughtful messages to show they’re grateful for Thanksgiving, this activity is both meaningful and mess-friendly. With colorful ink pads and playful stamp designs, kids can create one-of-a-kind postcards that spread holiday cheer to friends, family, and classmates.

DIY Stamp Ideas for Extra Creativity
Want to make your own rubber stamps? It’s easier than you think! Homemade stamps are a great way to get even more creative and involve your child in every part of the project.
Easy DIY Stamp Materials:
- Wooden blocks
- Erasers that come in fun shapes
- Potatoes (classic and fun!)
- Cork stamps
- Old LEGO pieces (they make fun patterns)

Postcard Projects for Every Age
For Toddlers (Ages 2–4):
- Use large stamps with simple shapes (animals, stars, hearts).
- Stick to one or two ink colors, or use acrylic paints
- Let them explore freely with guidance.
- Keep messages short—“Hi Grandma!” or just draw a smiley face.
For Younger Kids (Ages 5–8):
- Introduce theme-based projects.
- Mix stamping with drawing and coloring.
- Write short messages with prompts.
- Make a postcard for each season or holiday.
For Tweens (Ages 9–12):
- Create postcard collections or travel-inspired sets.
- Try embossing, layering, or mixed media.
- Write longer notes or poems.
- Exchange postcards with friends as pen pals.

Dinosaur Stamps from Nooli Bird Stamps
Make It Educational
This fun craft is also a sneaky way to build important skills!
Writing and Language Skills:
- Practice handwriting and grammar.
- Explore storytelling and descriptive writing.
Math Skills:
- Measure and cut postcards to size.
- Plan layouts with symmetry and patterns.
Art and Creativity:
- Experiment with colors, balance, and design.
- Try different stamping techniques.
Geography:
- Send postcards to different cities or countries.
- Track where they go on a map!

Personalised Children’s Unicorn Rubber Stamp from Skull and Crossbuns
Hosting a Postcard Party or Class Activity
Want to take your DIY postcards to the next level? Host a postcard-making party! This is a great idea for birthdays, holidays, school projects, or community events.
What You’ll Need:
- Several stations with stamps and supplies
- A drying area (in case of wet ink)
- A “writing corner” with prompts and example messages
- Envelopes and stamps if kids want to mail their postcards

Merry Christmas Rubber Stamps from Scrawl Studio 1
Final Thoughts: Let Your Creativity Fly!
DIY postcards with rubber stamps are a charming blend of creativity, communication, and fun. Kids get to explore their imaginations, practice their writing, and connect with others in a meaningful way. Plus, who doesn’t love getting real mail?
Whether you’re making one special postcard or a whole collection, the most important thing is to have fun. So pull out those rubber stamps, let the ink flow, and create something beautiful—one postcard at a time.