Easy DIY Twine-Wrapped Dyed Easter Eggs


Easter egg dyeing is one of those traditions that never gets old. Every year, families gather around the kitchen table with cups of vibrant dye, boiled eggs, and a whole lot of creativity. If you’re looking for a simple but stunning twist on the classic method, try making twine-wrapped dyed Easter eggs. The wrapped string creates unique line patterns, almost like little works of modern art, and every egg comes out one-of-a-kind.

Why Try Twine-Wrapped Easter Eggs?
This method is quick, fun, and budget-friendly. You only need items you probably already have at home: eggs, twine or string, and dye. The result is a set of Easter eggs that look like they took hours of effort—when really, they’re one of the easiest DIYs you’ll ever try.
Plus, kids love the surprise of unwrapping the eggs after they’ve dried to reveal the cool striped designs hiding underneath.


Supplies You’ll Need
- Hard-boiled eggs (white shells work best for color contrast)
- Kitchen twine, string, or thin jute cord
- Food coloring or store-bought egg dye kits
- Cups or bowls for dye
- White vinegar
- Paper towels or drying rack
- Rubber gloves (optional, to avoid stained fingers)


Step-by-Step Instructions
Prepare the Eggs
Hard-boil your eggs and let them cool completely. Dry them off so the twine sticks better and doesn’t slip around.
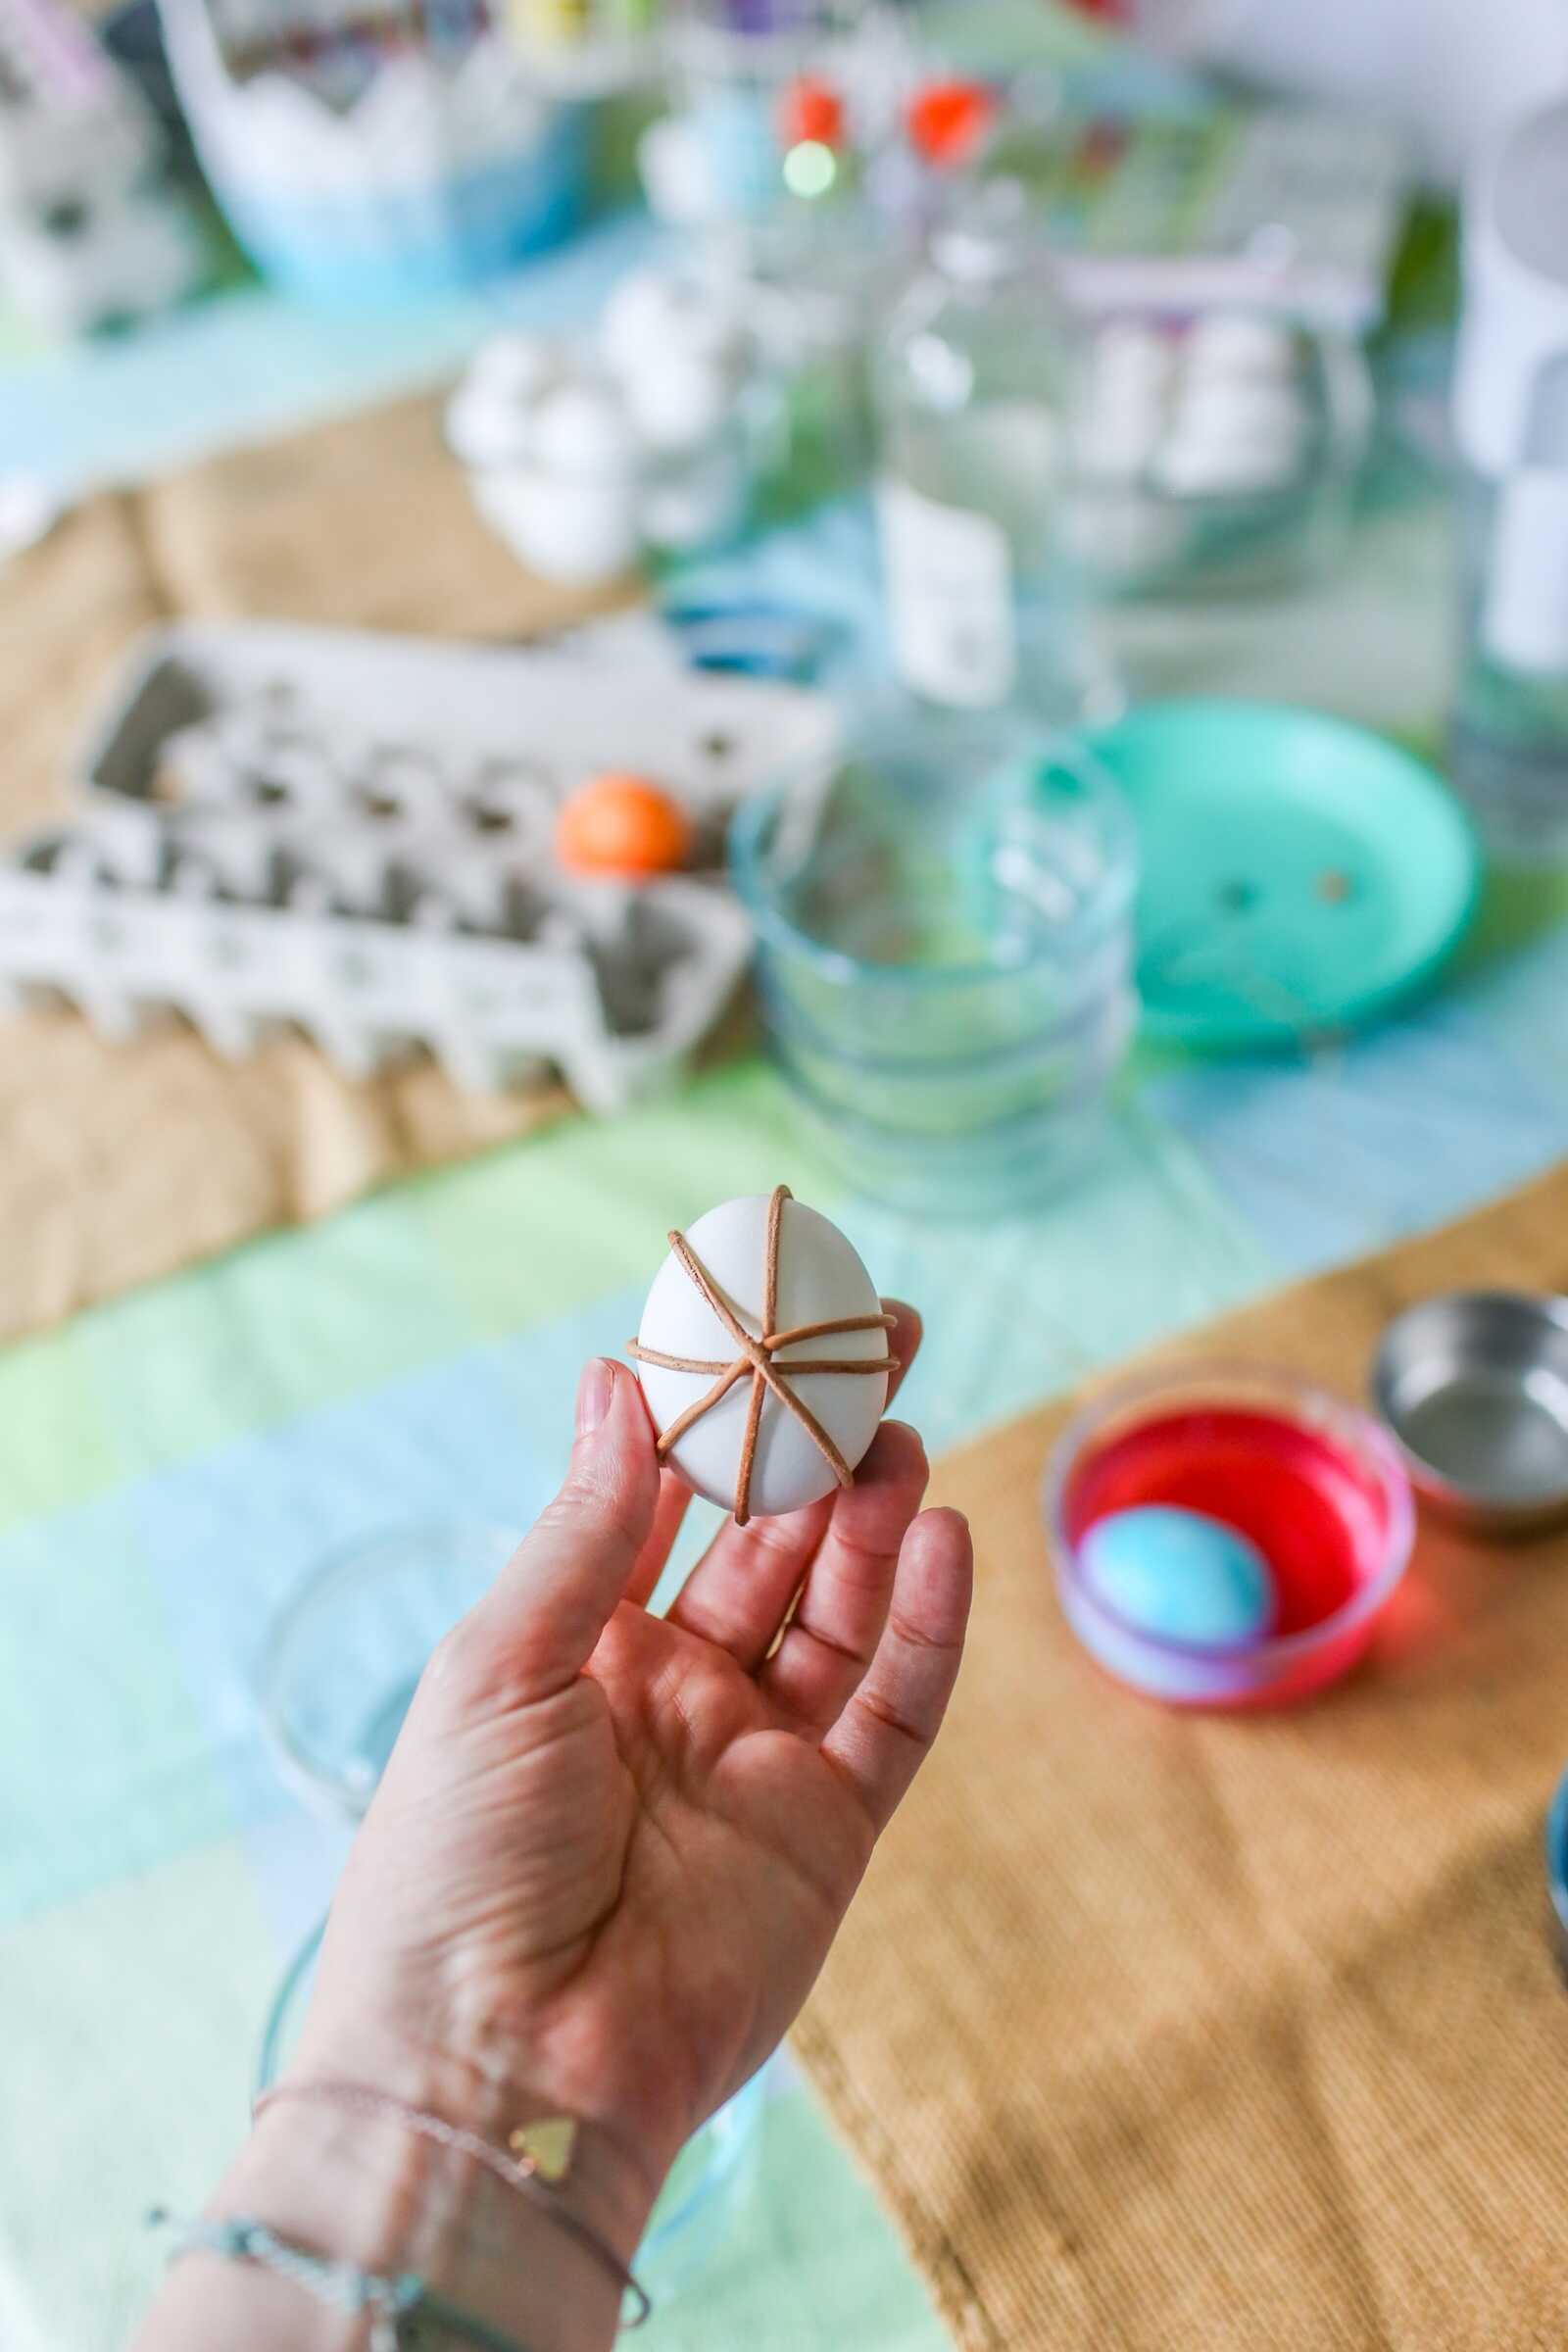
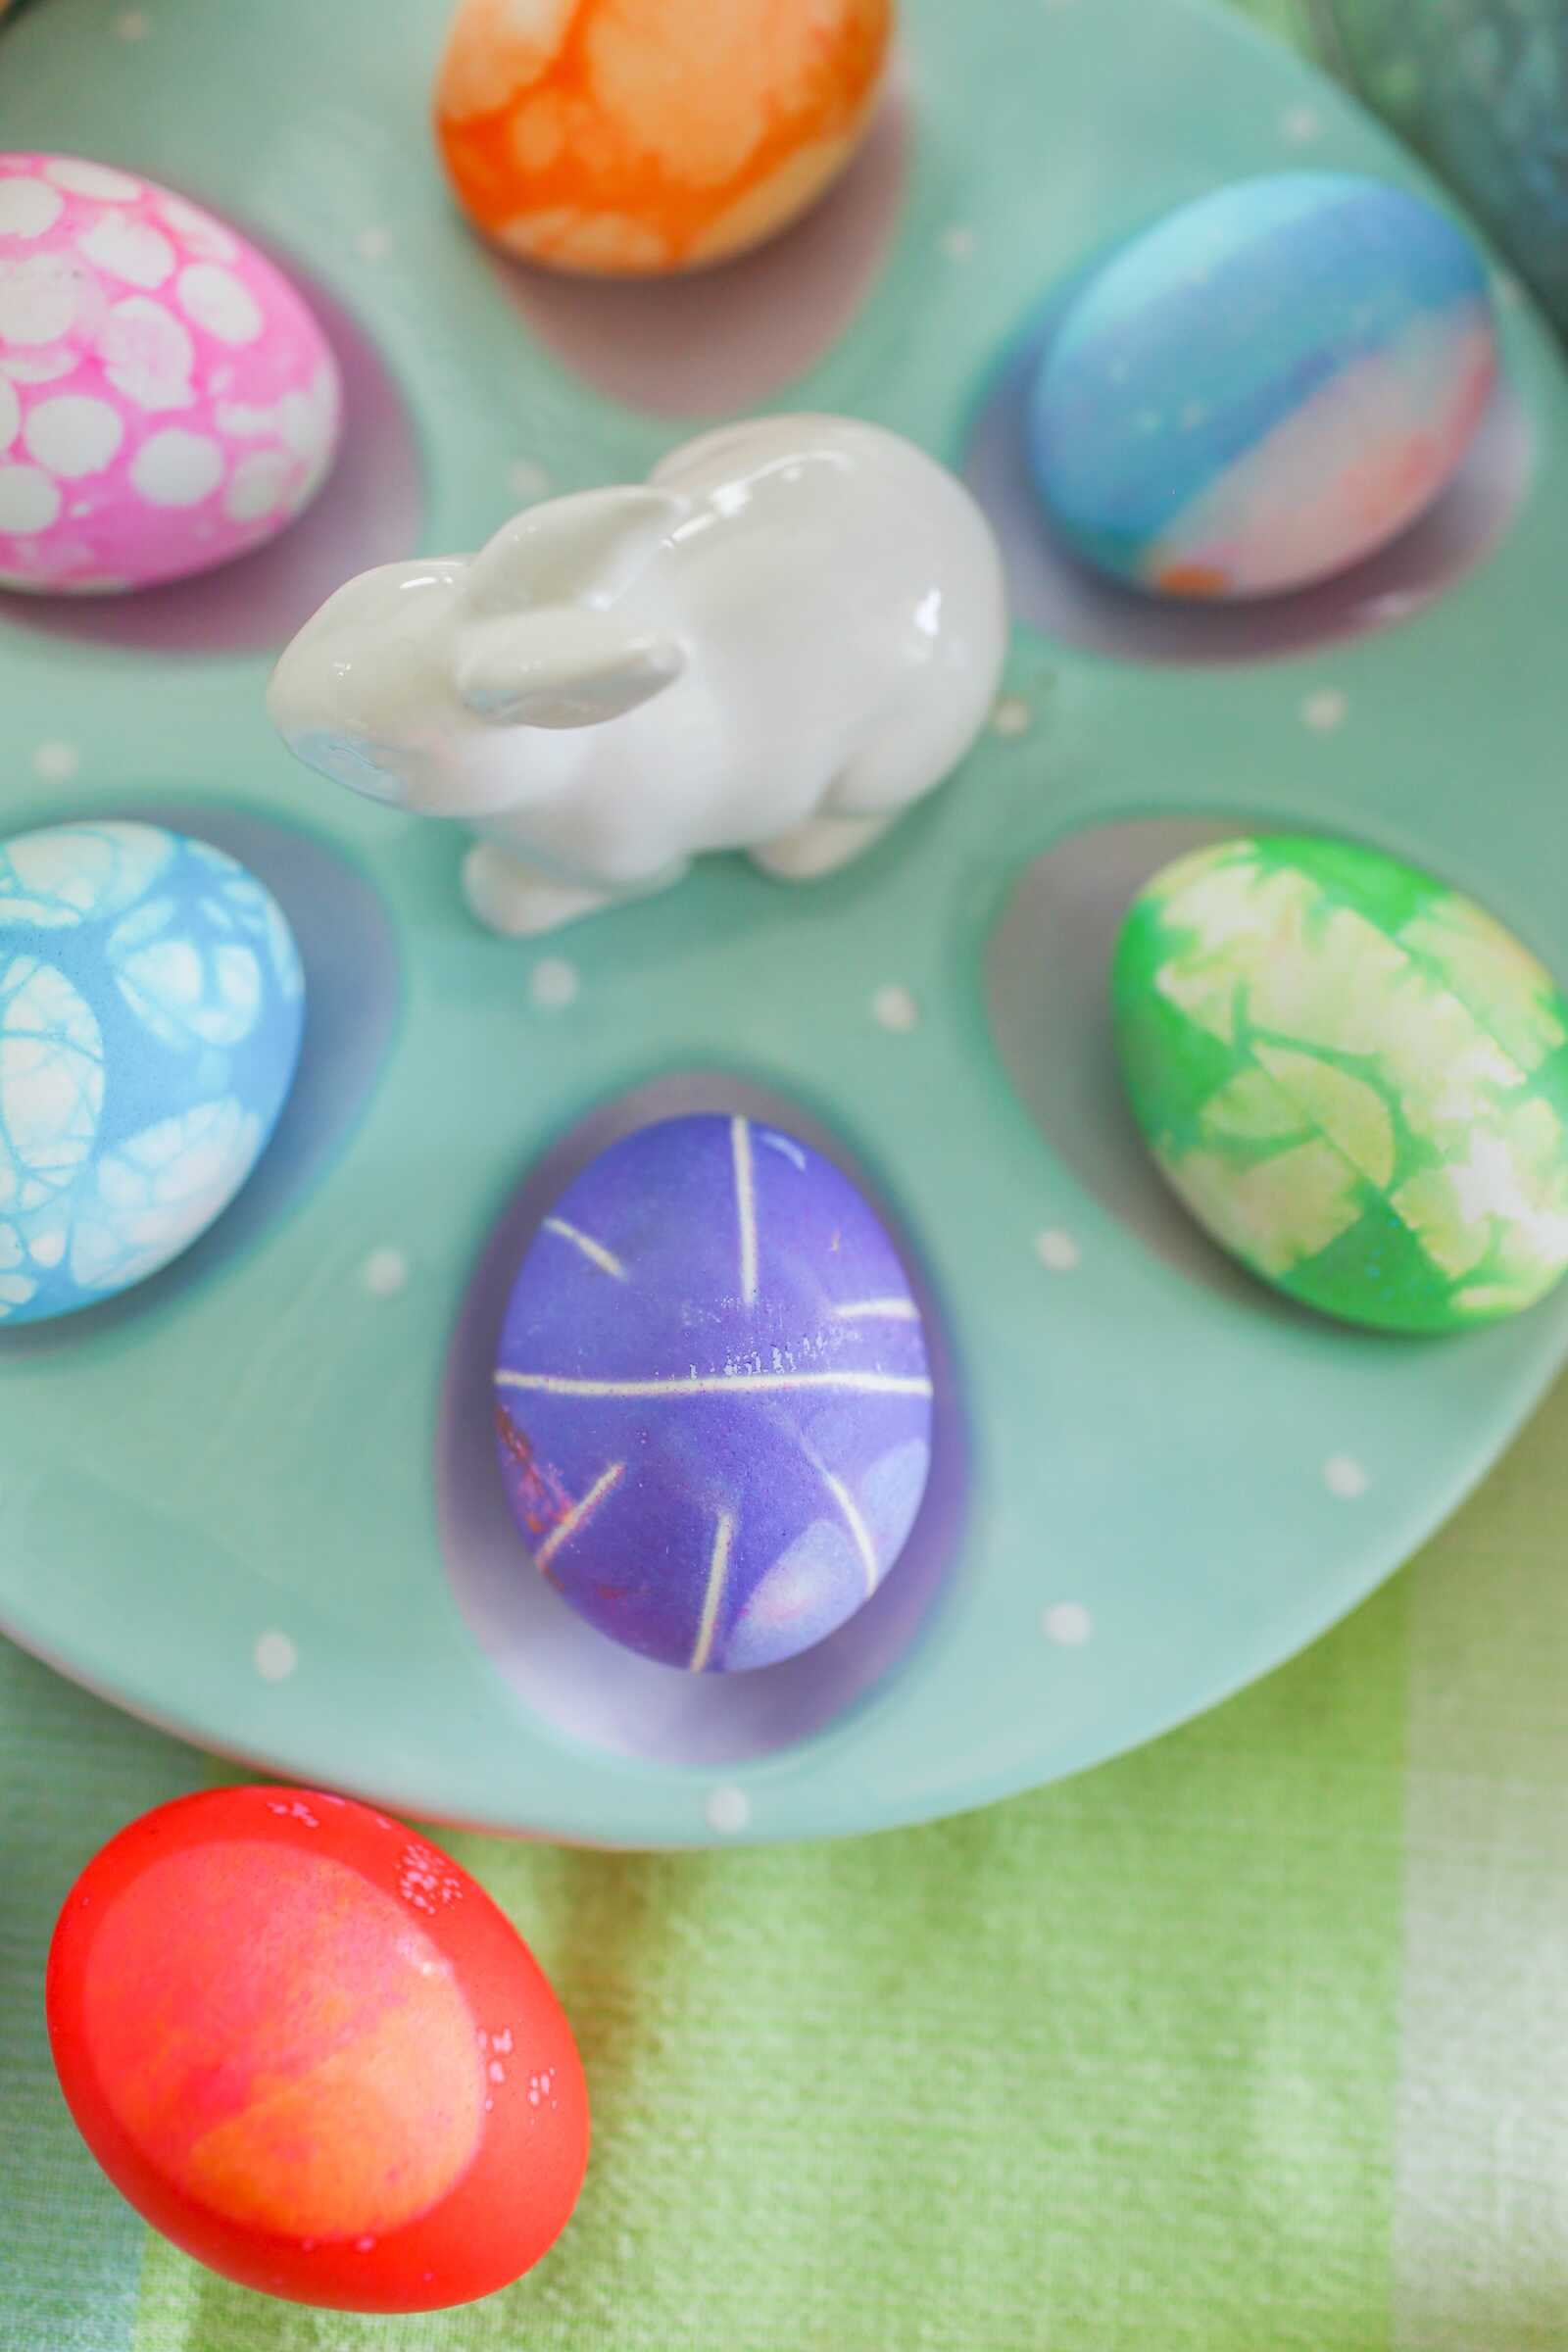
Wrap with Twine
Take your twine or string and wrap it tightly around the egg. You can go in one direction for simple parallel lines or crisscross the twine in different angles for a more abstract look. The tighter you wrap, the more distinct the lines will appear. Tie off the ends so the twine stays secure.
Mix the Dye
In separate cups, mix your egg dye according to the package instructions. Typically, you’ll combine hot water, a few drops of food coloring, and a splash of vinegar.
Dip the Eggs
Carefully place your twine-wrapped eggs into the dye cups. Leave them in for 5–10 minutes, depending on how bold you want the color to be. Rotate the eggs gently if you want more even coverage.
Dry and Unwrap
Remove the eggs and pat them gently with paper towels or set them on a drying rack. Once they’re completely dry, cut or untie the twine and unwrap to reveal the striped pattern underneath.


Design Ideas and Variations
- Rainbow Effect: Dip half of the twine-wrapped egg in one color, then switch to another color for the other half.
- Natural Look: Use brown eggs for a softer, rustic finish.
- Metallic Twist: After unwrapping, brush on a little metallic food-safe paint for a shimmery effect.
- Double Dyeing: Dye once, let dry, then re-wrap and dip into a second color for layered stripes.

Tips for Success
- Don’t wrap too loosely or the dye will seep under the string, blurring the lines.
- Use thinner twine or embroidery floss for more delicate designs.
- Always let the eggs dry fully before unwrapping for the sharpest contrast.
- If doing this with kids, pre-wrap the eggs for them to avoid frustration.

Final Thoughts
Twine-wrapped dyed Easter eggs are proof that sometimes the simplest techniques create the most beautiful results. Whether you’re hosting a big family Easter brunch or just want to make the holiday more creative, this DIY is an easy way to add colorful charm to your celebration. Each egg will have its own personality, making them as unique as the people who helped create them.